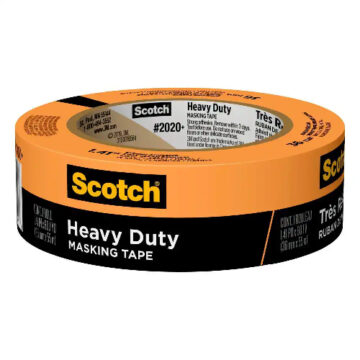
Choose the Right Painter’s Tape for Masking & Surface Protection

When it comes to painting, we’ve established that the prep work makes all the difference. If you’ve ever tried to freehand a straight line, you know how tricky it can be. And have you ever removed your carefully-applied tape and had damaged areas or paint bleed – making tape seem useless (or even harmful!) to begin with? There are so many things that can go wrong with painter’s tape – either by using the wrong kind, or using the right kind incorrectly. That’s why we, as professional residential painters, have taken the time to figure out exactly what tape to use for each situation.Β Not all painter’s tape is created equal, and using the wrong one can mean peeling paint, ugly lines, or sticky residue.Β 

A Pearl Painters painter removes blue painter's tape from around a doorway, showing the paint coming right off with it - a result of poor painting prep.
An example we came across during a project - Look at all the paint that peeled off when the tape was removed.

Top Tape Picks

If you’ve ever had tape pull up your paint or leave behind a mess, chances are it was either the wrong type or left on too long. Choosing the right tape, and knowing when to remove it, makes all the difference.

So hopefully now you can see why there are so many different types of tape! We have to evaluate the surface the tape is going onto, what the tape is being used for (protection or straight lines), how recently the surface was painted, etc. This is why we have a rep with 3M that we contact when we have a unique situation – they’ll tell us exactly which tape to use. There are so many other types than the few we listed above!Β 

What Can Go Wrong Without Proper Taping?

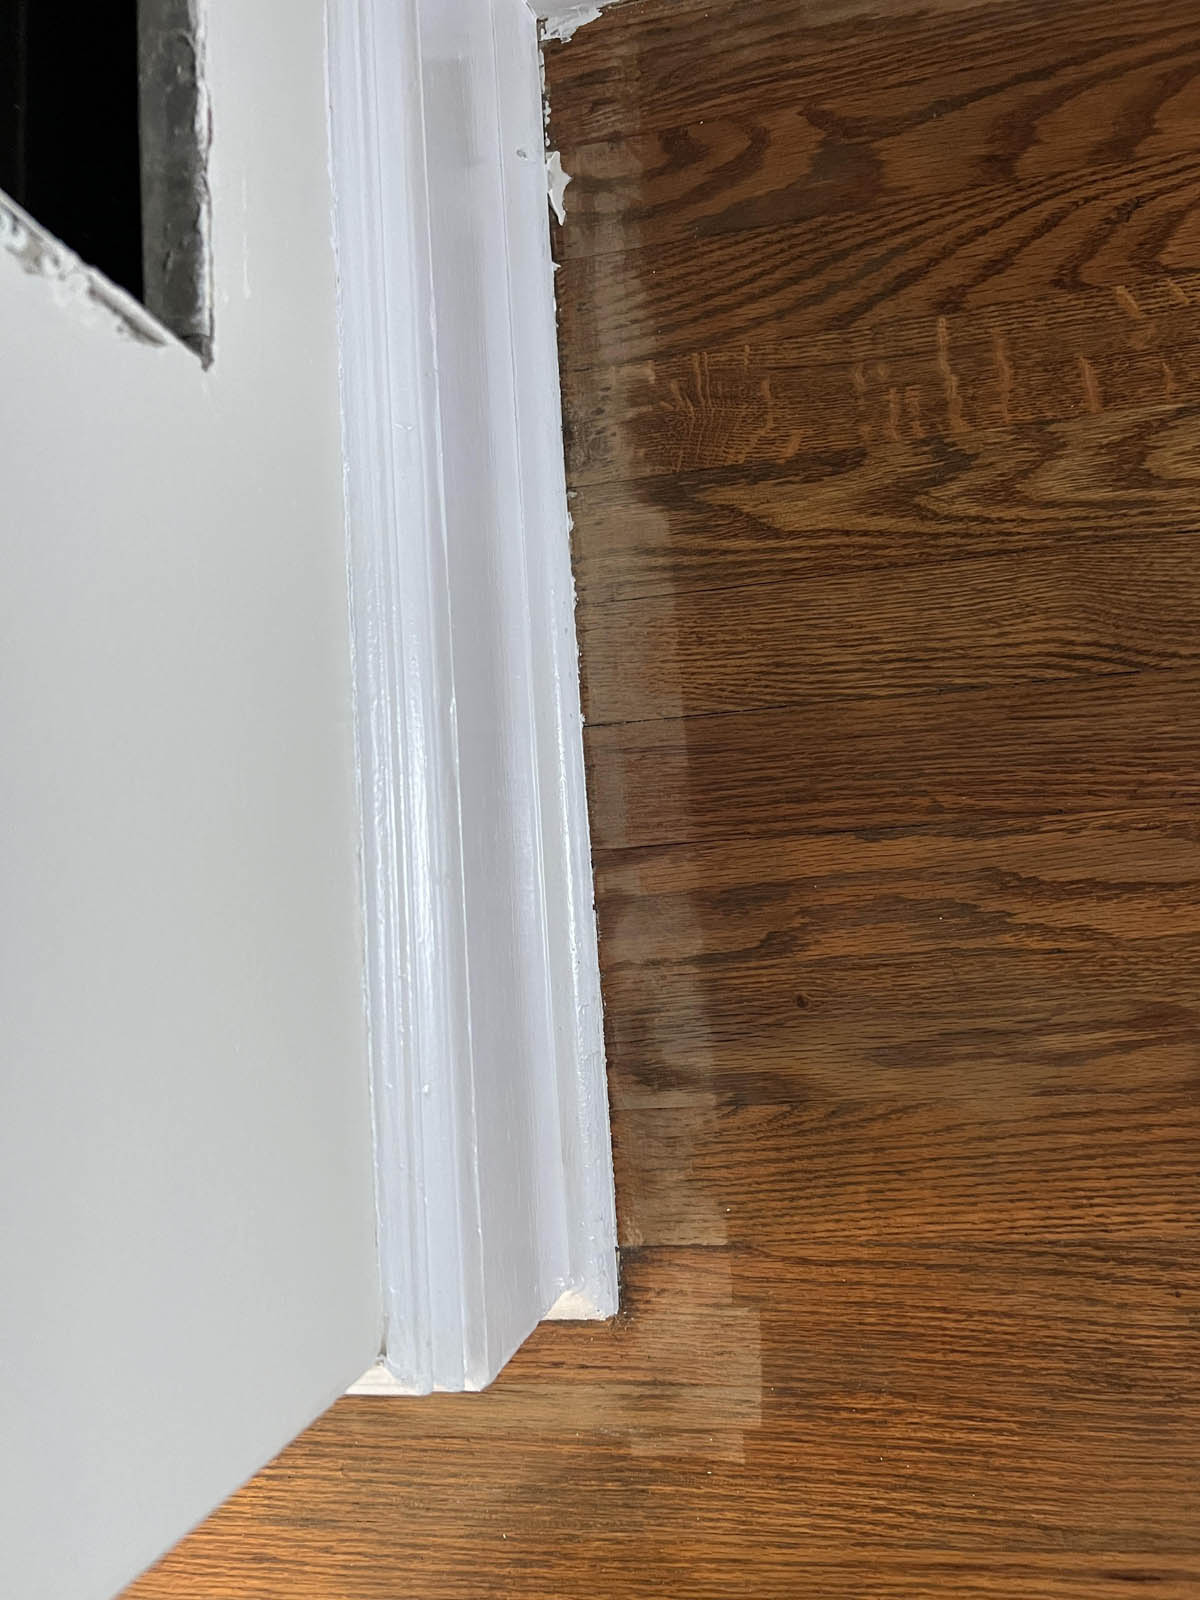
Even so called experienced painters make these common mistakes:

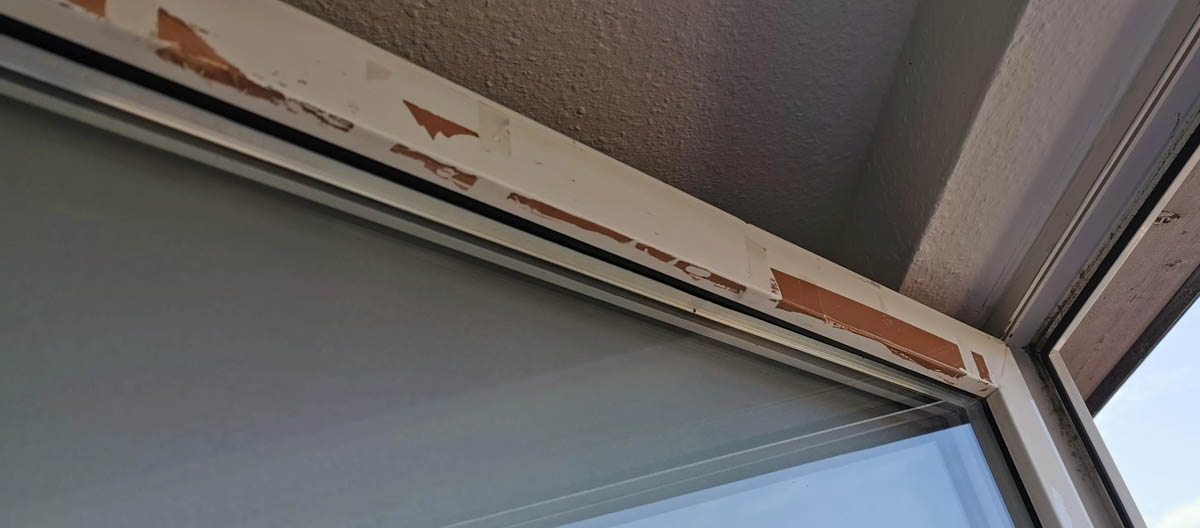
❌ Skipping Surface Prep – Dirt, dust, or grease can prevent tape from sticking properly. Always clean dirty surfaces before taping!
❌ Using the Wrong Tape – High-adhesion tape on delicate walls = peeling paint. Low-adhesion tape on rough surfaces = paint bleed.
❌ Leaving Tape on Too Long – If left too long, tape can bond to the surface, making removal difficult and messy.
❌ Ignoring Temperature & Humidity – Heat can melt adhesives, and humidity can weaken them. Always check conditions before taping.

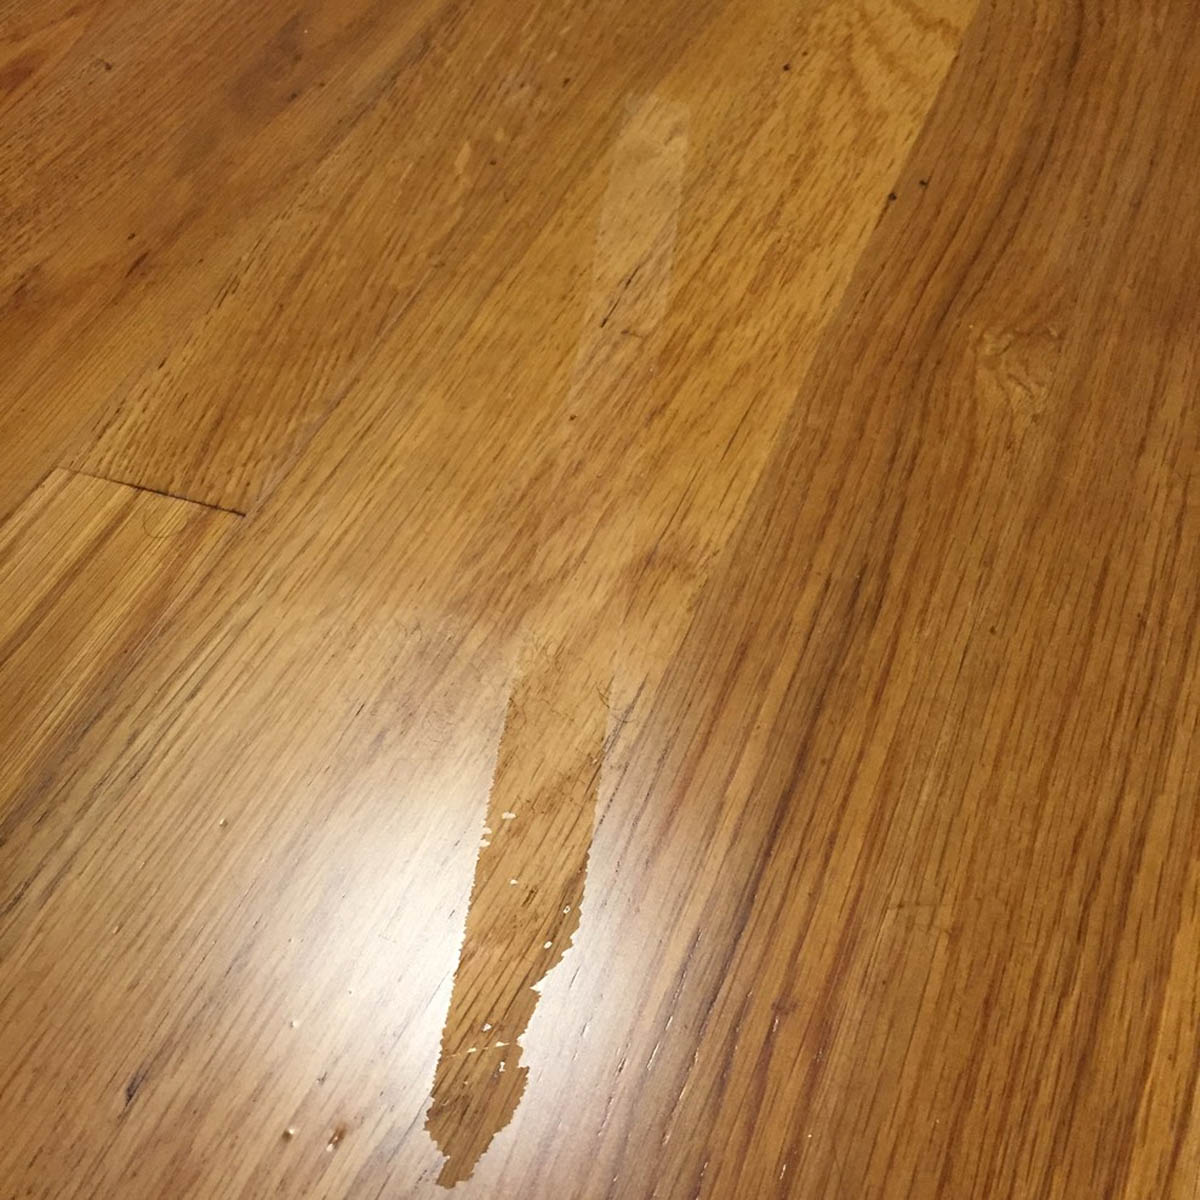
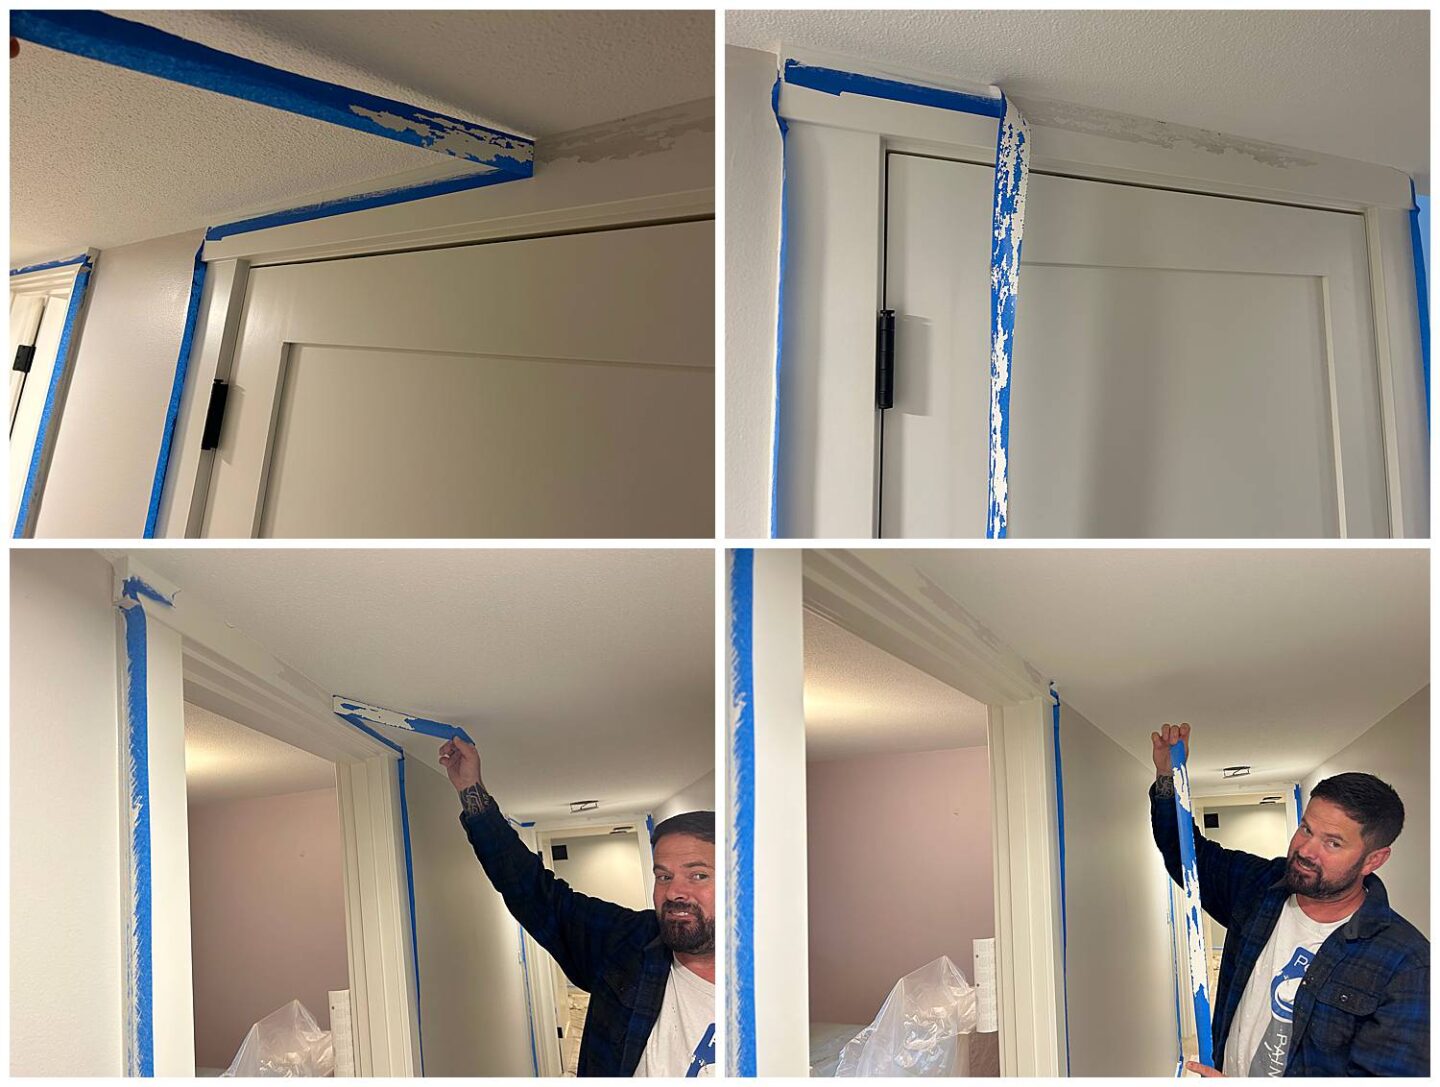
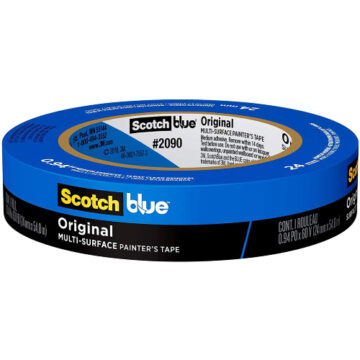
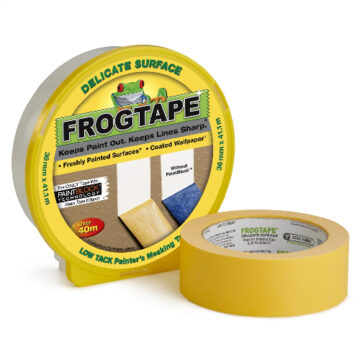
If you’ve ever had paint bleed under tape or struggled with residue, one of these issues is likely the culprit! It’s also key to use specific techniques when creating straight paint lines – such as back sealing or using water to activate the FrogTape we mentioned above. Just taping isn’t enough to get those crisp lines!

It's About More than Tape

We obviously use more than tape to protect your stuff. When it comes to masking, we use tape to secure the larger materials that we use – such as floor paper, floor film, and contractor’s plastic.

Floor Protection

There are a few different products that we use when protecting flooring. And, like when choosing tape, what we choose does depend on the situation. We primarily factor in the flooring type that we are protecting.

  • Brown Floor Paper – Ideal for hardwood, tile, laminate, or other hard surfaces
  • FloorShell – This is a heavy-duty floor protection option, made out of recycled fibers, and used during tougher jobs. It protects surfaces from damage, such as from scaffolding or if a heavy object is being moved.
  • Carpet Protection Film – Used on carpeted areas when we need to prevent bunching, such as on staircases and the flooring around doors. It also leaves you with clean carpet since it pulls up debris when removed!

Here’s a pro tip, on what NOT to use: Do not use Red Rosin Paper!Β You’ll see this option at hardware stores alongside other rolls of floor protection. If any moisture gets onto this paper, the pink dye can actually leach out and stain the surface that it’s “protecting.” So avoid it when protecting your floors while painting!

Plastic Masking

There are two types of plastic that we use when masking off an area:

  • 3M AMF 72 Masking Film – This film carries an electrostatic charge that prevents dust and paint flakes from sticking to it. Used for projects with multiple coats and when using the paint sprayer. It’s also really easy to remove during cleanup.
  • 3M Hand-Masker Contractor’s Plastic – This is a budget-friendly plastic used during masking when overspray and paint flakes aren’t a concern. We use this during exterior painting projects when masking off windows.

Taking the time to mask properly, protect surfaces, and use the right materials makes all the difference between a DIY disaster and a professional finish.

Want crisp lines and professional results? Let the pros at Pearl Painters handle your next project. Contact us today for a free estimate!

Get it done right the first time

Whether you started a DIY project and now need some professional help, or you know to go straight to the painting pros - we got you! Get in touch with us for a no-obligation estimate for cabinet, interior, and exterior painting projects in the Portland metro area. See our professional taping (and prepping) skills in action!

More Pro Painting Advice

Picture of Brian Kemnitz

Brian Kemnitz

Share this Post

Facebook
Pinterest
Twitter
LinkedIn
Reddit

Leave a Reply

Your email address will not be published. Required fields are marked *