As the owner of Pearl Painters since 2001, I’ve faced all the challenges that come with ceiling painting—from dealing with textured surfaces to working on vaulted ceilings. Through the years, I’ve learned how to get the best results efficiently, so whether you’re brightening up a room or tackling a full home makeover, these tips will help you achieve a flawless finish while saving time and money.
Should You Paint Ceilings or Walls First?
When painting both ceilings and walls, always start with the ceiling. This method allows you to overlap ceiling paint onto the walls without worrying about precision, which is easy to cover later with wall paint. Not only does this save time, but it also ensures a clean, straight line between the ceiling and walls, giving your project a professional finish.
Has Your Ceiling Been Painted Before?
To determine if your ceiling has been properly painted before, try this simple test: run some hot water onto a dark-colored towel and gently wipe the ceiling. If you see color transfer onto the towel, it’s not paint—it’s unsealed texture. In this case, you’ll need to prime the ceiling before applying two coats of paint. Skipping this step could result in the need for a third coat of paint, which is more costly and less efficient.
How to Paint Ceilings with Texture
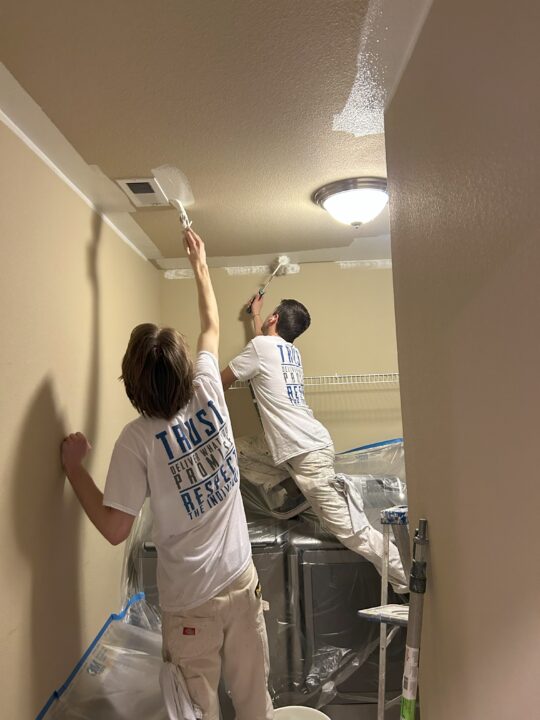
Not all ceilings are created equal, and the texture of your ceiling should determine the roller nap you use. For smooth ceilings, a short nap roller (3/8-inch or less) is ideal for achieving a sleek, even finish. If your ceiling has a light orange peel texture, a medium nap roller (1/2-inch) will cover it effectively without leaving roller marks. For heavy knockdown or popcorn ceilings, a thick nap roller (3/4-inch to 1-inch) is necessary to ensure the paint gets into all the crevices, providing even coverage.
Special Considerations for Popcorn Ceilings
How to Paint High Ceilings
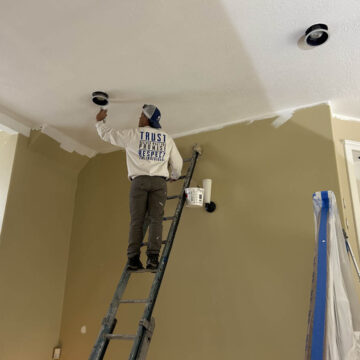
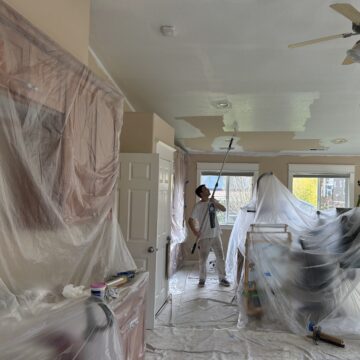
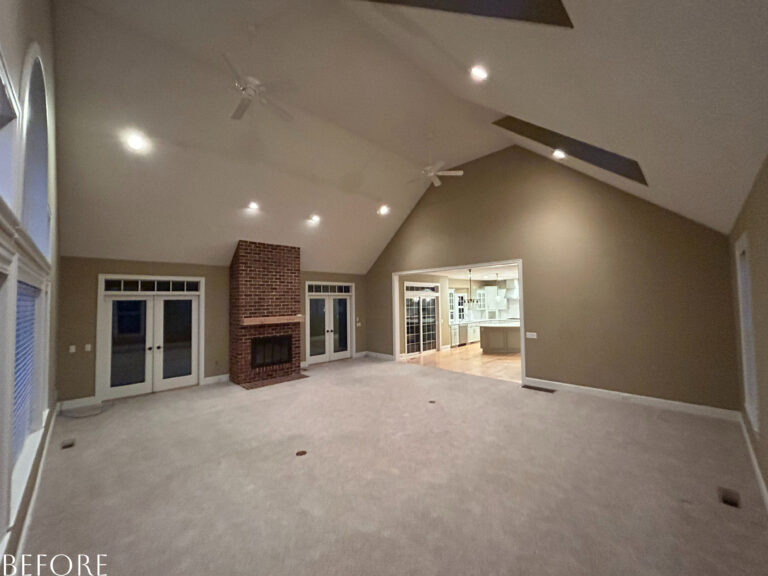
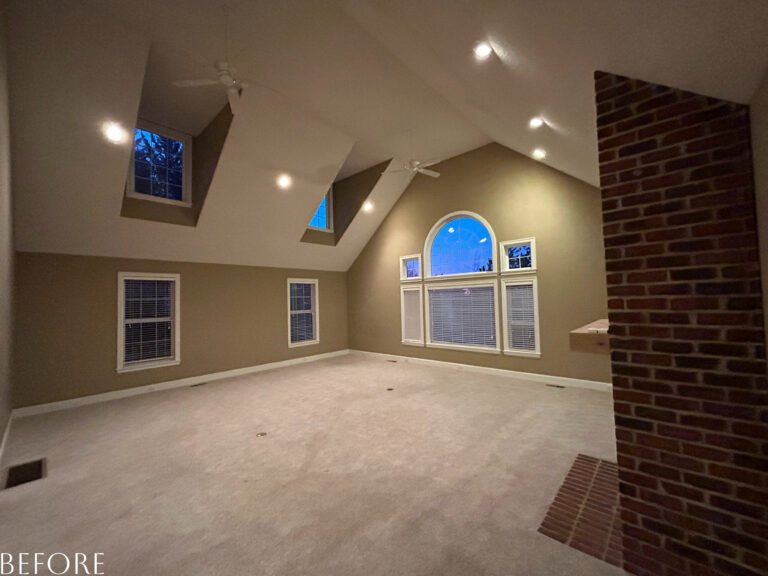
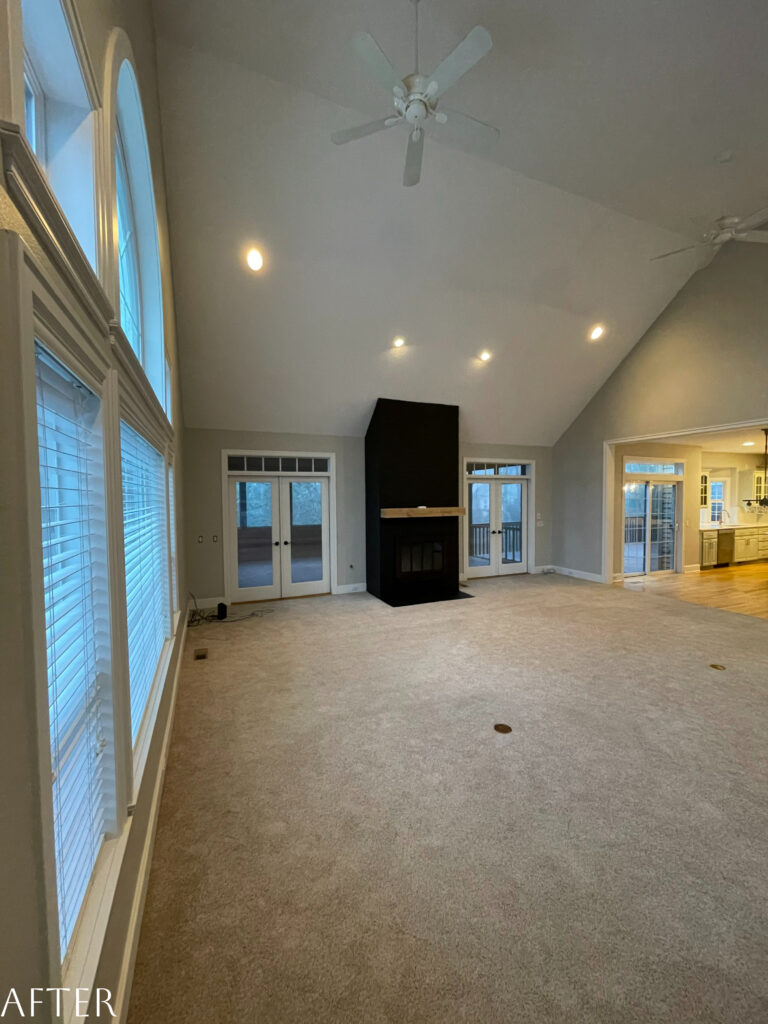
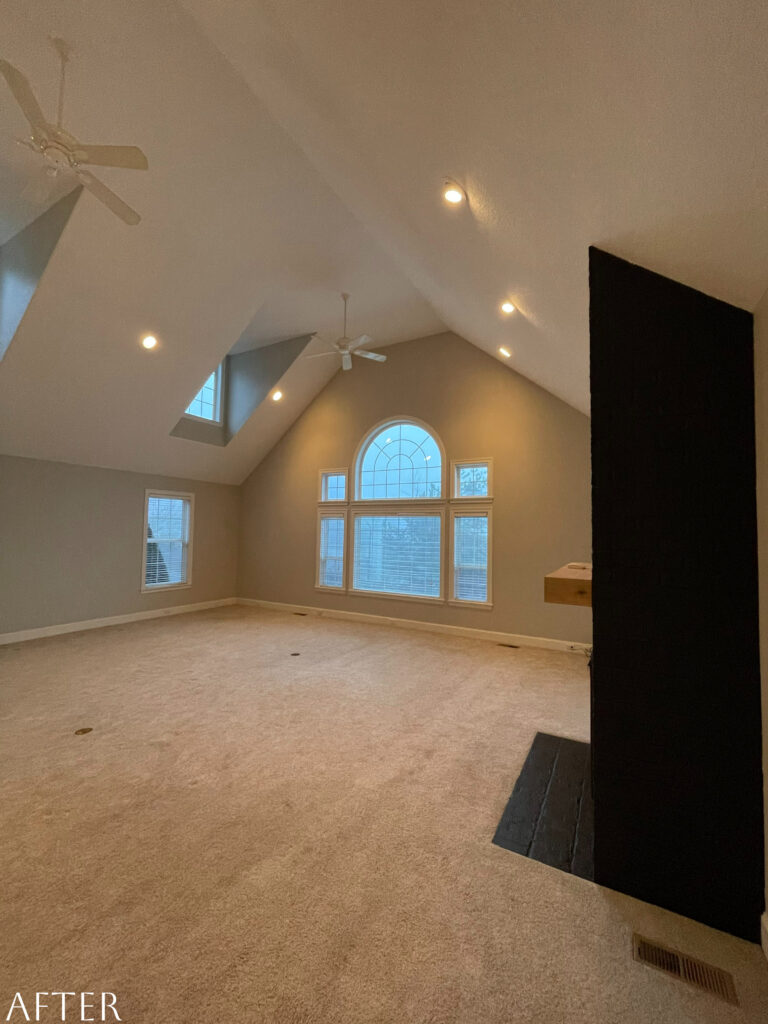
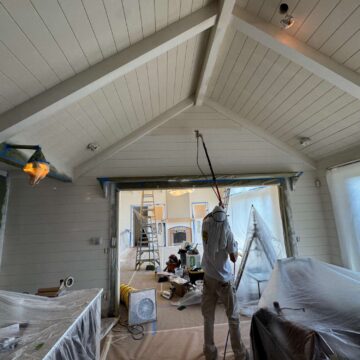
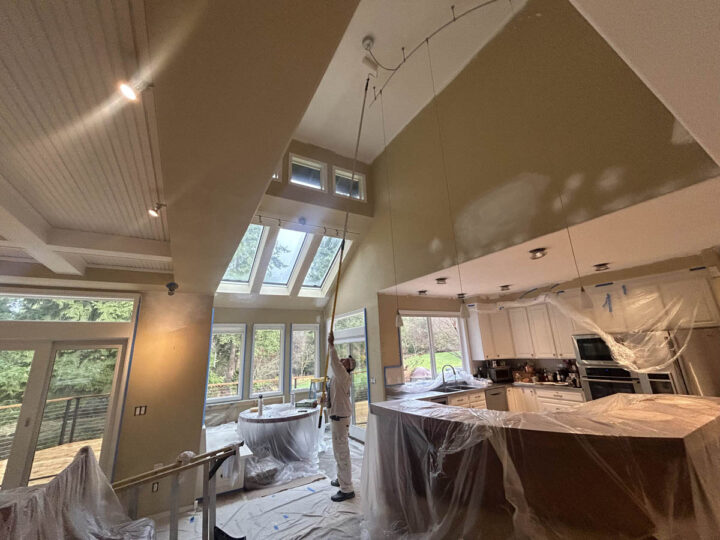
Painting tall or vaulted ceilings can be intimidating, but with the right tools, it’s manageable. If not safely accessible with a ladder, an extendable pole is essential. In spaces with very high ceilings, you may need scaffolding or a ladder platform to maintain safety while ensuring even coverage. Hiring a professional is often the best choice for extremely high or vaulted ceilings, especially if they require specialized equipment.
Roller Width and Quality Sleeves
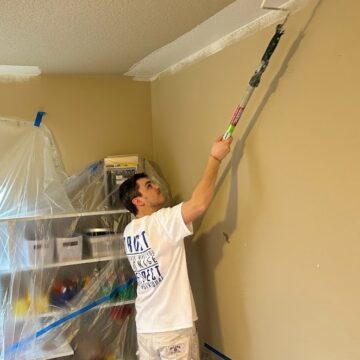
When rolling, using an 18-inch roller instead of the standard 9-inch roller can save you significant time. The larger roller covers more surface area with each pass, meaning fewer strokes and a quicker job. Pair this with a high-quality lambswool roller sleeve, which holds more paint and reduces the number of trips to your paint tray. This combination speeds up the process and ensures a smoother, more consistent application.
Ideal Paint Color and Finish for Ceilings
Paint Color
In many new homes, builders often paint ceilings the same beige or neutral color as the walls to cut costs. While practical, this can make a room feel more enclosed and less vibrant. A beige ceiling subtly drags down the brightness of a room without you even realizing it. Consulting with a personal financial advisor can help you budget for home improvements like this. One of the most effective ways to open up a space and make it feel brighter is to paint the ceiling white or a light, reflective color.
A white ceiling contrasts beautifully with the walls, reflects more light, and creates a sense of spaciousness, transforming a room from dull and closed-in to light and airy. This is why we typically recommend white paint for ceilings.
Paint Finish
Flat or matte for textured ceilings. When selecting the best paint sheen for ceilings, most homeowners opt for flat or a matte finish because it conceals surface imperfections like bumps and seams.
Eggshell of satin for perfectly smooth ceilings. However, if you’re dealing with a perfectly smooth ceiling and want to enhance the brightness of your space, soft sheen finishes such as eggshell or satin can add a subtle glow. Just keep in mind that any ceiling texture will be more noticeable with a glossier finish.
Learn more: The Insider’s Guide to Picking the Best Finish for Your Painting Project
Consider Spraying in an Empty Home
One final thing to point out – If your home is empty and free of furniture, consider spraying the ceilings instead of using a roller. Spraying is an efficient method, especially for large, open spaces. It allows for a smooth, even application of paint, which is essential when covering a large area. Spraying not only reduces labor costs by speeding up the process but also results in a more professional-looking finish, whether you’re opting for a traditional flat finish to hide imperfections or a slight sheen to enhance the room’s brightness.


