
As the sun starts to shine and the days get longer up here in the Pacific Northwest, we get the same question every spring: “What temperature does it need to be to paint the outside of my house?” We’ll say that there is a reason that we wait til late spring and summer to paint home exteriors. It’s about temperature, weather conditions, and other considerations that may be unique to your home.
We have painted home exteriors throughout the Portland metro area since 2001 and have seen the pitfalls of painting the wrong time of year or in non-ideal weather. We hope that this guide helps explain the importance of temperature and weather when deciding when to paint outdoors.
Temperature and its Impact on Exterior Painting
How cold is too cold?
Most water-based paints should not be applied below 50 °F, however there are specialized paints that can go as low as 35 °F. Painting below these recommendations can cause multiple problems:
- Adhesion issues from condensation buildup
- Paint won’t level out properly, causing an uneven finish
- Run, drips, and surfactant bleed
This is why we recommend waiting until the weather is consistently dry and warm (but not too hot!) to paint your home’s exterior.
In summary, the lowest temp for painting outside is 50 °F unless you use a specialized paint rated for 35 °F.
How hot is too hot?
While there is a typical minimum of 50 °F to paint outside, there is definitely a maximum temperature on the other end of the spectrum. And this is where it can get a bit more complicated.
Air temperature as high as 95 °F is okay, but 70 °F can be too hot if in direct sunlight. The temperature shifts depending on where the sun is shining, if the surface is in the shade, the time of day, the shade of paint, etc. Our team has seen heat readings as high as 160 °F when the air temperature is only 70 °F!
In summary, the surface temperature that you are painting determines if it’s “too hot” and that temperature should never be above 95 °F.
Test it yourself
If you’re hiring an inexperienced exterior painter or DIYing it, we highly recommend using a thermometer gun as shown in the video below:
Since we’ve been painting houses for a long time, we have a tried and true method to tackling any home in the Portland area – we look at the materials, the shade of existing and new paint, and weather.
How Color Affects Temperature
Dark-colored surfaces can absorb more heat and become much hotter than light-colored surfaces. For example, a dark surface might get 20-30 °F (11-17 °C) warmer than the ambient air temperature.
Impact of Material
Materials with high thermal conductivity, like metal, can get much hotter than materials with lower thermal conductivity, like wood or plastic.
Generally, here’s what we see on a 70 °F (21 °C) day:
- Dark-colored surfaces in direct sunlight can reach temperatures between 90 °F and 110 °F (32 °C to 43 °C
- Light-colored surfaces might be closer to 80 °F to 90 °F (27 °C to 32 °C)
Shade vs Direct Sunlight
Surface temperature of the substrate we are painting is very different than air temperature. 50 to 85 °F is ideal for both air temperature and surface temperature. However painting when the air temperature is up to 95 °F long as we are in the shade.
We prefer to start on the south and west sides of the home in the early morning. This allows us to focus on a technique called “chasing the sun,” while not catching it. This way the paint is dry by the time the hot sun hits those surfaces. We call this method “Chase but don’t Catch.”
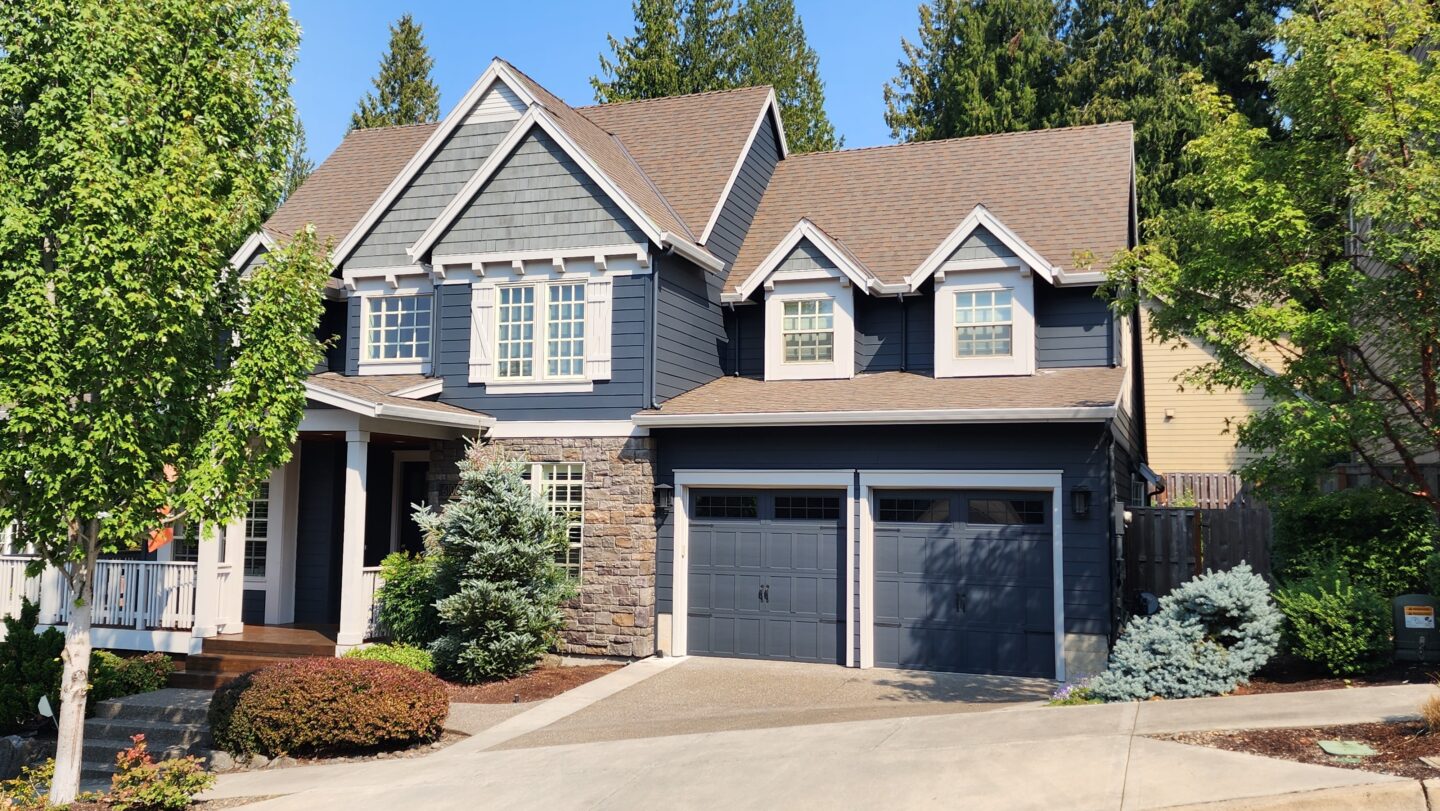
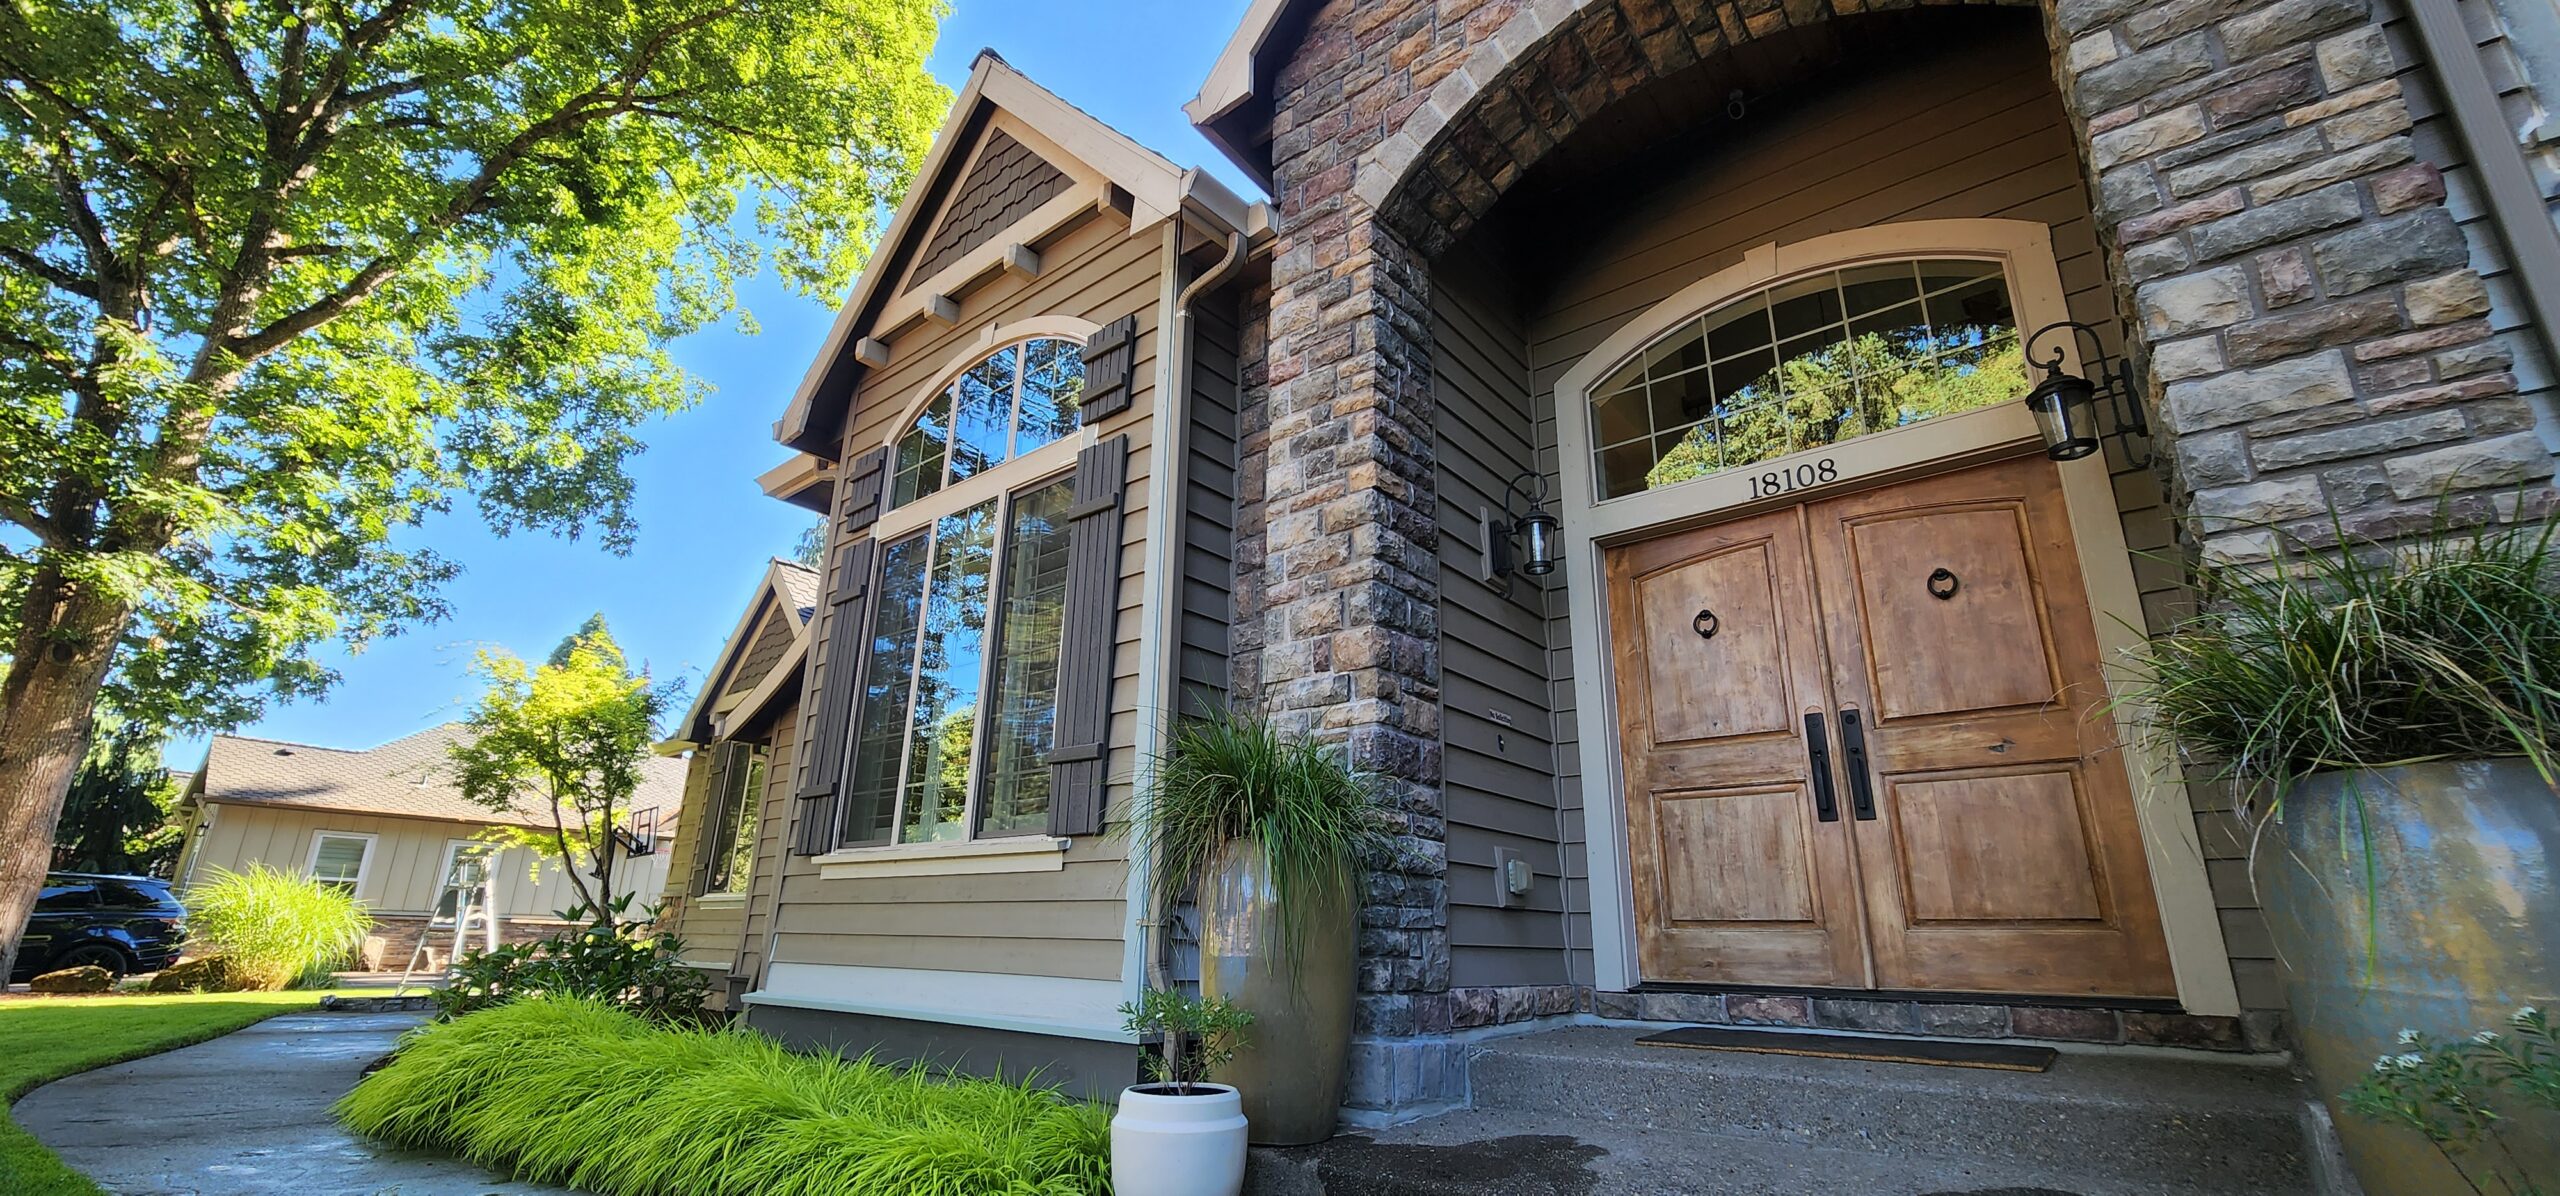
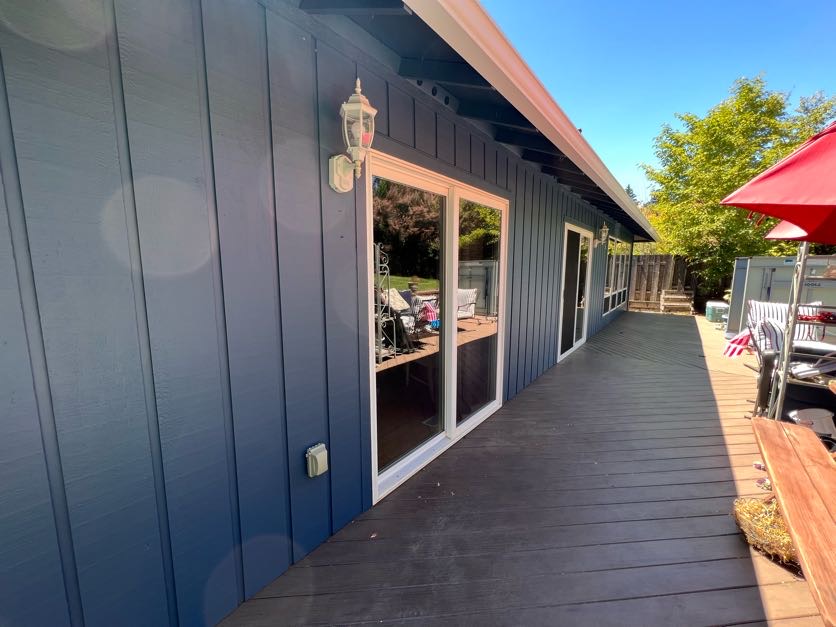
Even with the same air temperature, these three houses would all have different surface temperatures due to their materials and the current shade of paint.
What Happens if We Paint on Too Warm of a Surface?
- Fast drying: High surface temperatures can cause paint to dry too quickly, leading to problems like poor adhesion, brush marks, and an uneven finish.
- Bubbling and blistering: Paint applied to very hot surfaces can bubble or blister as it dries, compromising the integrity and appearance of the finish.
- Difficulty in application: Hot surfaces can make the paint more difficult to work with, affecting its flow and leveling properties.
Optimal Temperature Ranges for Painting Outdoors
In summary, the ideal temperature range for both air and surface is 50 °F to 85 °F.
Additional Weather Factors to Consider
Wind and Overspray
If it’s too windy, we will have to deal with overspray, which is a huge issue! You’ll end up with paint on surfaces where you don’t want paint, such as your car or your neighbor’s home. We use methods to prevent this, or schedule for a day when the wind is less of an issue.
Humidity
Ideal humidity is between 40% to 70%. High humidity will prolong drying times and cause surfactant bleeding or leaching, which end up as ugly streaks in the paint. We avoid this by avoiding moist, humid, cold conditions. We go into more detail about how this happens just below.
Dew Point and Moisture
Our goal is to avoid dew formation. The surface temperature of the area being painted should be at least 5°F (about 3°C) above the dew point to avoid dew formation. Dew can cause condensation on the painted surface, leading to poor adhesion and extended drying times, and may result in a patchy finish.
We always check dew point forecasts. If the temperature is expected to drop close to the dew point overnight, we plan to finish painting well before evening to give the paint sufficient time to dry.
We are very cautious of painting too early in the morning while dew is still present. We also use a moisture meter to check moisture levels in the areas and surfaces we’re painting. It’s important to wait until the dew has evaporated and the surface is dry before starting to paint.
Read more about the effects of moisture on painting here: Too Wet to Paint?
Surfactant Bleed/Leaching
We could easily write an entire post about surfactant bleed, also called surfactant leaching. And perhaps we will soon, but for now, we want to touch on the importance of surfactant bleed and how it relates to the ideal temperature and weather conditions when painting outside.
Surfactant bleed is when water-soluble ingredients (surfactants) in the paint leak (bleed or leach) out of the paint. This results in ugly streaks in the paint. With latex or water-based paints, it appears as shiny, sticky, or oily streaks or spots on the painted surface.
Causes of Surfactant Bleed
- Surfactants in paint: Surfactants are compounds added to paint to improve its stability, flow, and application properties. They help the paint spread evenly and adhere properly to surfaces.
- Excess moisture: Surfactant bleed typically happens when the paint is exposed to high humidity or moisture shortly after application. This can occur if the paint is applied in damp conditions, or if it rains shortly after painting.
- Drying conditions: Poor drying conditions, such as high humidity, low temperatures, or lack of ventilation, can exacerbate surfactant leaching.
What Surfactant Bleed Looks Like
- Shiny streaks or spots: The most visible sign of surfactant bleed is shiny, sticky streaks or spots on the surface of the dried paint.
- Discoloration: These areas might also appear slightly darker or discolored compared to the rest of the paint.
- Sticky Texture: Affected areas often feel tacky or oily to the touch.
How to Prevent Surfactant Bleed
- Paint in optimal weather conditions. This way we will avoid high humidity an d ensure that temperatures are within the recommended range (typically 50°F to 85°F or 10°C to 29°C).
- Allow sufficient drying time. We make sure the paint will dry completely before being exposed to moisture.
- Provide good ventilation. When painting outdoors, this isn’t typically an issue. But we want to make a note about this, since it’s so important. Good ventilation is vital to ensuring that paint dries evenly and quickly.
How to Fix Surfactant Bleed
- Cleaning – If surfactant bleed occurs, it can often be cleaned off the surface. Wait until the paint has fully cured, then gently wash the affected areas with mild soapy water and a soft cloth or sponge.
- Rinse – Rinse the area thoroughly with clean water to remove any soap residue.
- Repeat if needed – You might need to repeat the cleaning process if the surfactant continues to leach out over time.

Staining vs Painting
The principles discussed here also apply to staining a home’s exterior. It’s important to stain the outside of a home when everything is completely dry, and double checked with a moisture meter. As for temperature, like paint, stain cannot be successfully applied when it is too hot or cold.
Ready to Paint Your Home’s Exterior?
We are now booking home exterior painting in Portland, Beaverton, Tigard, Lake Oswego, West Linn, Tualatin, Wilsonville, Sherwood, and Newberg.
2 Responses
Understanding the impact of temperature on exterior painting is crucial, especially in the Pacific Northwest. Waiting for optimal conditions in late spring and summer ensures a smooth and successful paint job. From avoiding adhesion issues in cold temperatures to preventing fast drying and bubbling in excessive heat, temperature considerations are key to a flawless finish. Thanks for all your advices, they are really helpful! 🙂
AZ Painting – I could not agree more. It must be challenging in your hot climate to paint outside… Lots of early mornings I bet. Maybe some night time painting by flood lights?