Do you have your trim, doors, or cabinets fully prepped and ready to spray? If so, then you’re in the best place to find out exactly how to spray those surfaces. Here’s how to get it done right, following our BKMs (Best Known Methods). It’s important to use a sprayer correctly, as simply using a sprayer doesn’t guarantee flawless results.
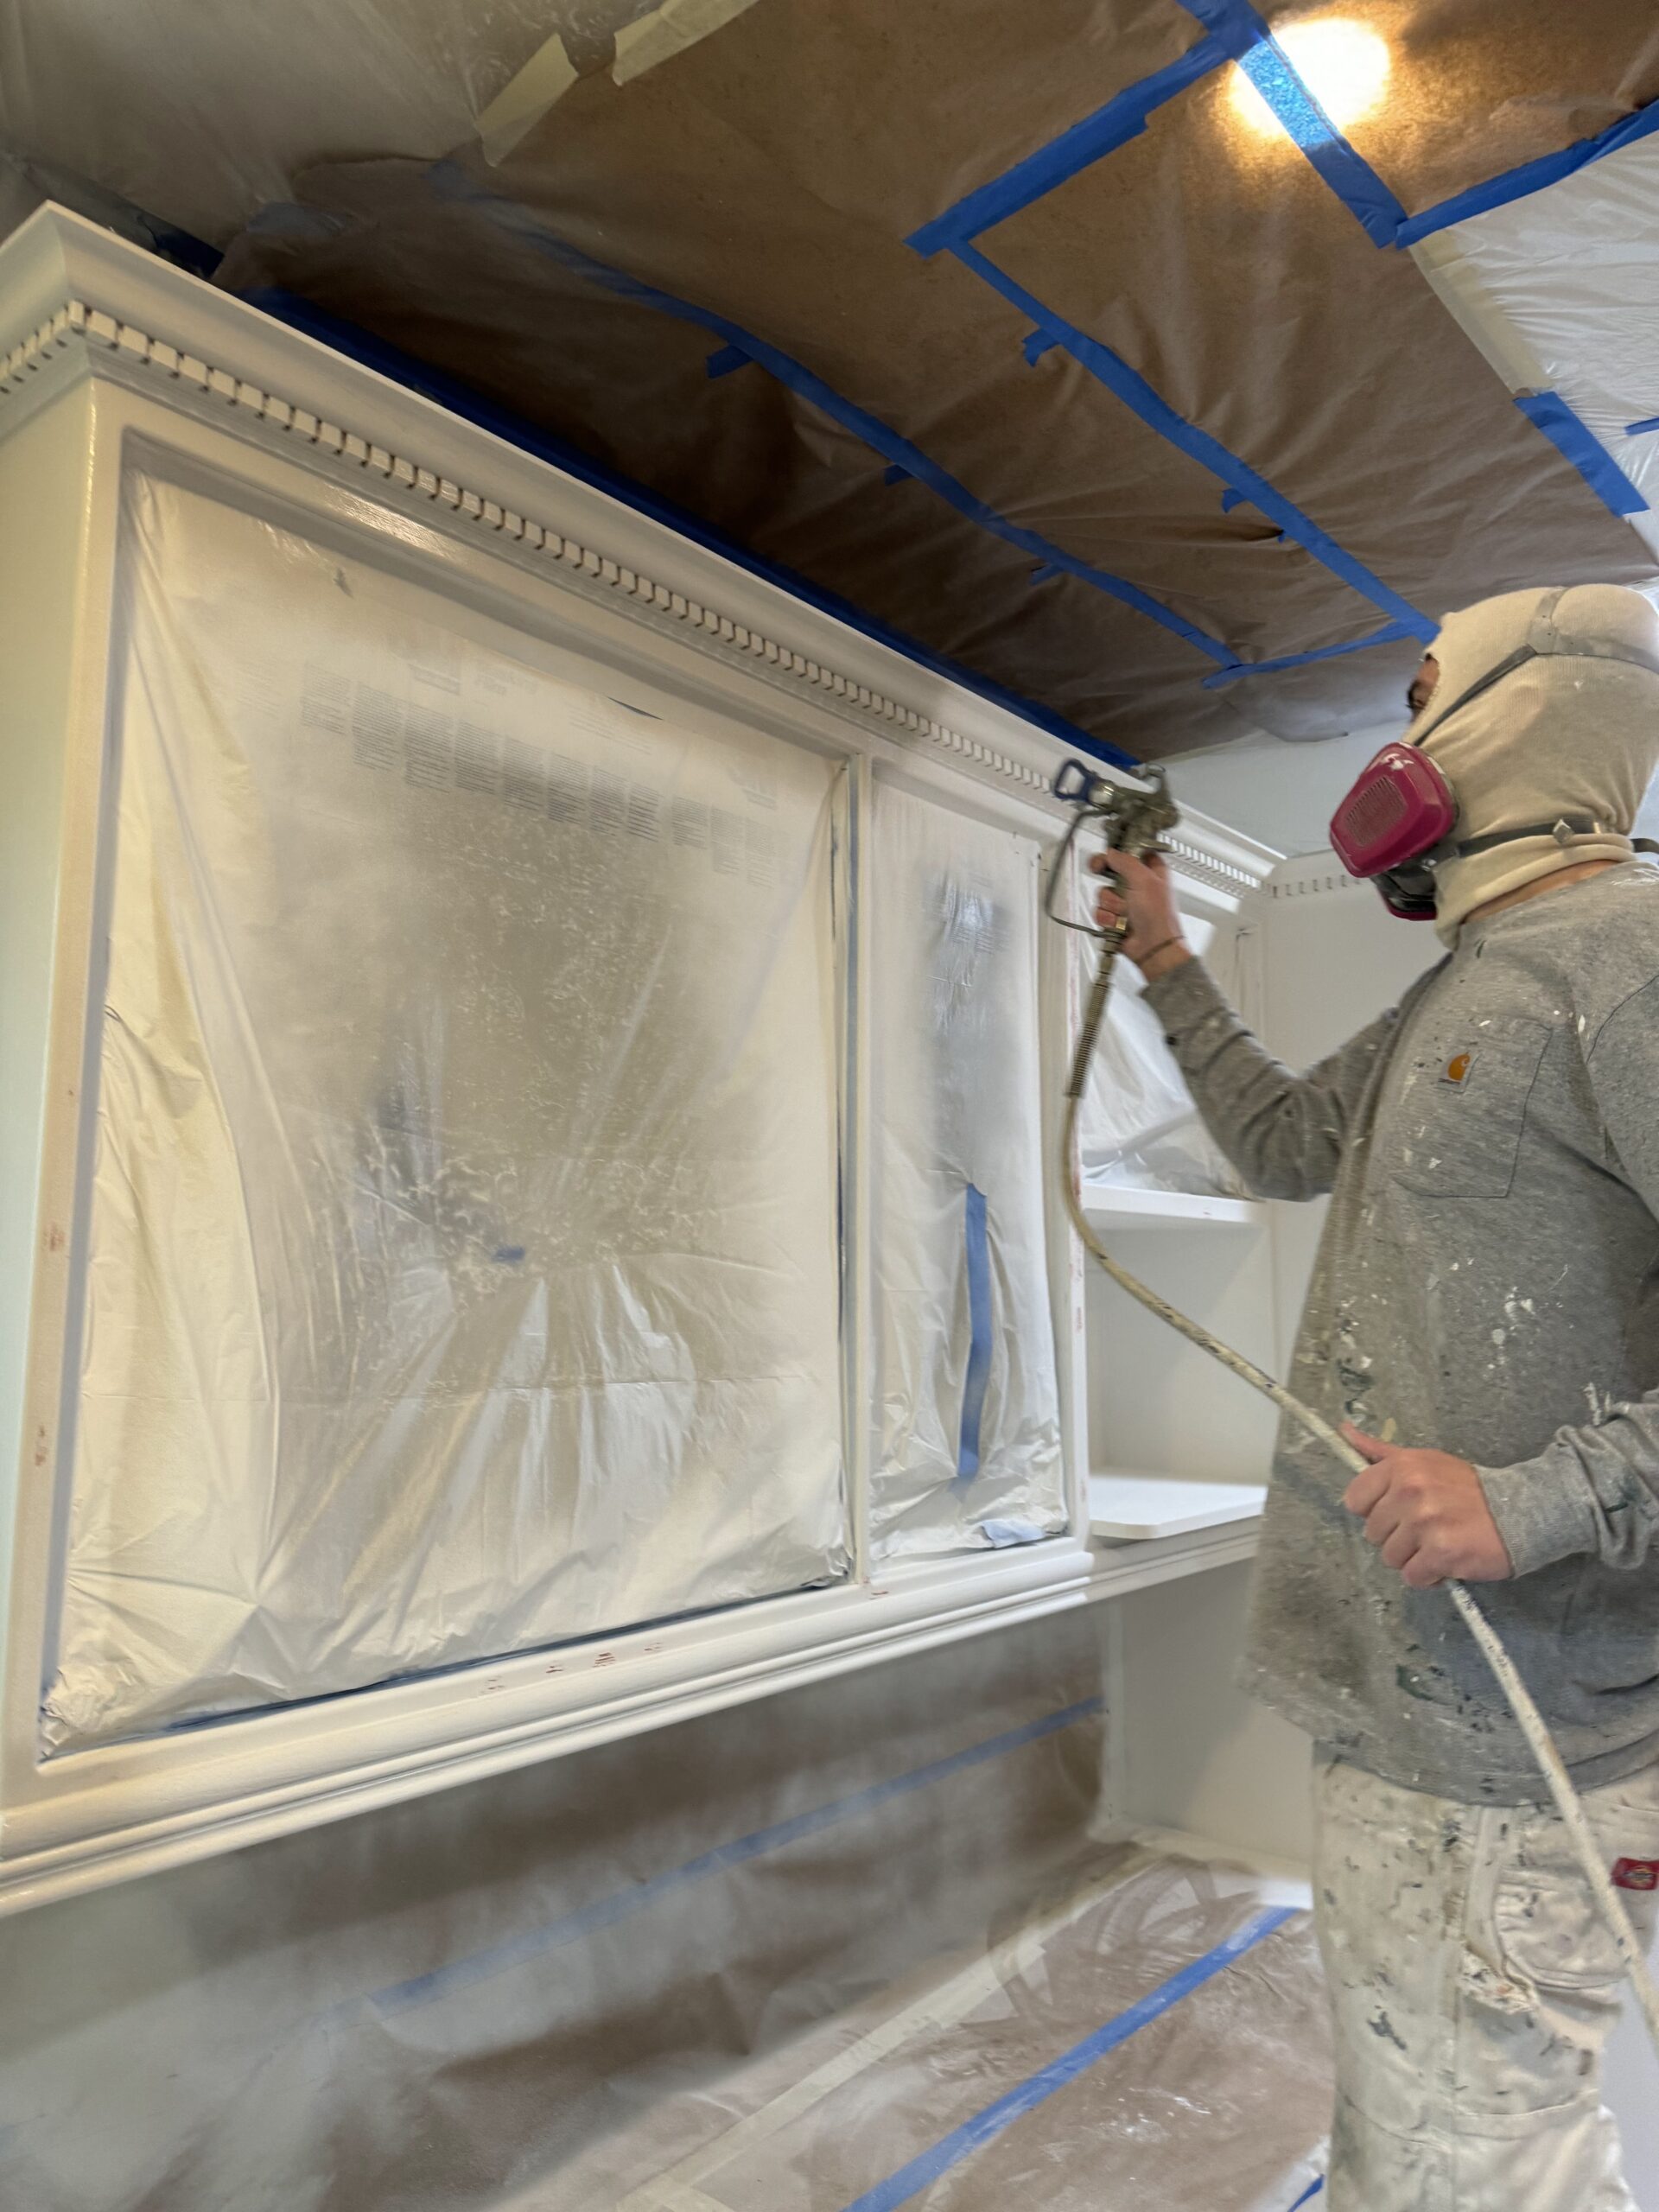
The video below goes into detail on how to use the sprayer for a beautiful result. Featuring our Production Manager, Craig Kuykendall, who’s been with Pearl Painters since 2009.
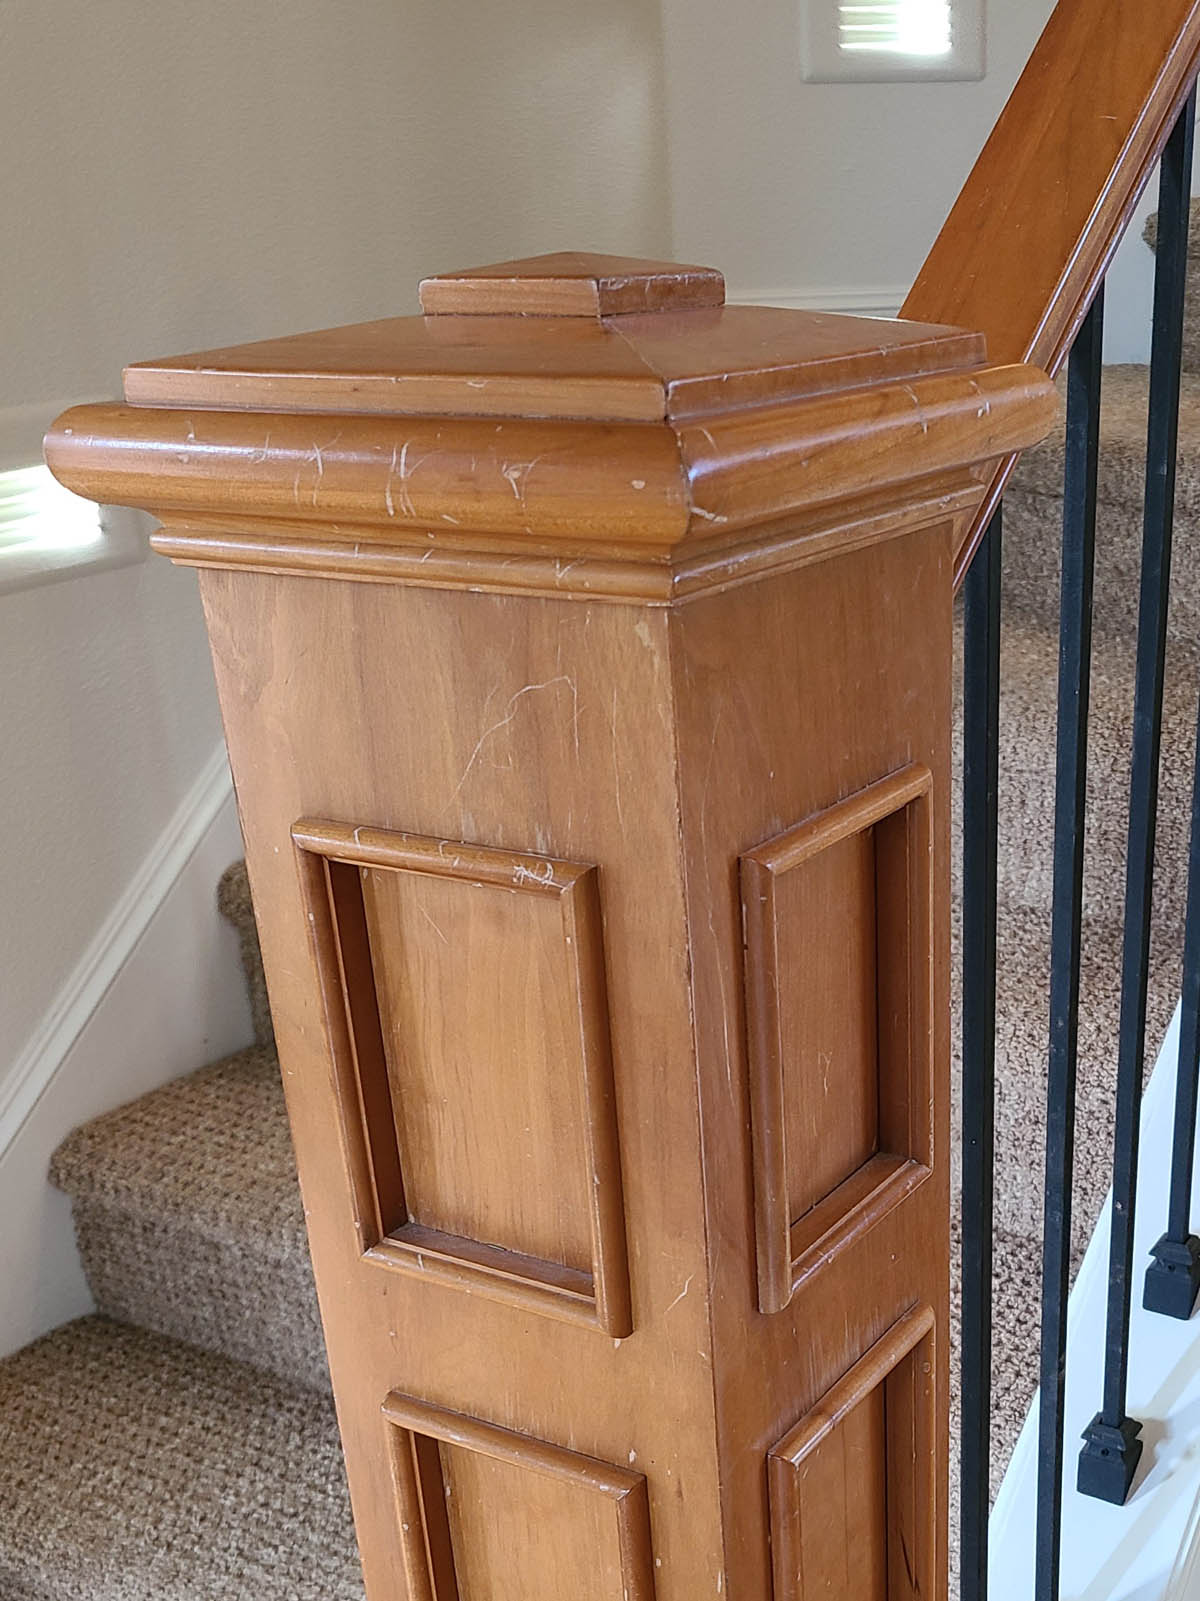
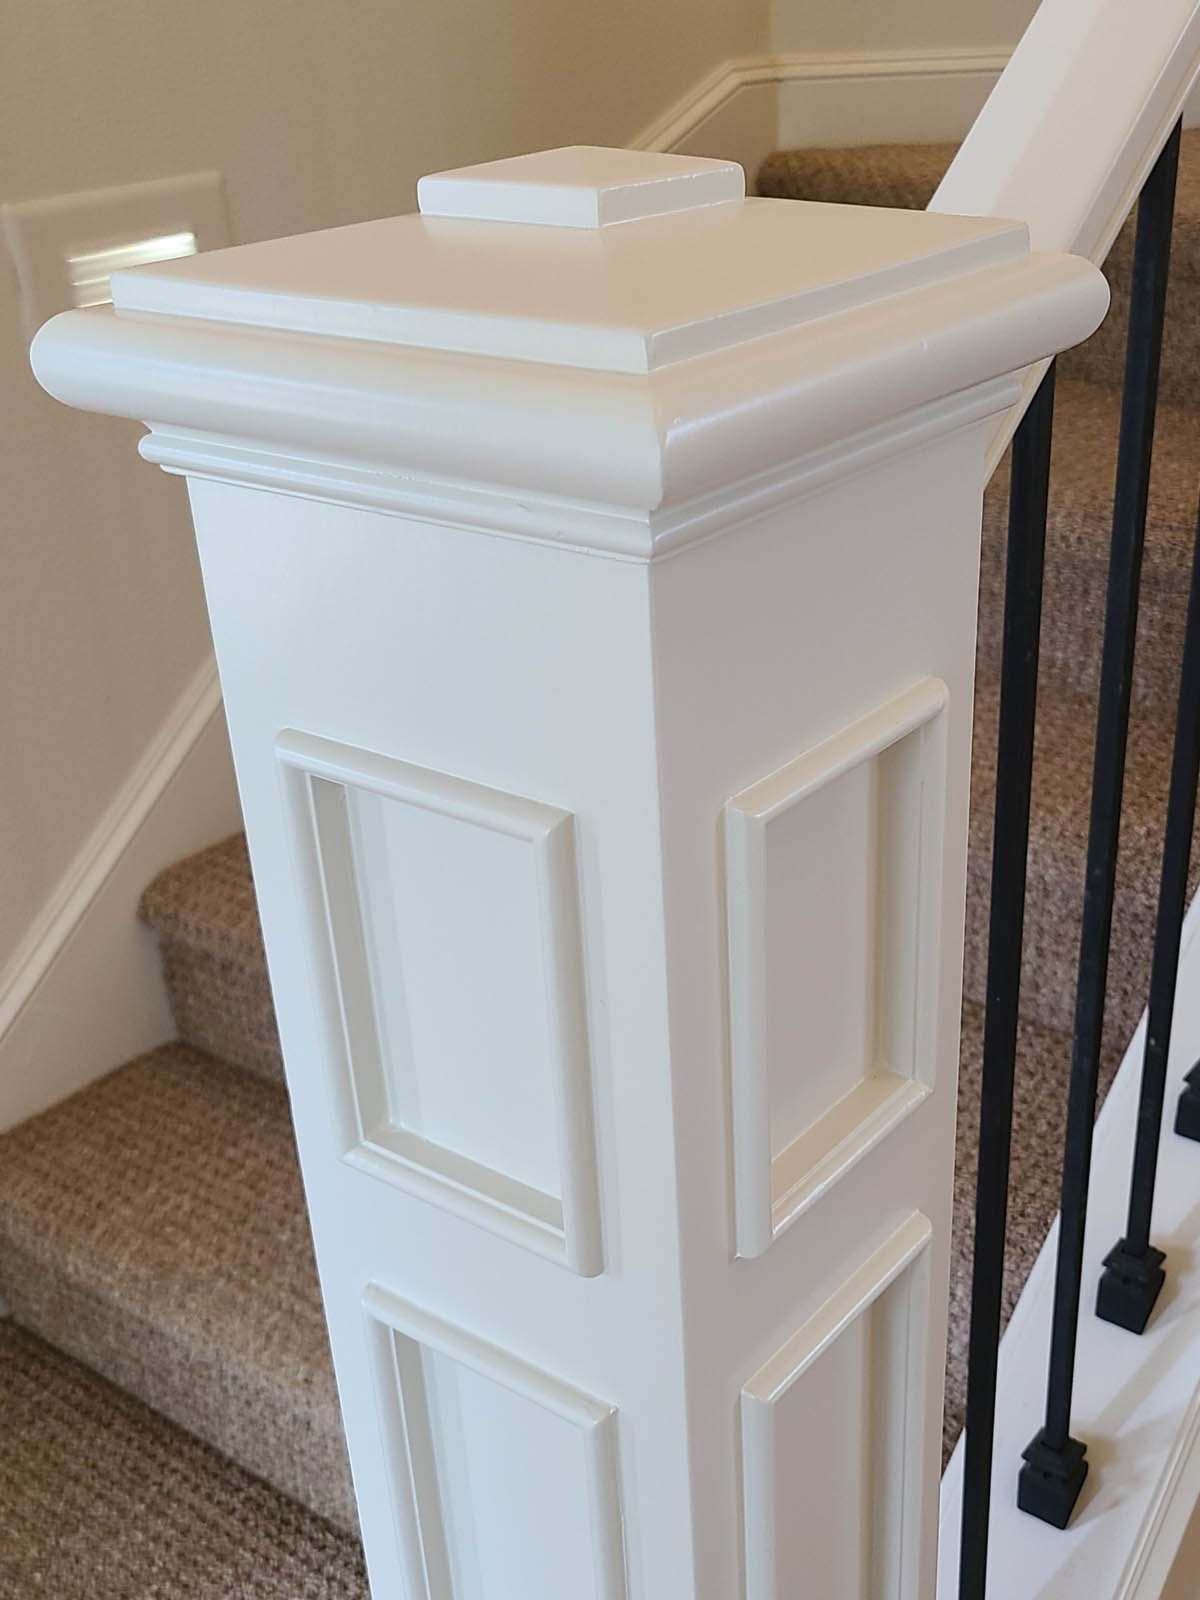
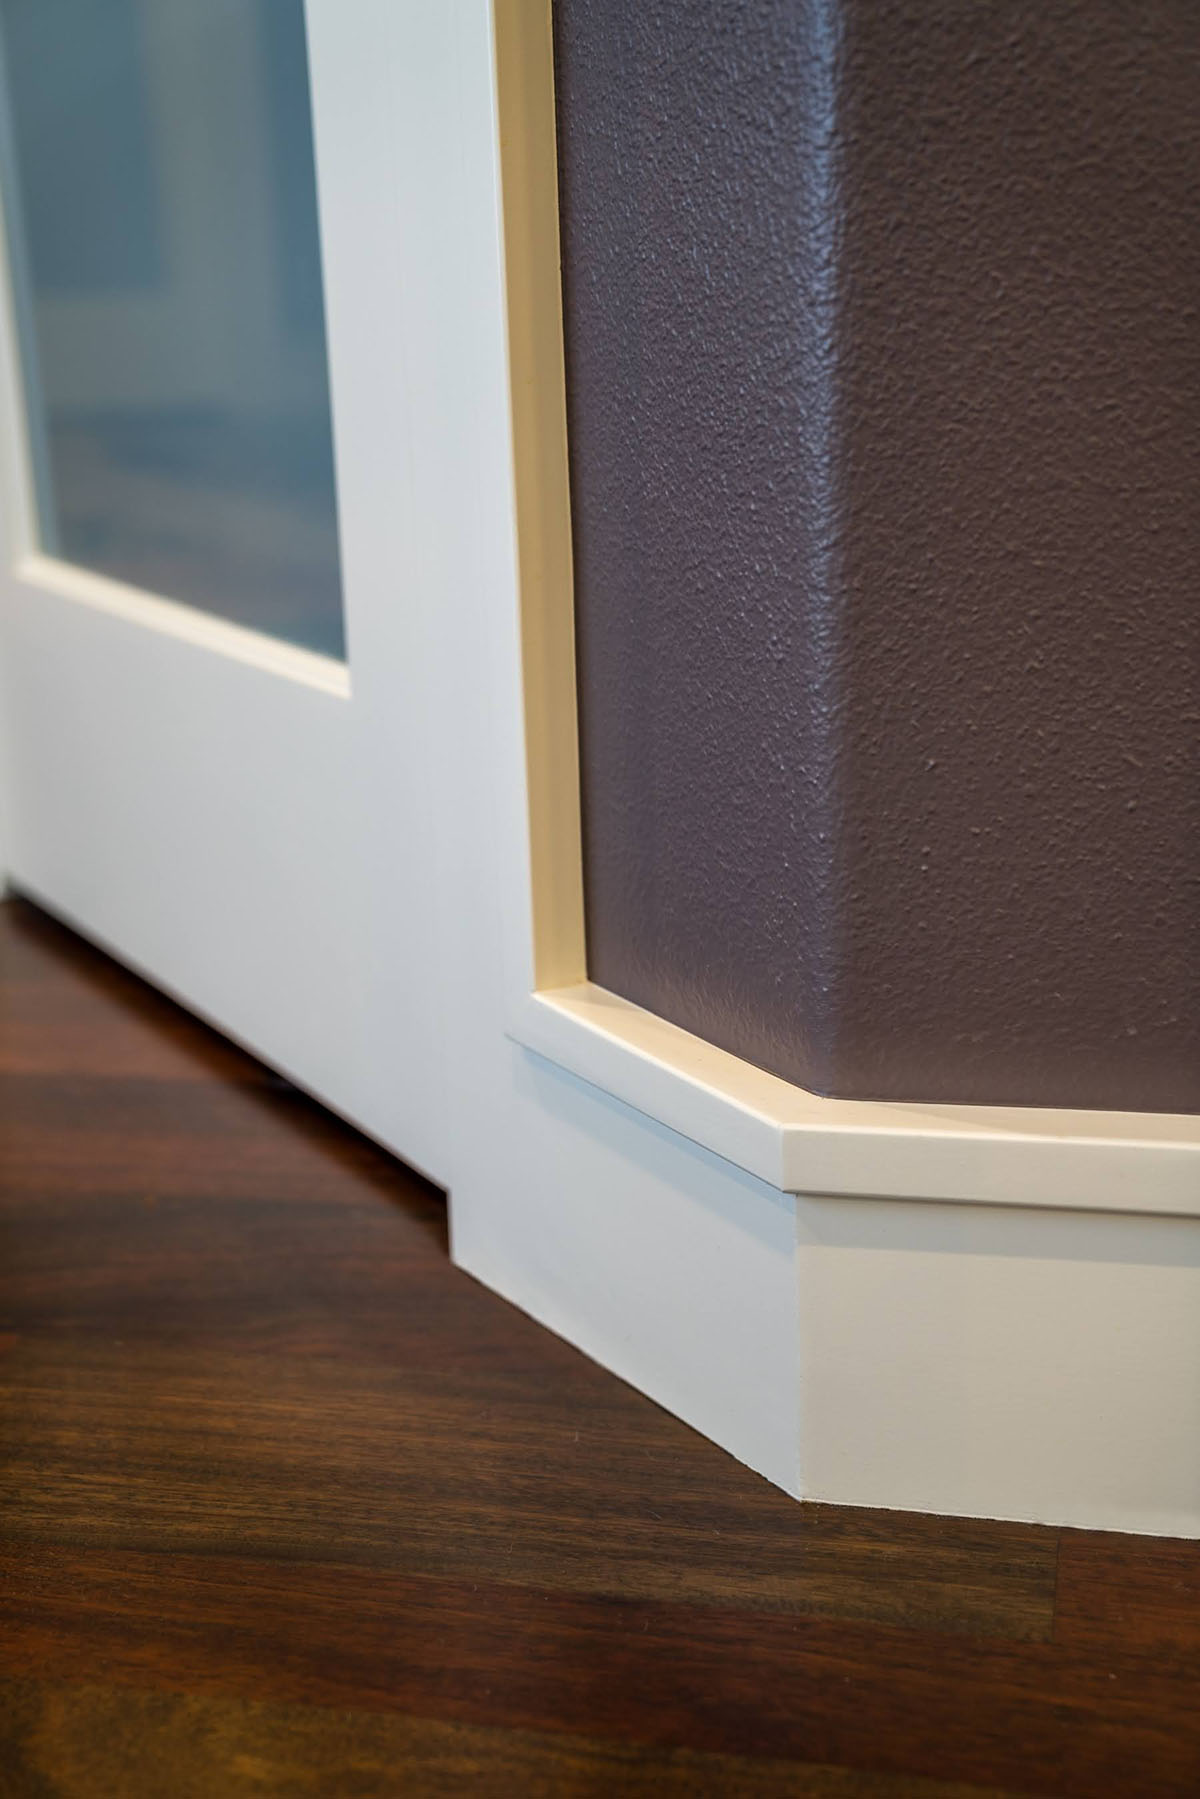
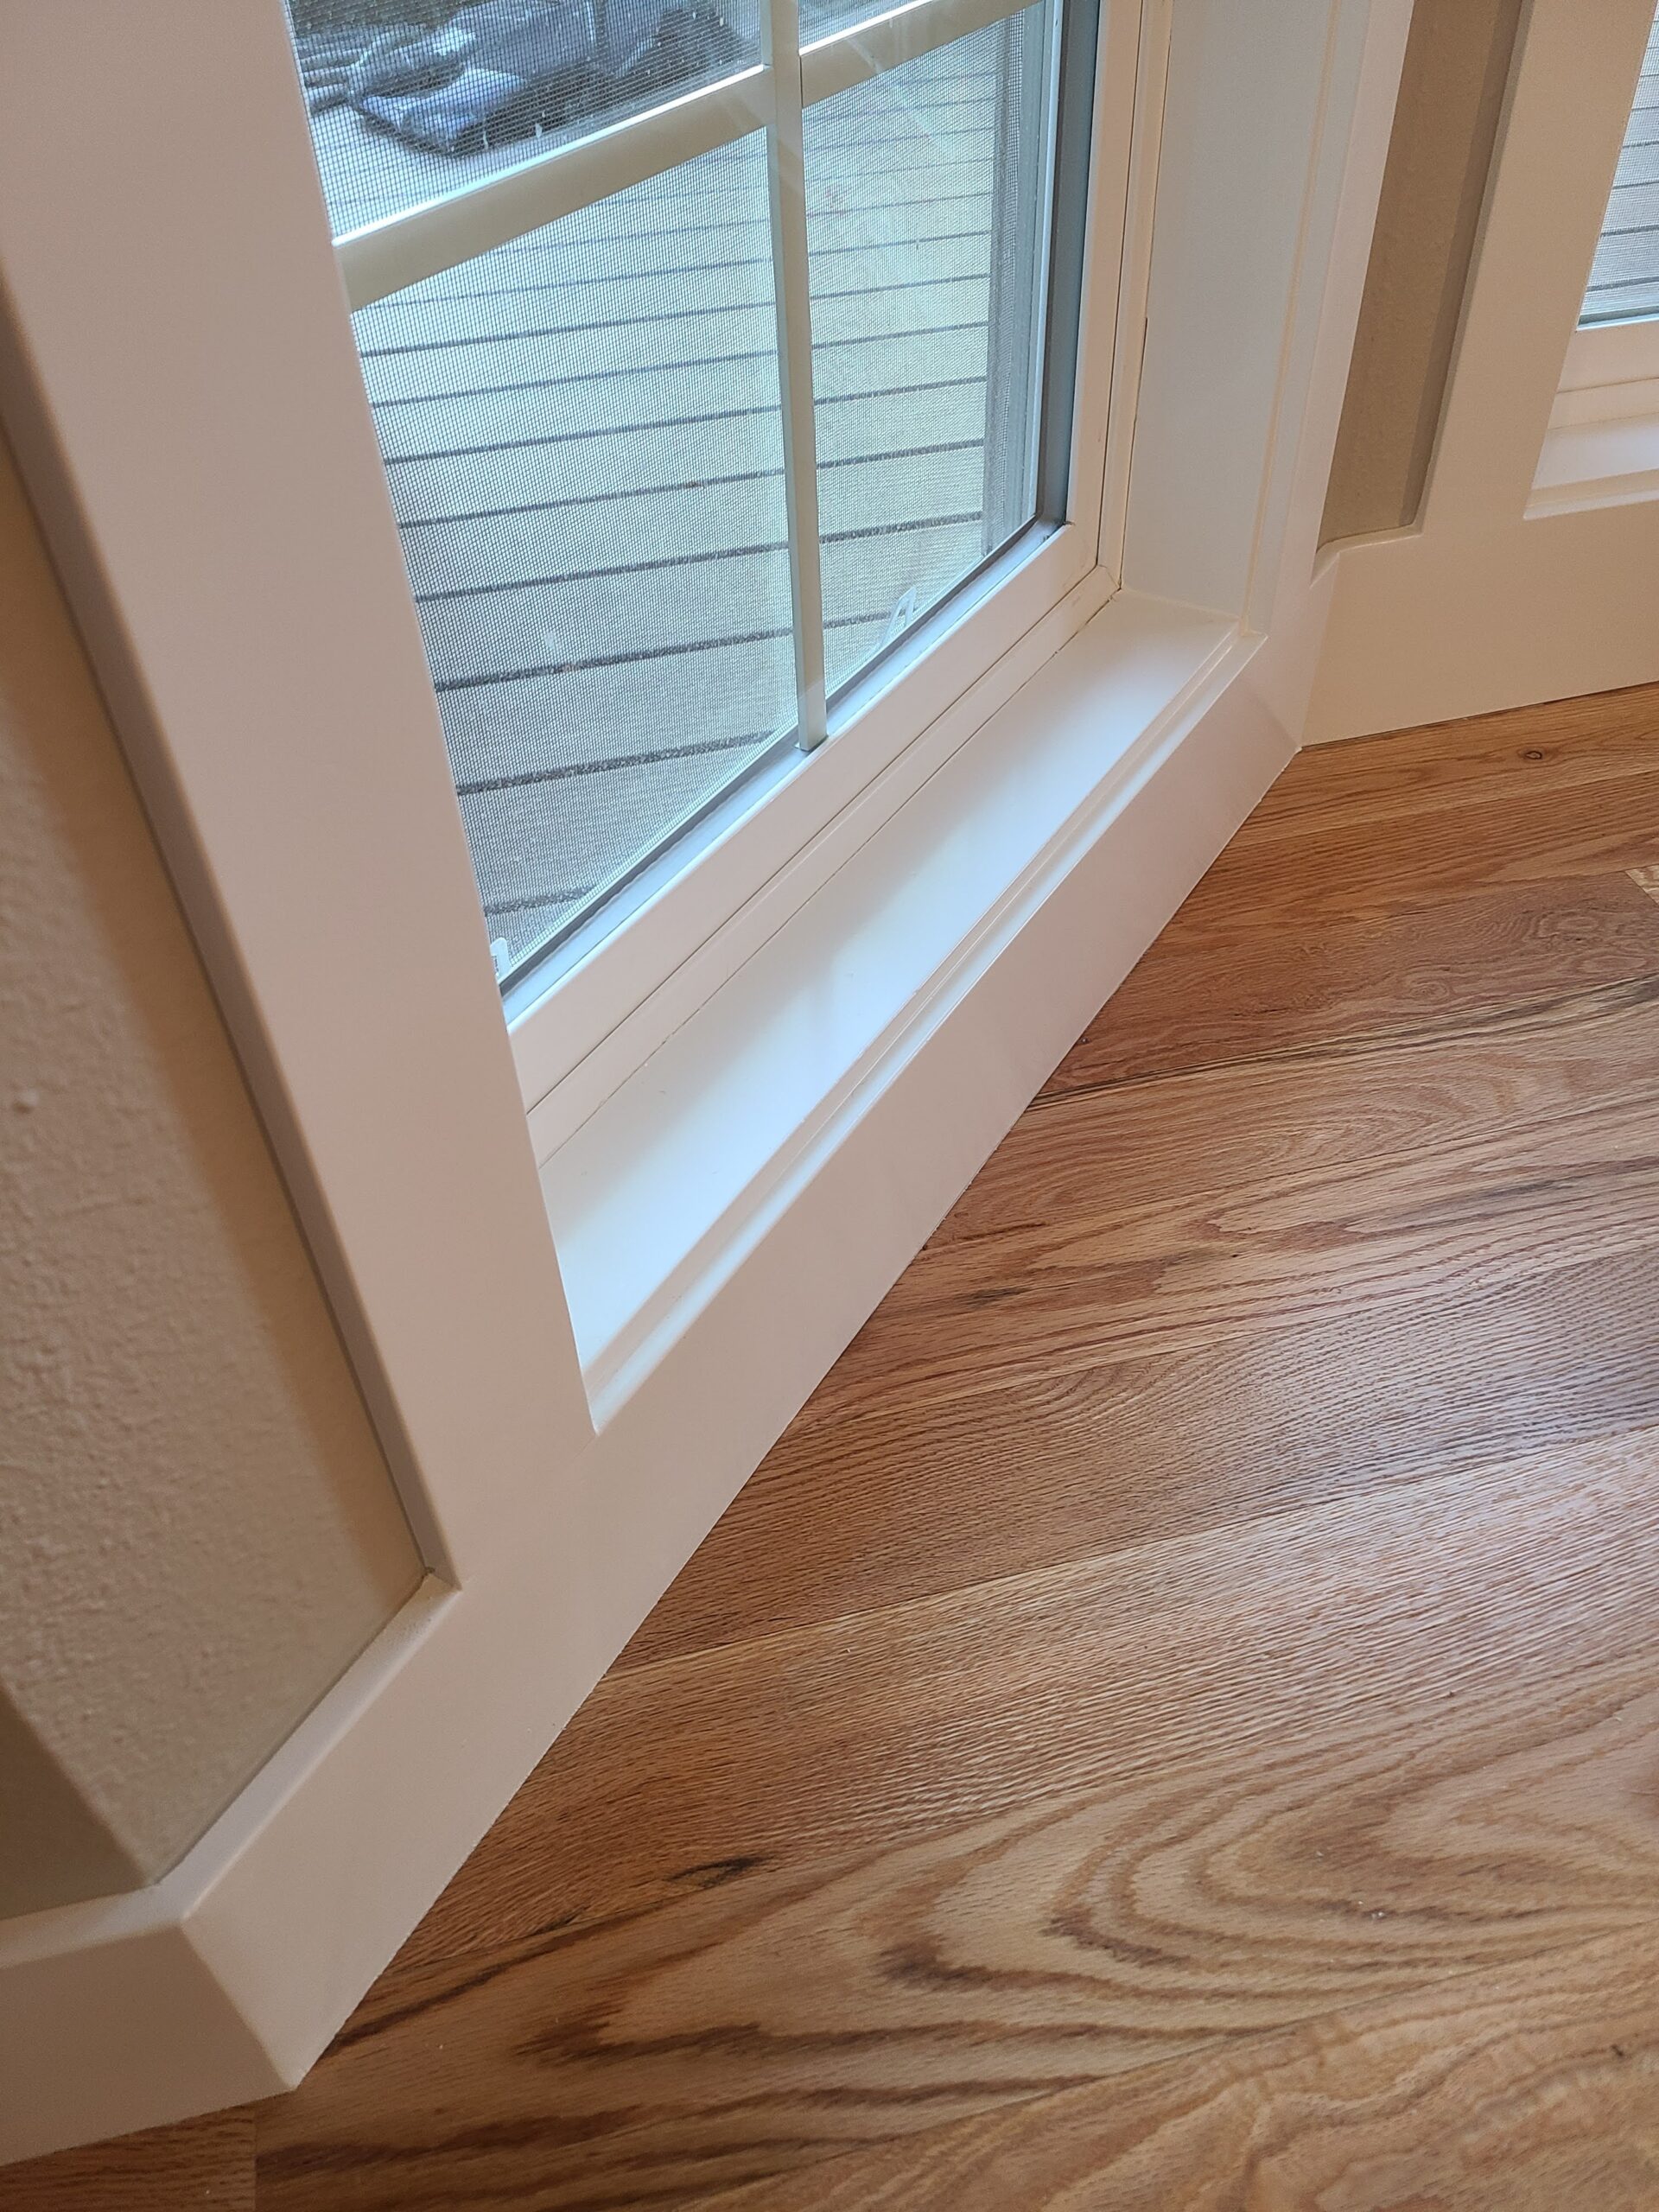
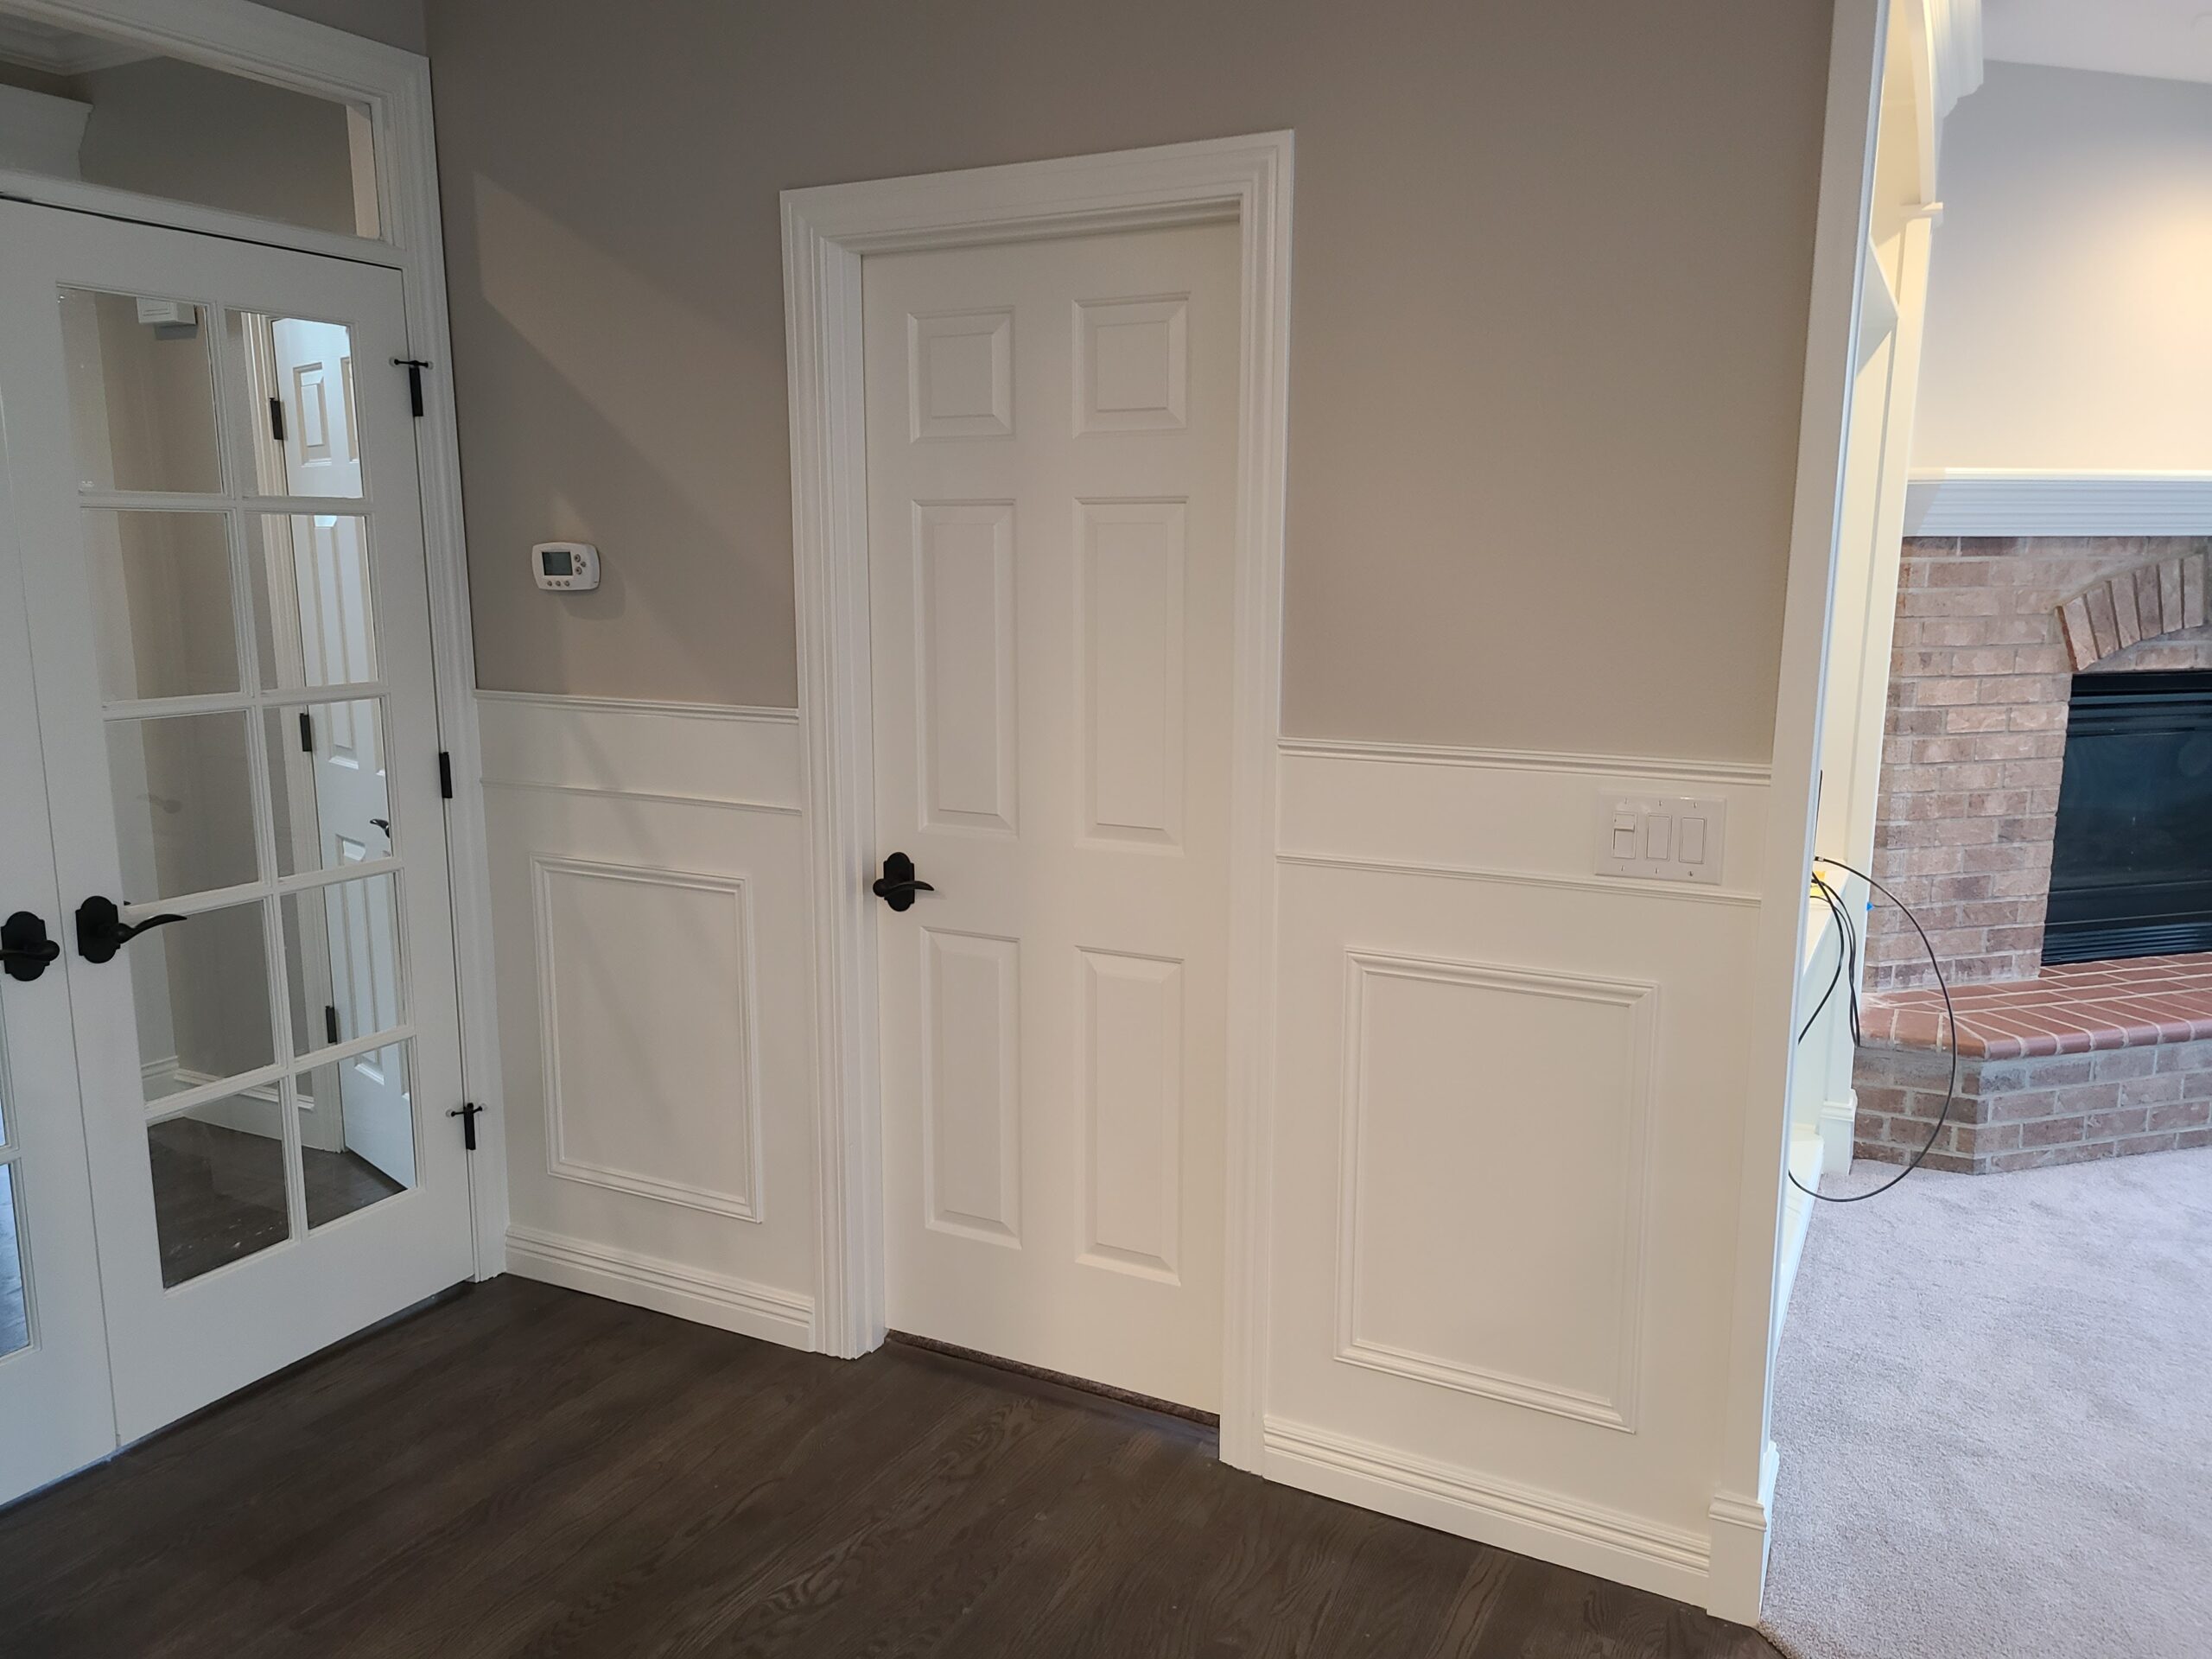
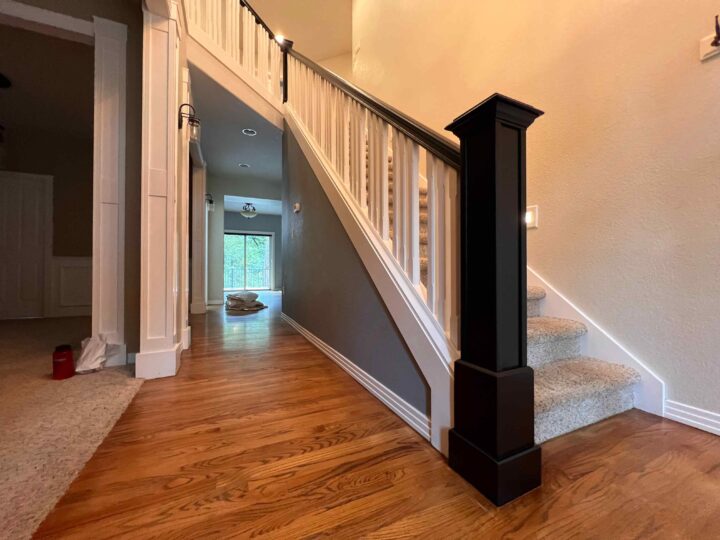
When trim, handrails, doors, and cabinets are sprayed correctly, you end up with an absolutely gorgeous end product. See these before and after photos as an excellent example of what professional spraying achieves:
First, Choose the Right Tools
The Best Type of Sprayer for Trim
Not all sprayers are created equal. For trim, an airless sprayer often delivers the best results, as it uses high pressure to evenly coat the surface.
The Best Tip for Spraying Trim
Pair your sprayer with the right spray tip—something like a Graco Rac 10 FFLP tip is a good choice for achieving fine finishes, with a 310 tip providing a 6-inch wide spray pattern.
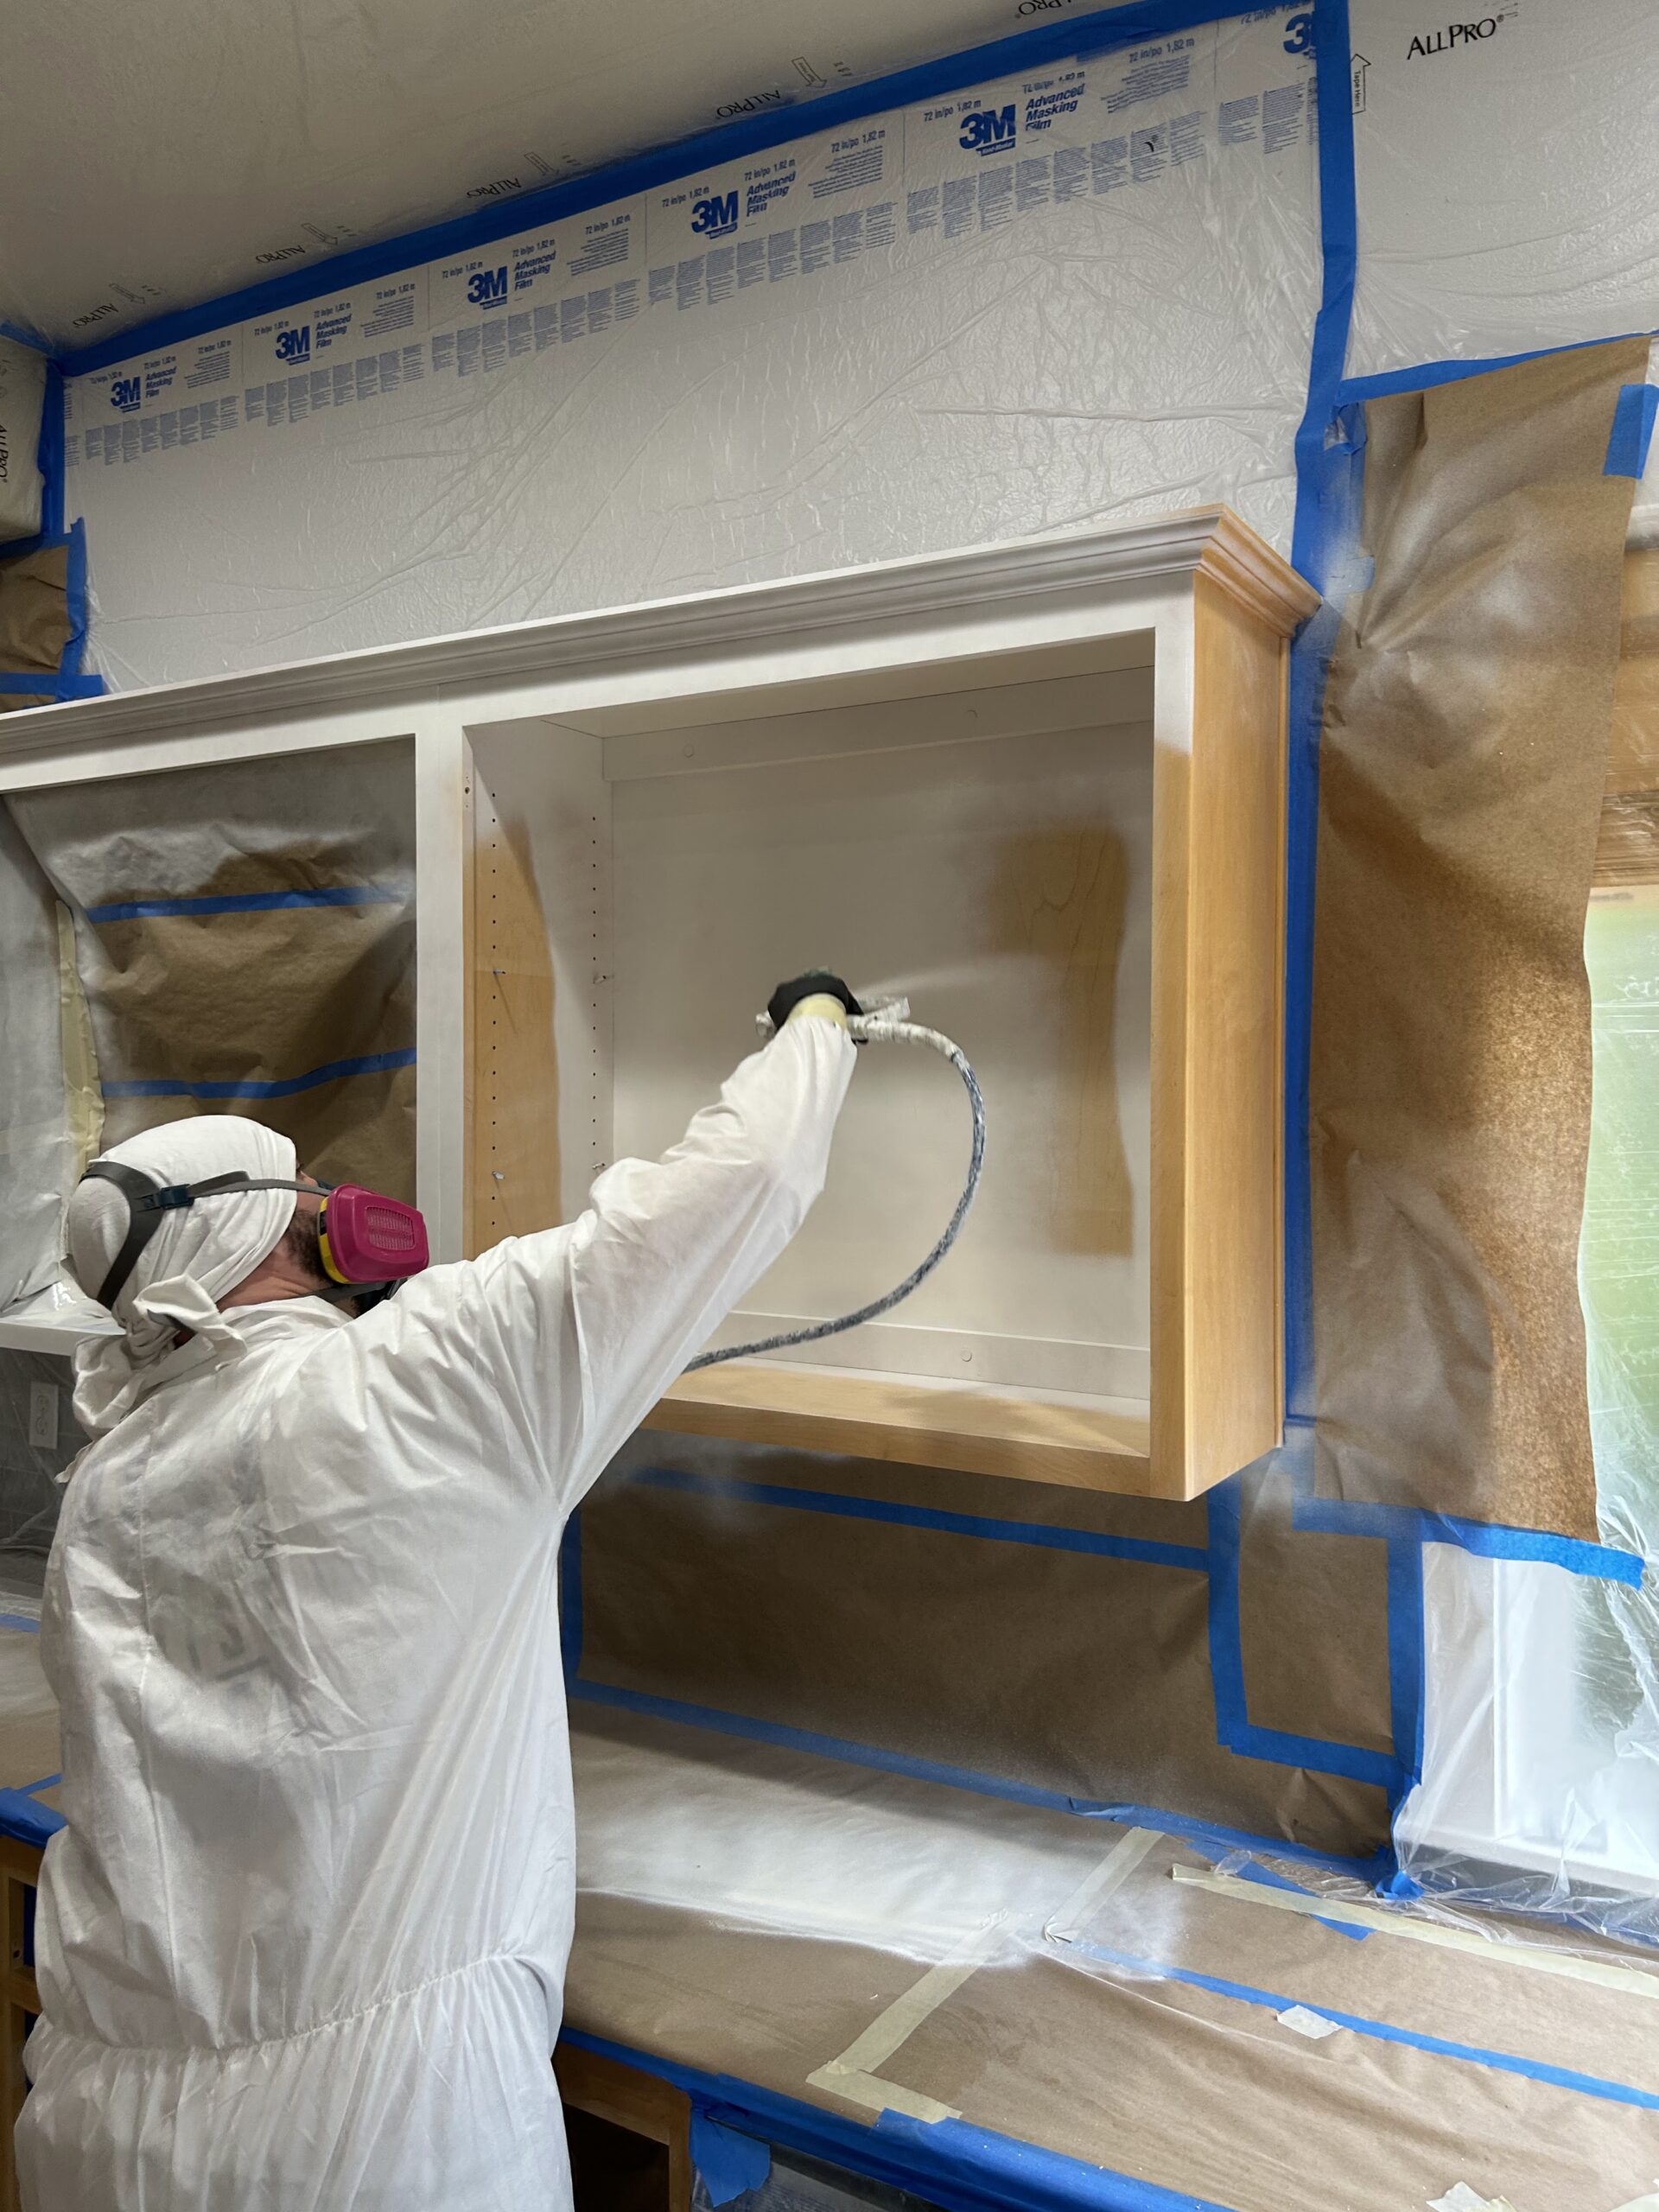
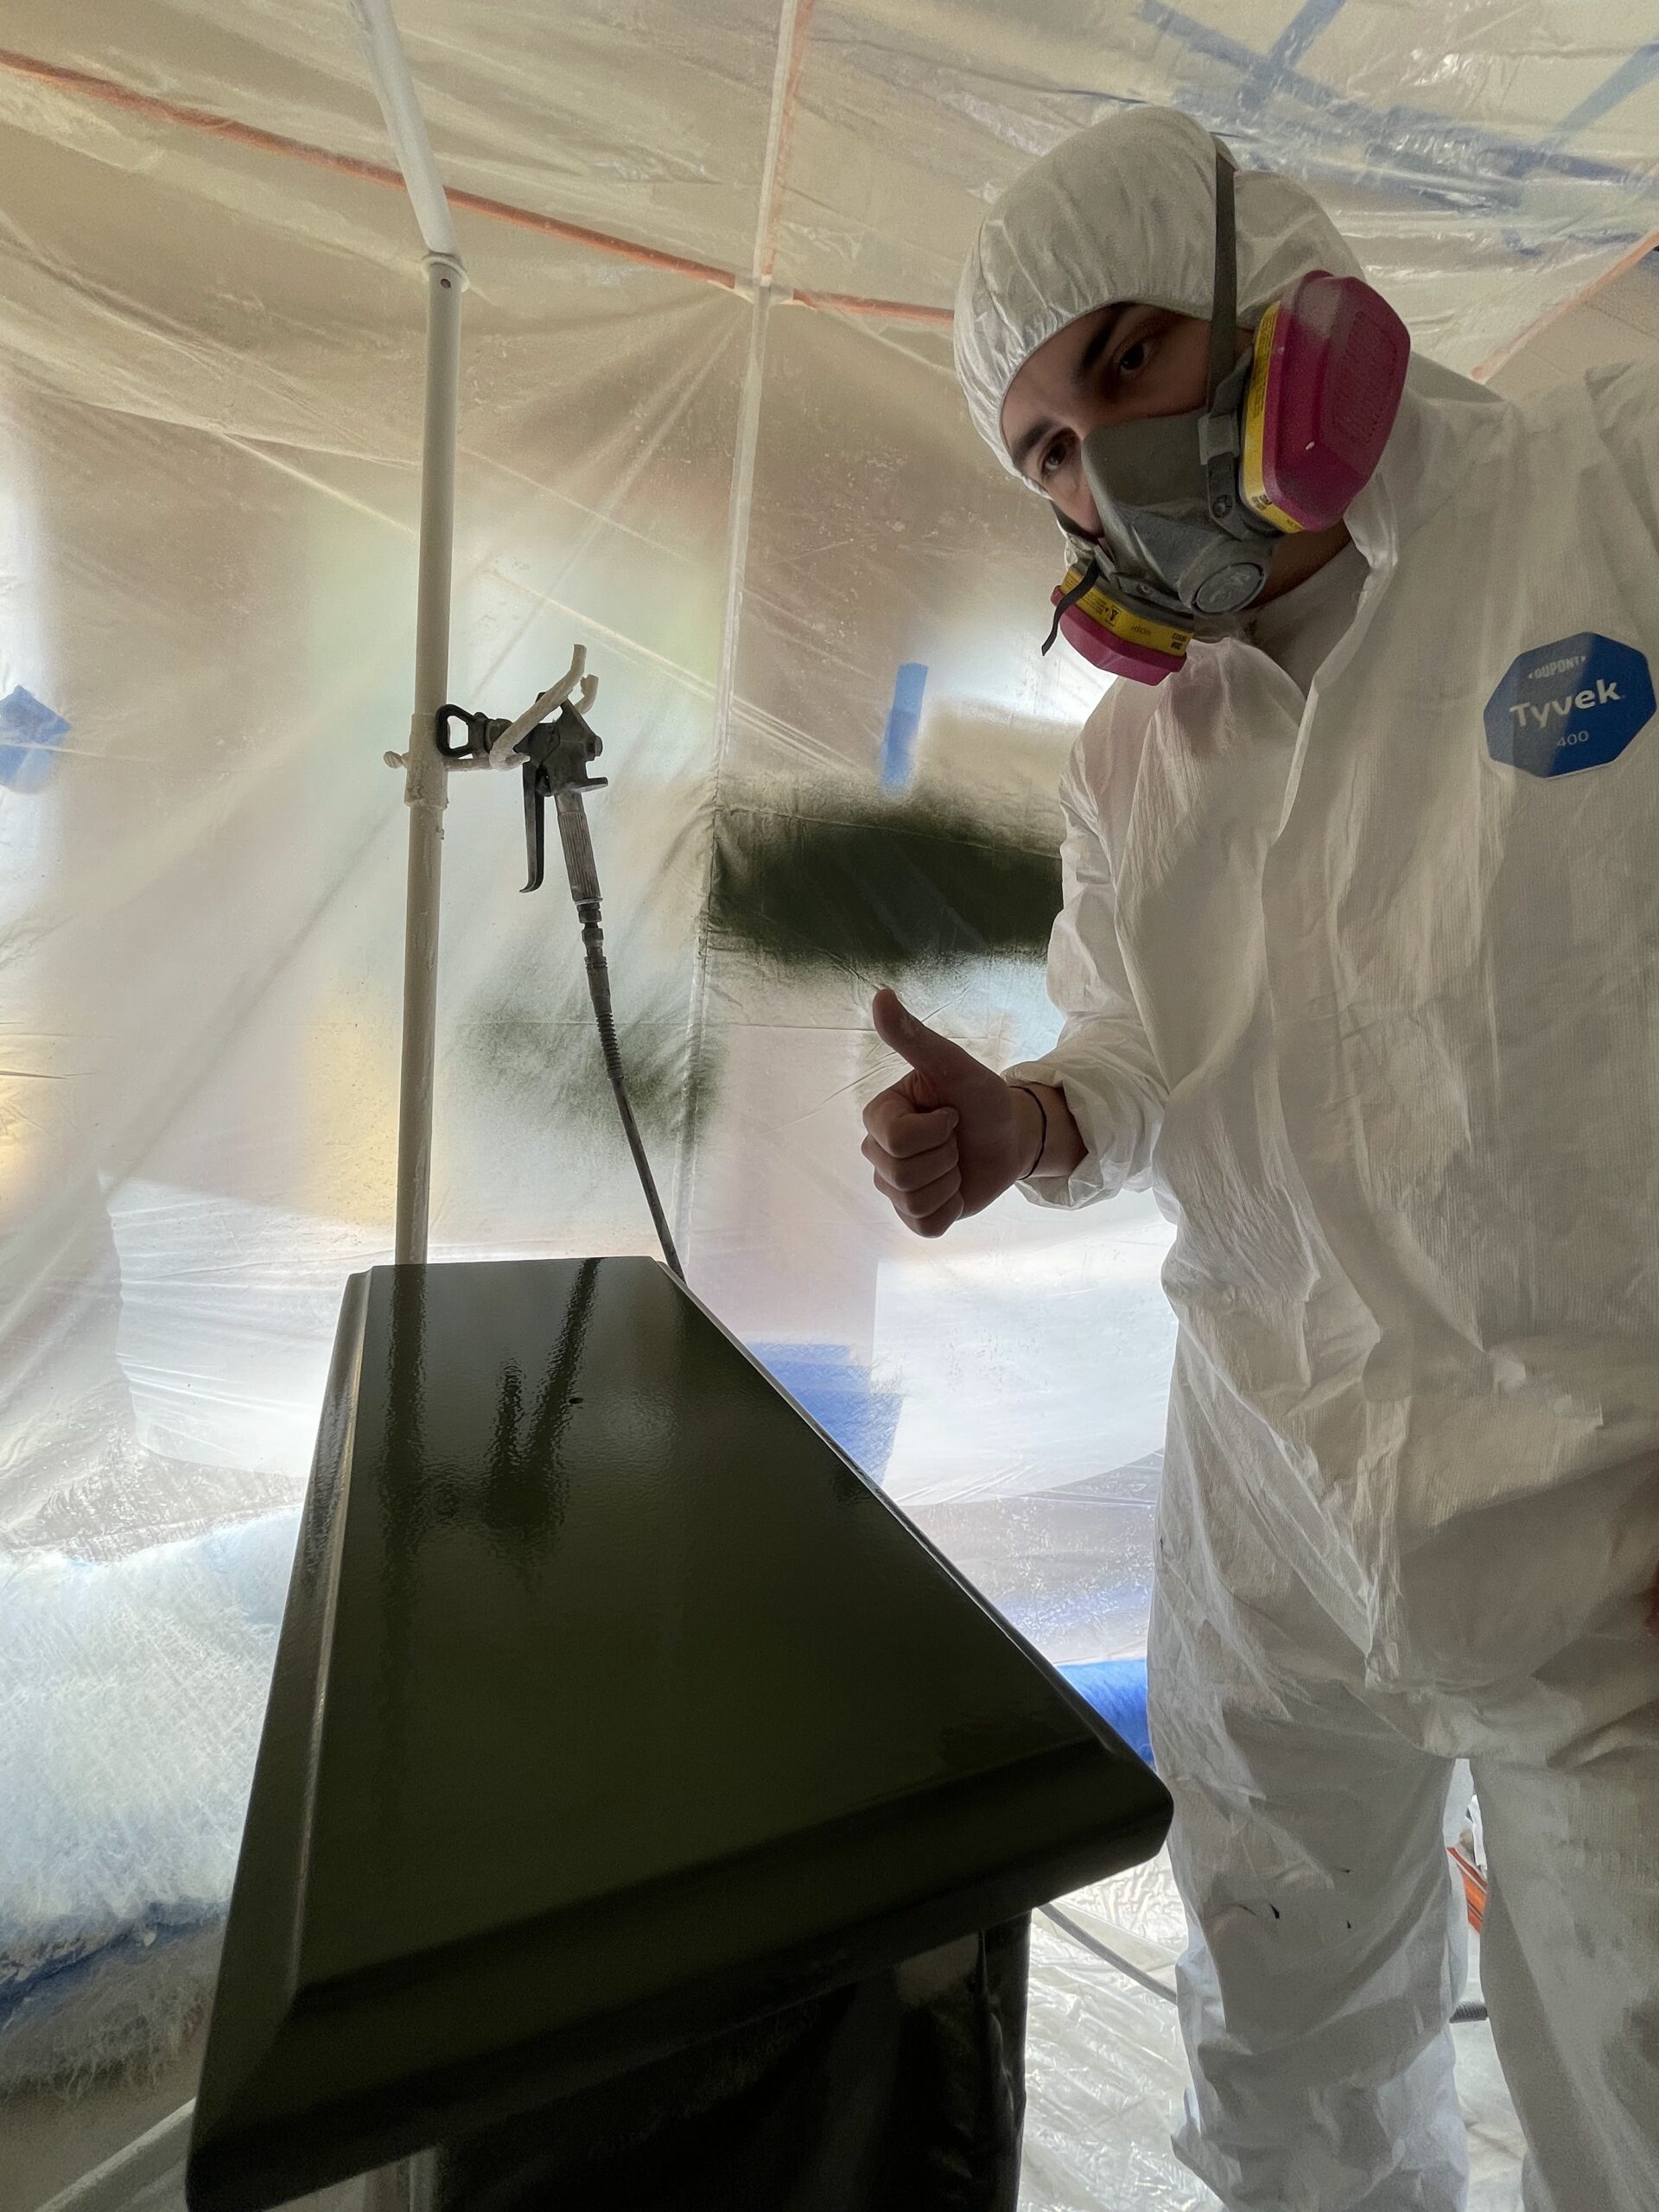
Protective Equipment
The most important protection you should be using is to protect your lungs! Always wear a respirator to protect against vapor that is emitted while spraying. Use type with disposable cartridges so that you can replace them before the next project.
Other than the respirator, it’s up to you want you want to wear to protect your clothing, skin, face, and hair from the paint itself.
Sprayer Settings
Before diving into the project, spend time getting your sprayer settings just right. You’re looking for a smooth, soft-edged spray pattern without heavy lines or excessive overspray. Start with higher pressure to achieve soft edges, then gradually reduce it until you find the perfect balance. Practice on a piece of cardboard or scrap wood to make sure you’re comfortable with the sprayer.
Test First, Then Paint
Once you’re more comfortable with the sprayer, it’s time to test. Always test a small section of trim or a single door before committing to the whole project. Give it time to dry, which takes about 20 minutes to an hour. Ensure you’re happy with the smoothness and lack of imperfections before moving forward.
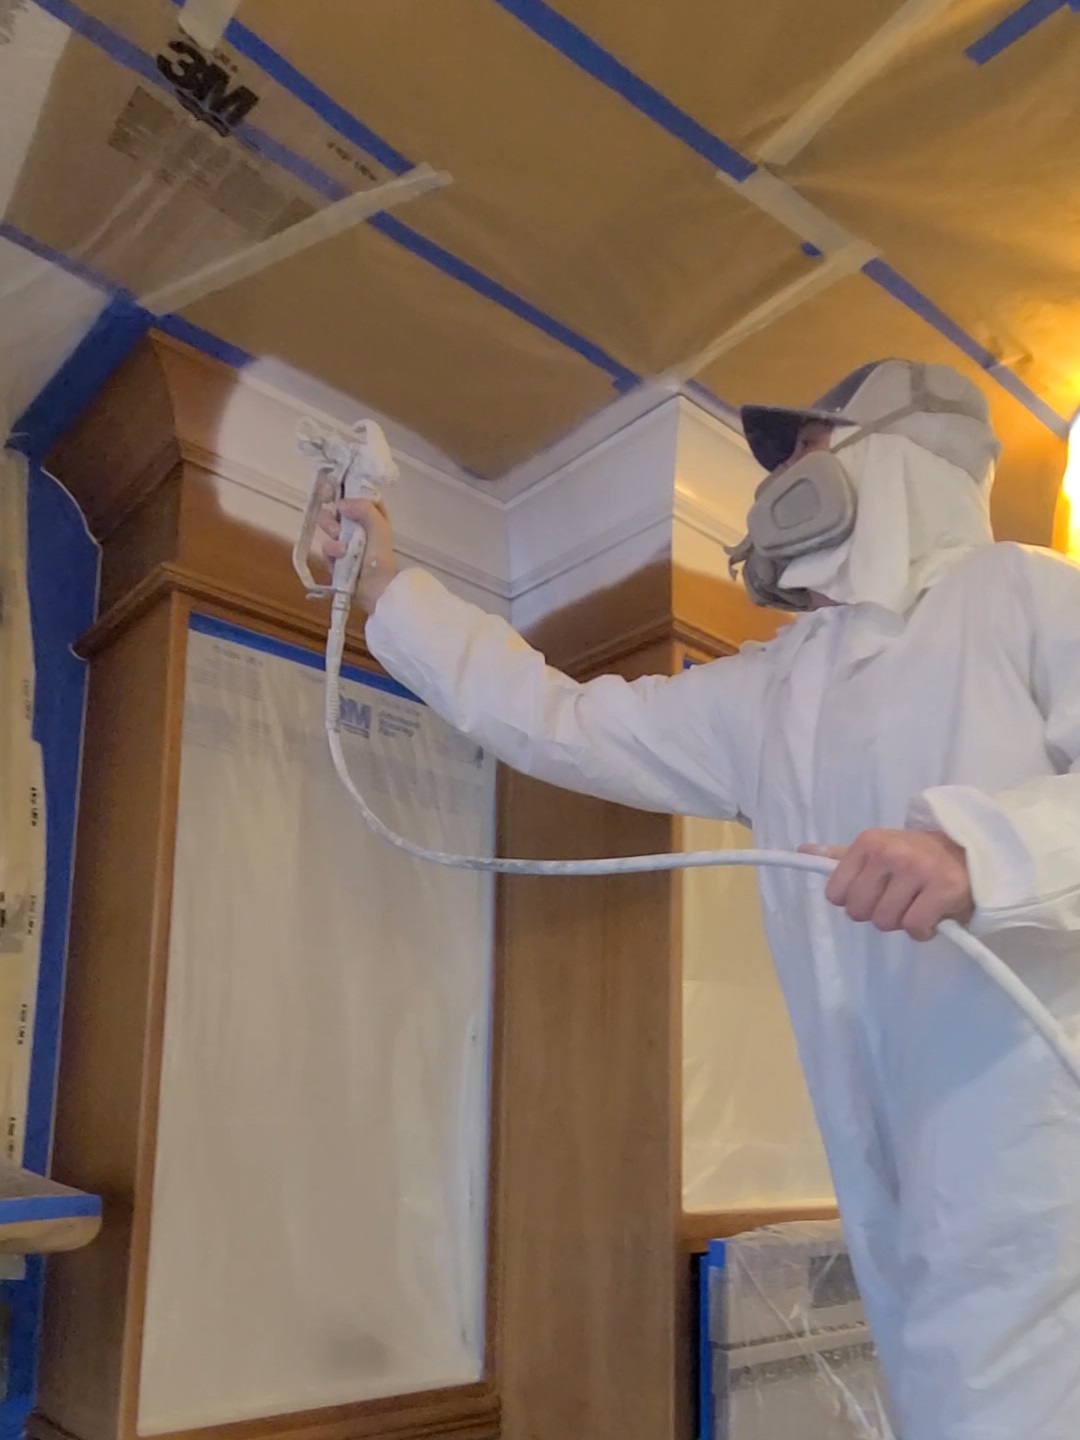
Once satisfied, start with upper sections of trim and work your way down, keeping horizontal surfaces for last to prevent overspray from settling on them.
Inspect Between Coats
After your first coat dries, inspect the trim using an LED light and feel it with your hand for any roughness. If needed, lightly sand and clean again before applying additional coats. This step ensures that each coat builds a smoother, more flawless finish.
When you’re completely done, allow the paint to fully dry to the touch before removing your masking, paper, plastic, etc. You don’t want any bits of dust to land in your beautifully painted trim, doors, or cabinets.
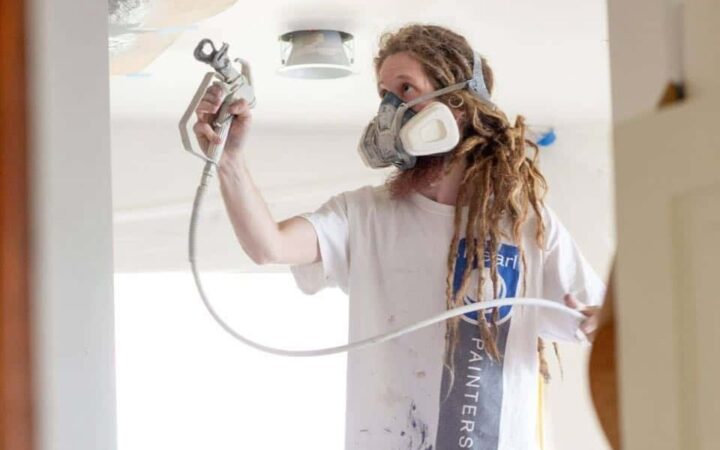
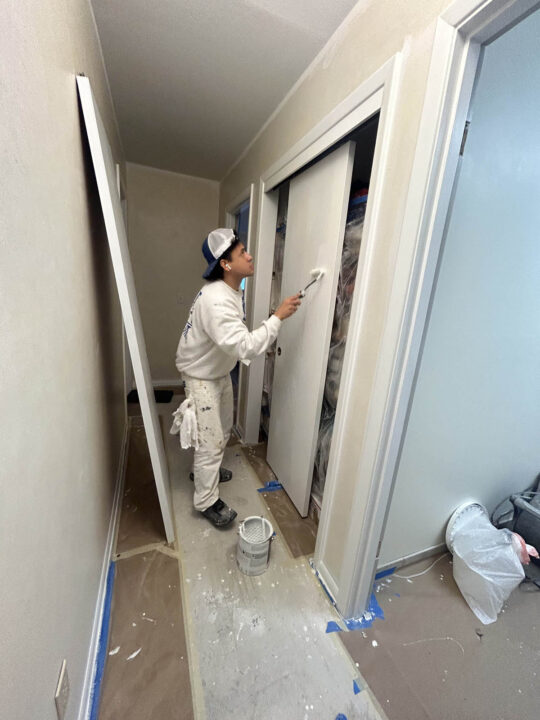
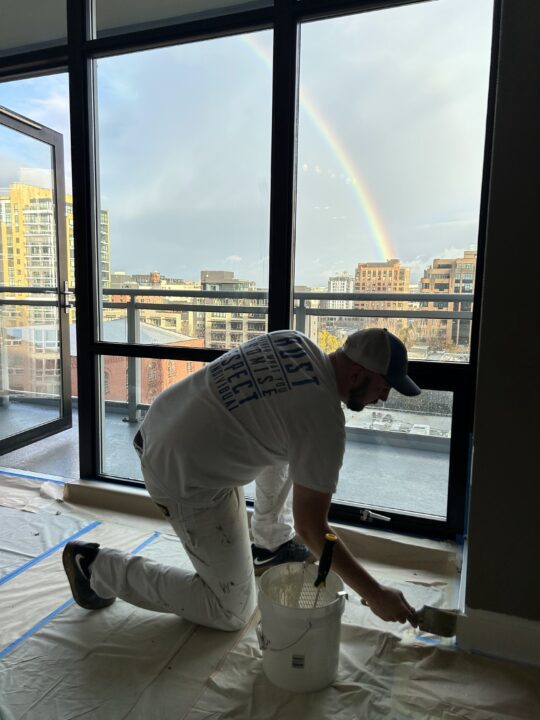
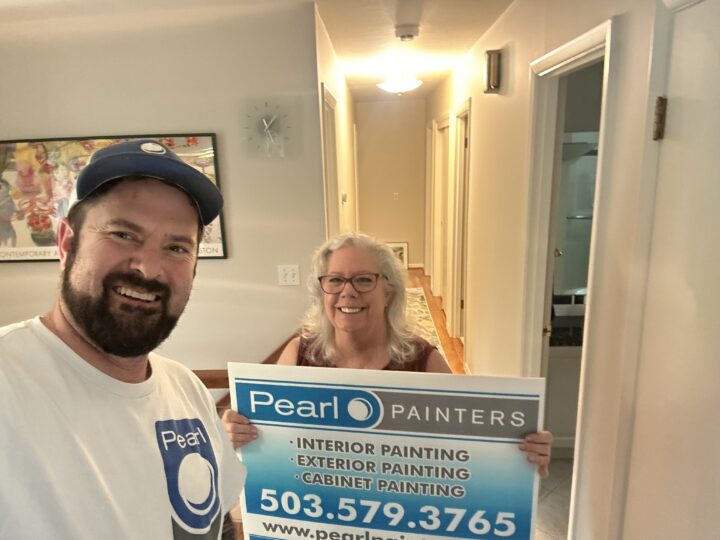
The Pearl Painters Team in Action
By following these steps, you’ll be well on your way to a professional-grade spray finish on your trim, doors, or cabinets. For more expert tips or to inquire about our services, contact Pearl Painters today.


One Response
Protective equipment is a must. I remember when everyone was worked up about wearing masks during the pandemic. We had so many in our shed from our projects that it was just like another day on the job.