Before We Arrive
Arrival and Introduction
Consultation and Scope of Work Video
The process starts weeks before painting begins with a thorough onsite consultation. During this meeting, we discuss your vision, answer all your questions, evaluate your space, and establish a clear scope of work. To ensure transparency for both you and our team, we create a detailed scope of work video, documenting what’s included and excluded from the project, areas requiring special attention, and homeowner to-dos.
Homeowner Preparation Checklist
To maximize efficiency, your custom scope of work video will clearly outline all agreed-upon details, including a to-do list of tasks to complete before painting day. These tasks are based solely on our discussions and may include removing fragile items, decluttering spaces, or pre-cleaning surfaces. We’ll also specify who will handle moving any furniture—whether it’s our team or you—based on the options we’ve discussed and what works best for you.
The video will clearly define what’s included and what’s not, helping to prevent miscommunications, work delays, change orders, additional costs, and disappointments. Our goal is to ensure a smooth process and leave you with an outstanding experience.
1. Confirm Parking & Setup
Before we unload, we coordinate parking with you, ensuring we don’t disrupt your space. We also place a yard sign in a visible location to mark the project.
2. Warm Welcome
The Job Site Manager greets you and introduces the crew. This ensures you know who’s in charge and who will be working in your home.
3. Project Plan & Communication
We confirm the daily plan with you and establish a group text for consistent updates, sending at least one message a day so you’re never out of the loop.
4. Confirm Other Logistics
We establish all the little details with you – which bathroom we may use, which sink for washing, entry and lock-up procedures and any other details that important to you.
Prepping the Space
5. Before Photos
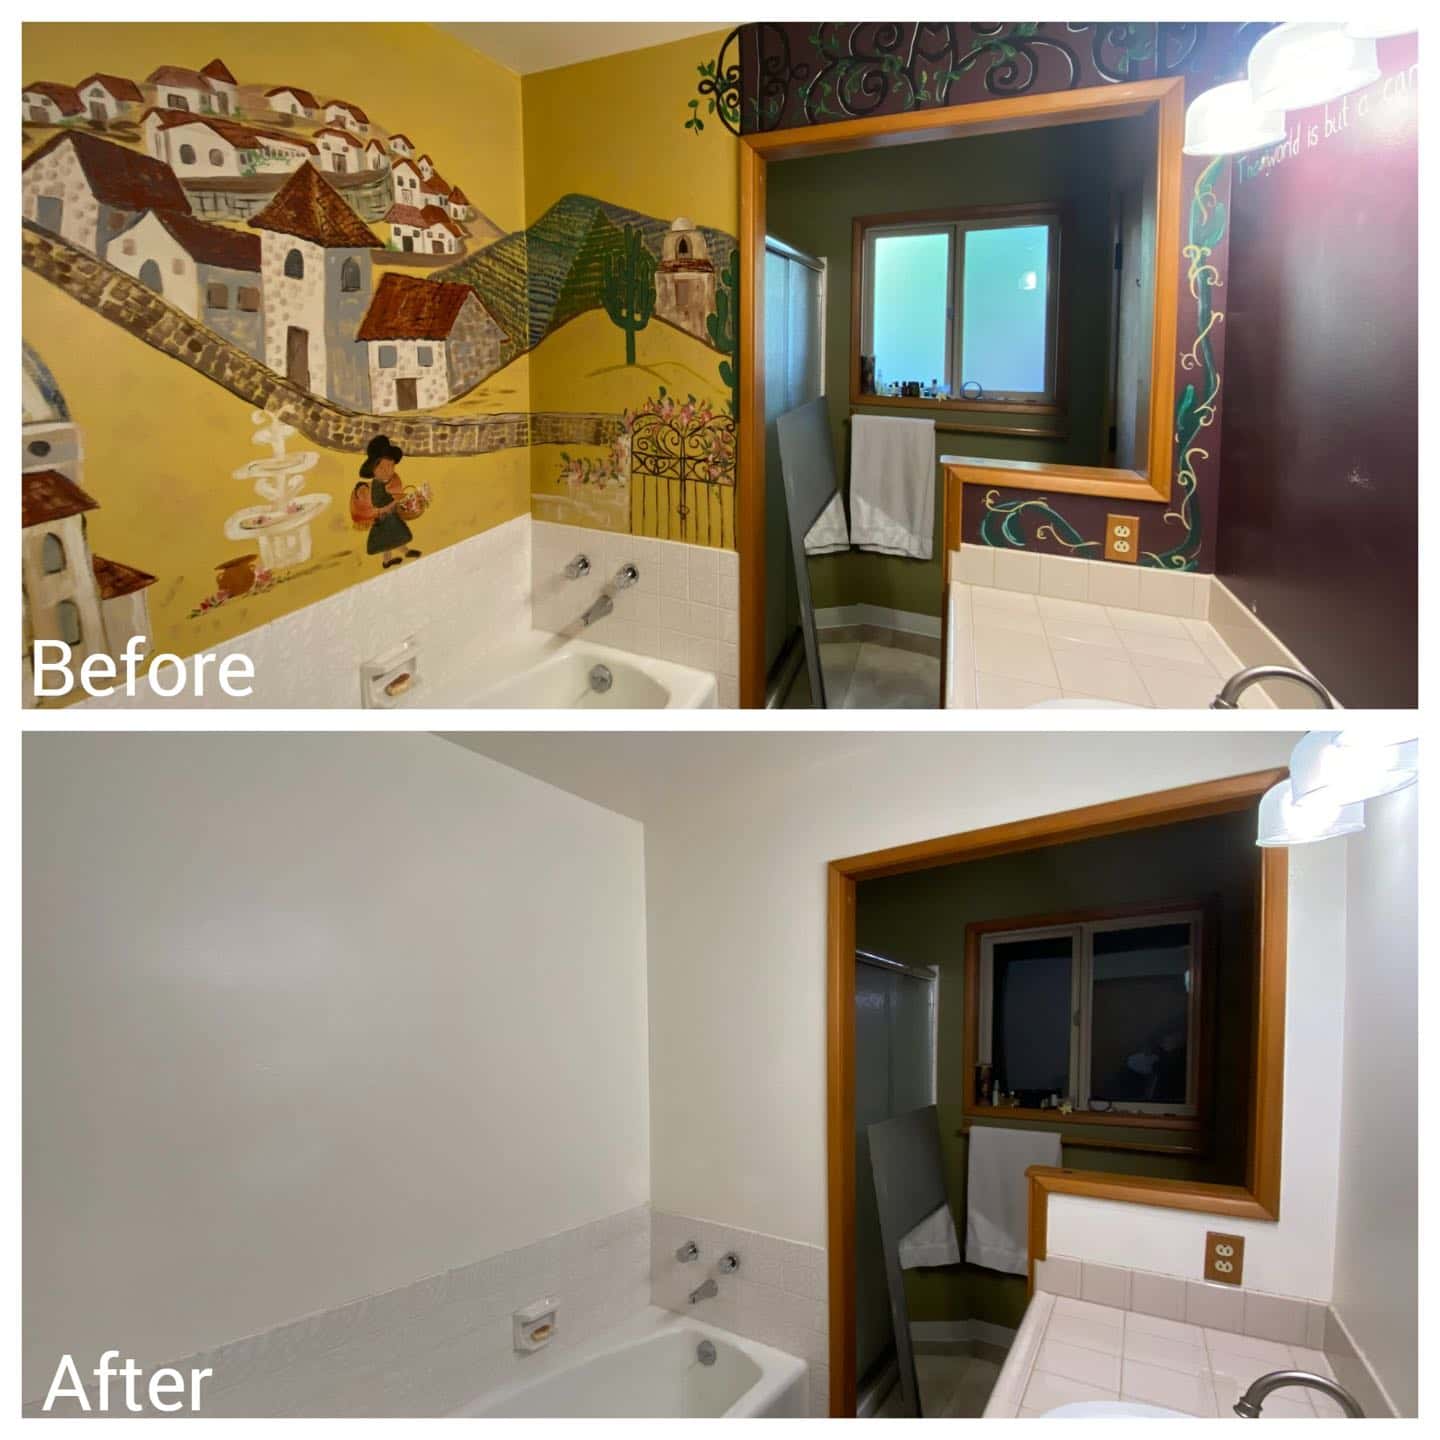
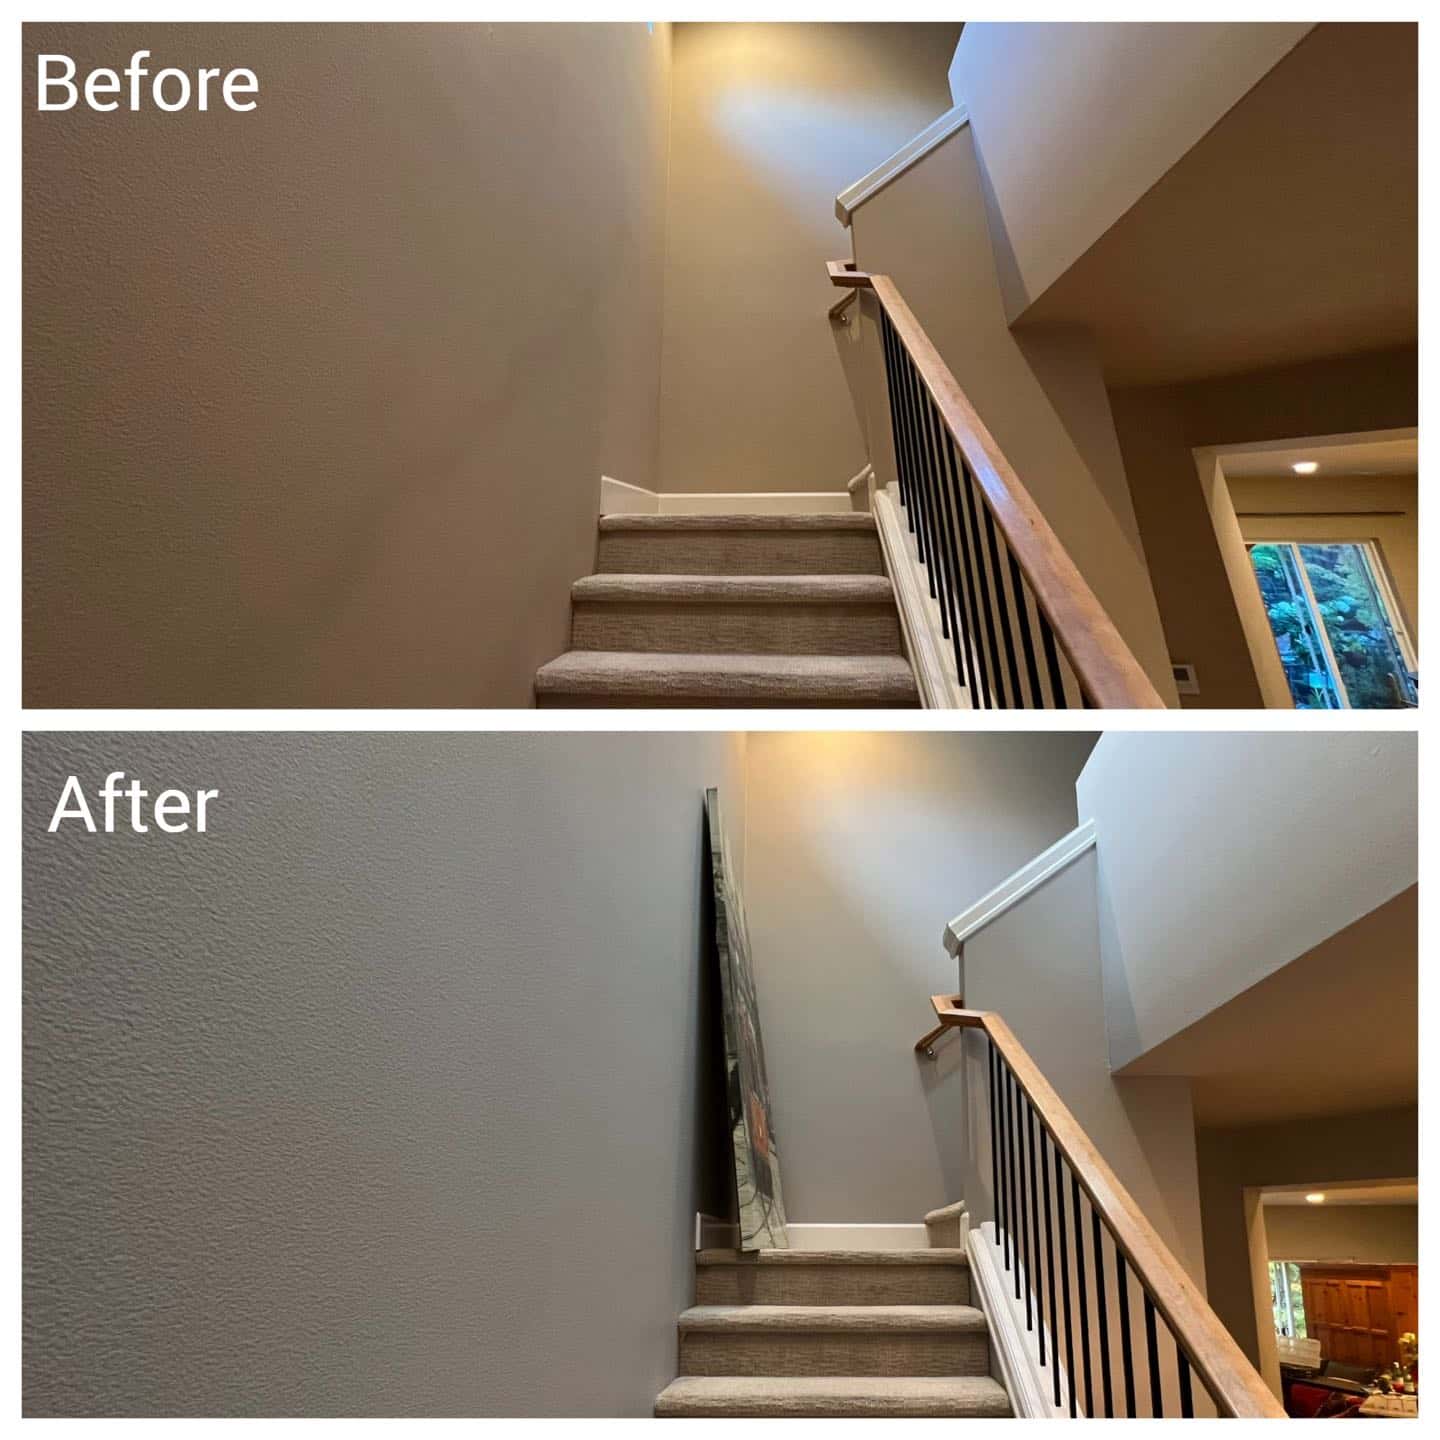
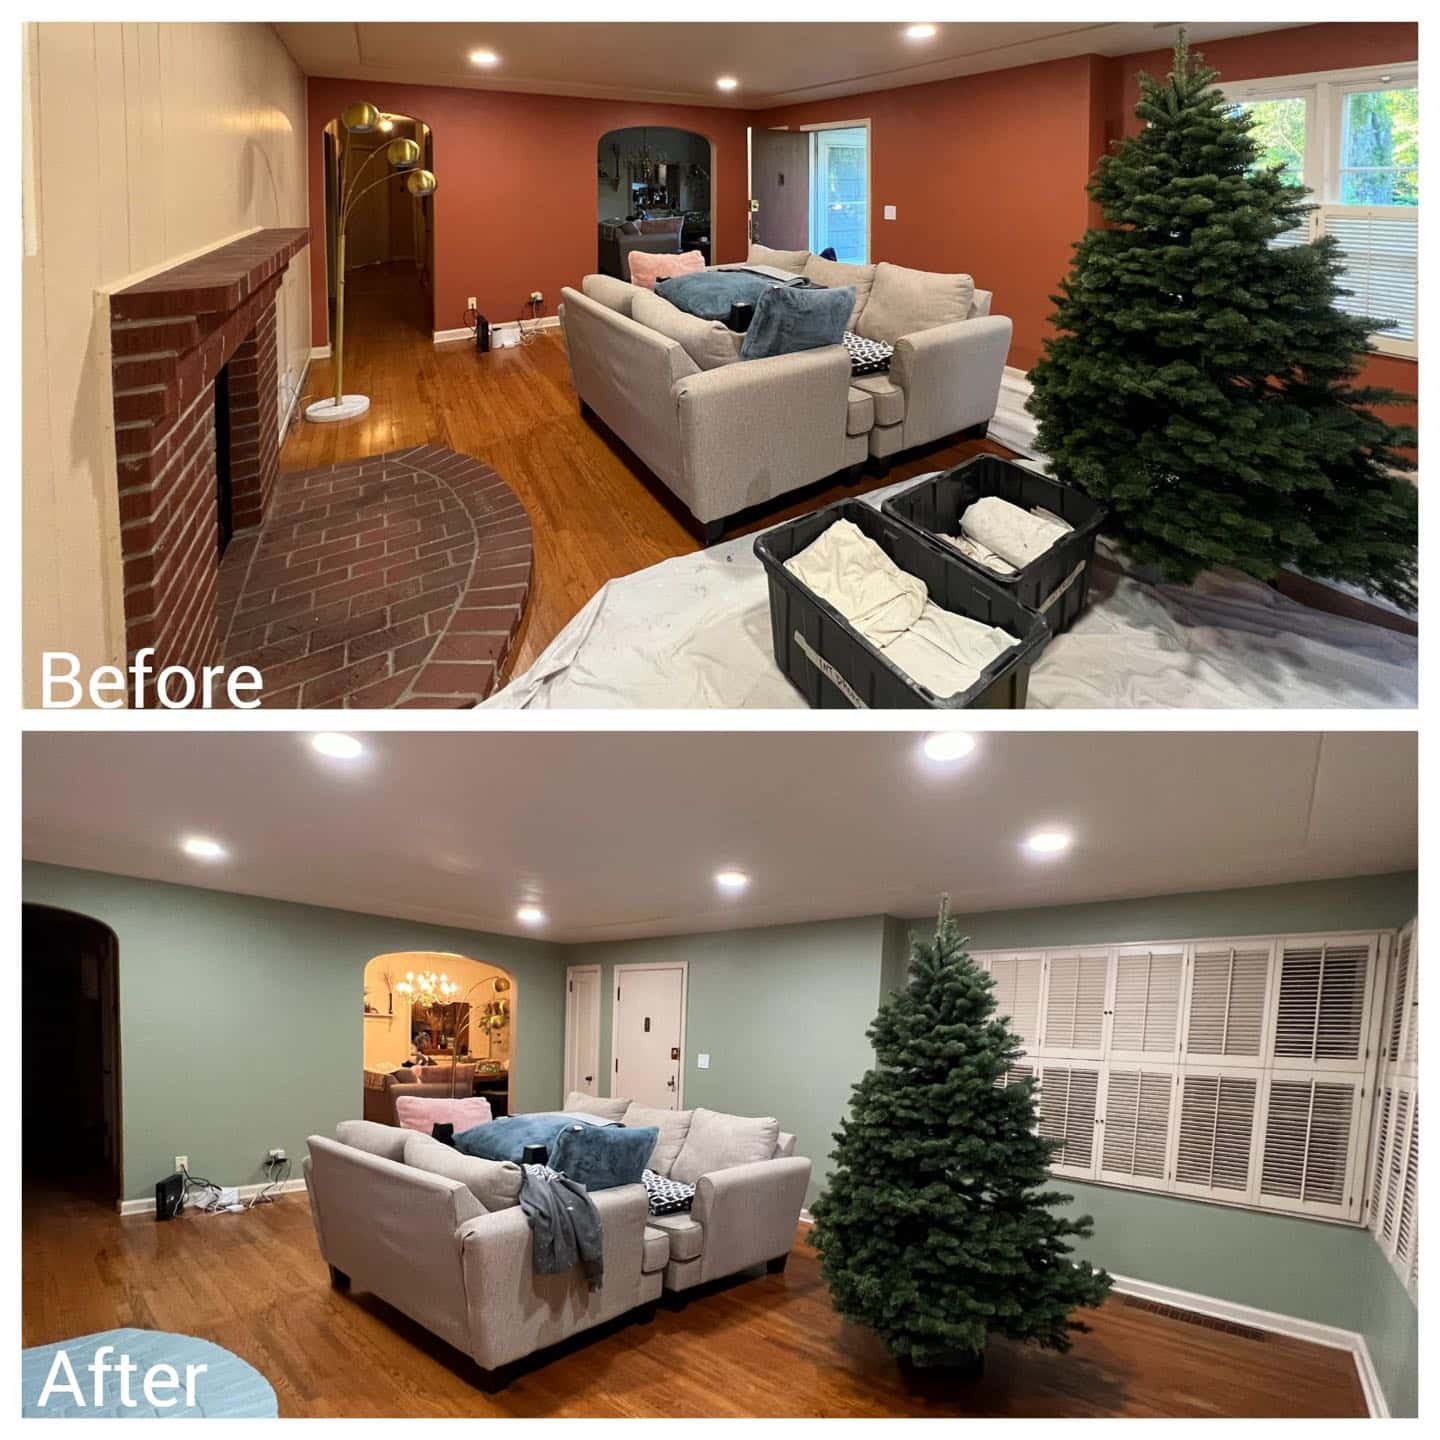
Before any tools come inside, we take detailed “before” photos. This gives us a reference for the home’s original condition and helps document the transformation. (It also helps us showcase our work on our projects page!)
6. Set Up Shop
We organize our tools and materials in a designated area, ensuring we work efficiently and keep your space clean. We also set up our timesheet and paint order system for optimum efficiency.
Protecting Your Home
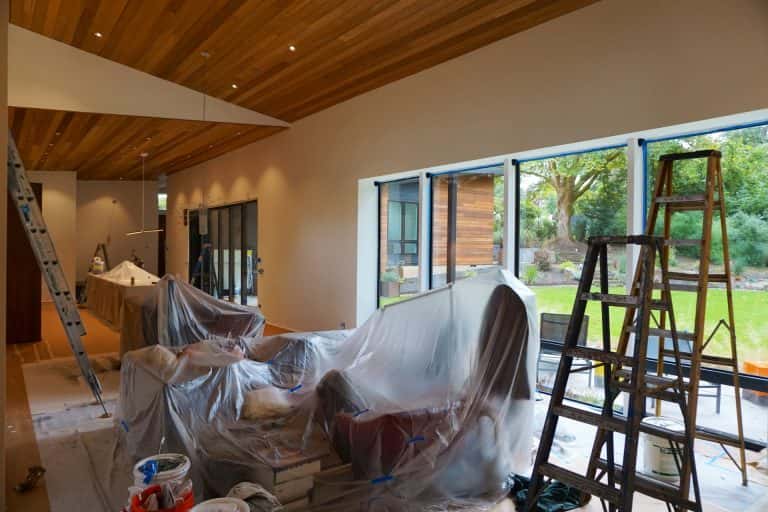
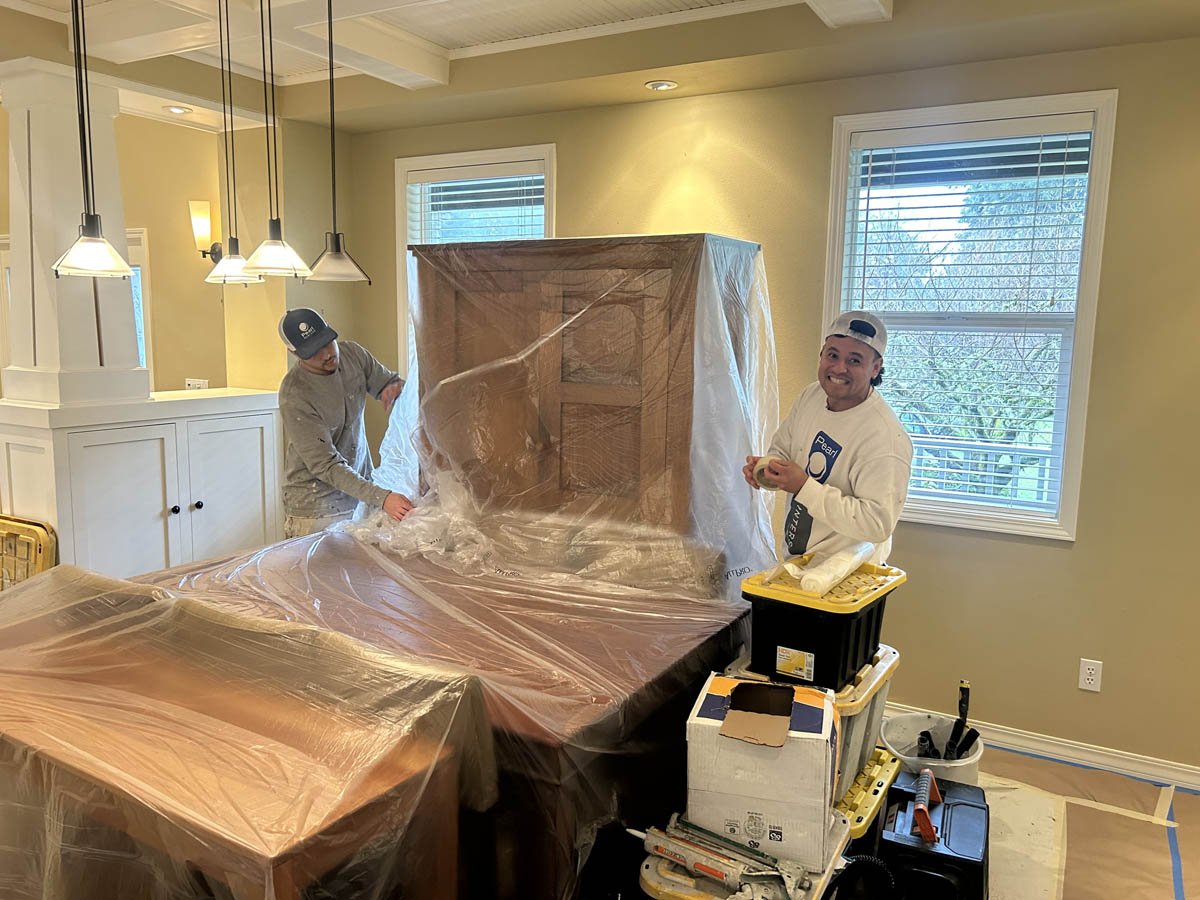
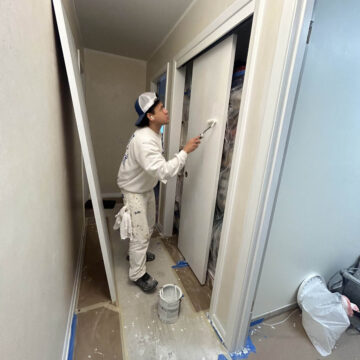
7. Furniture and Floors
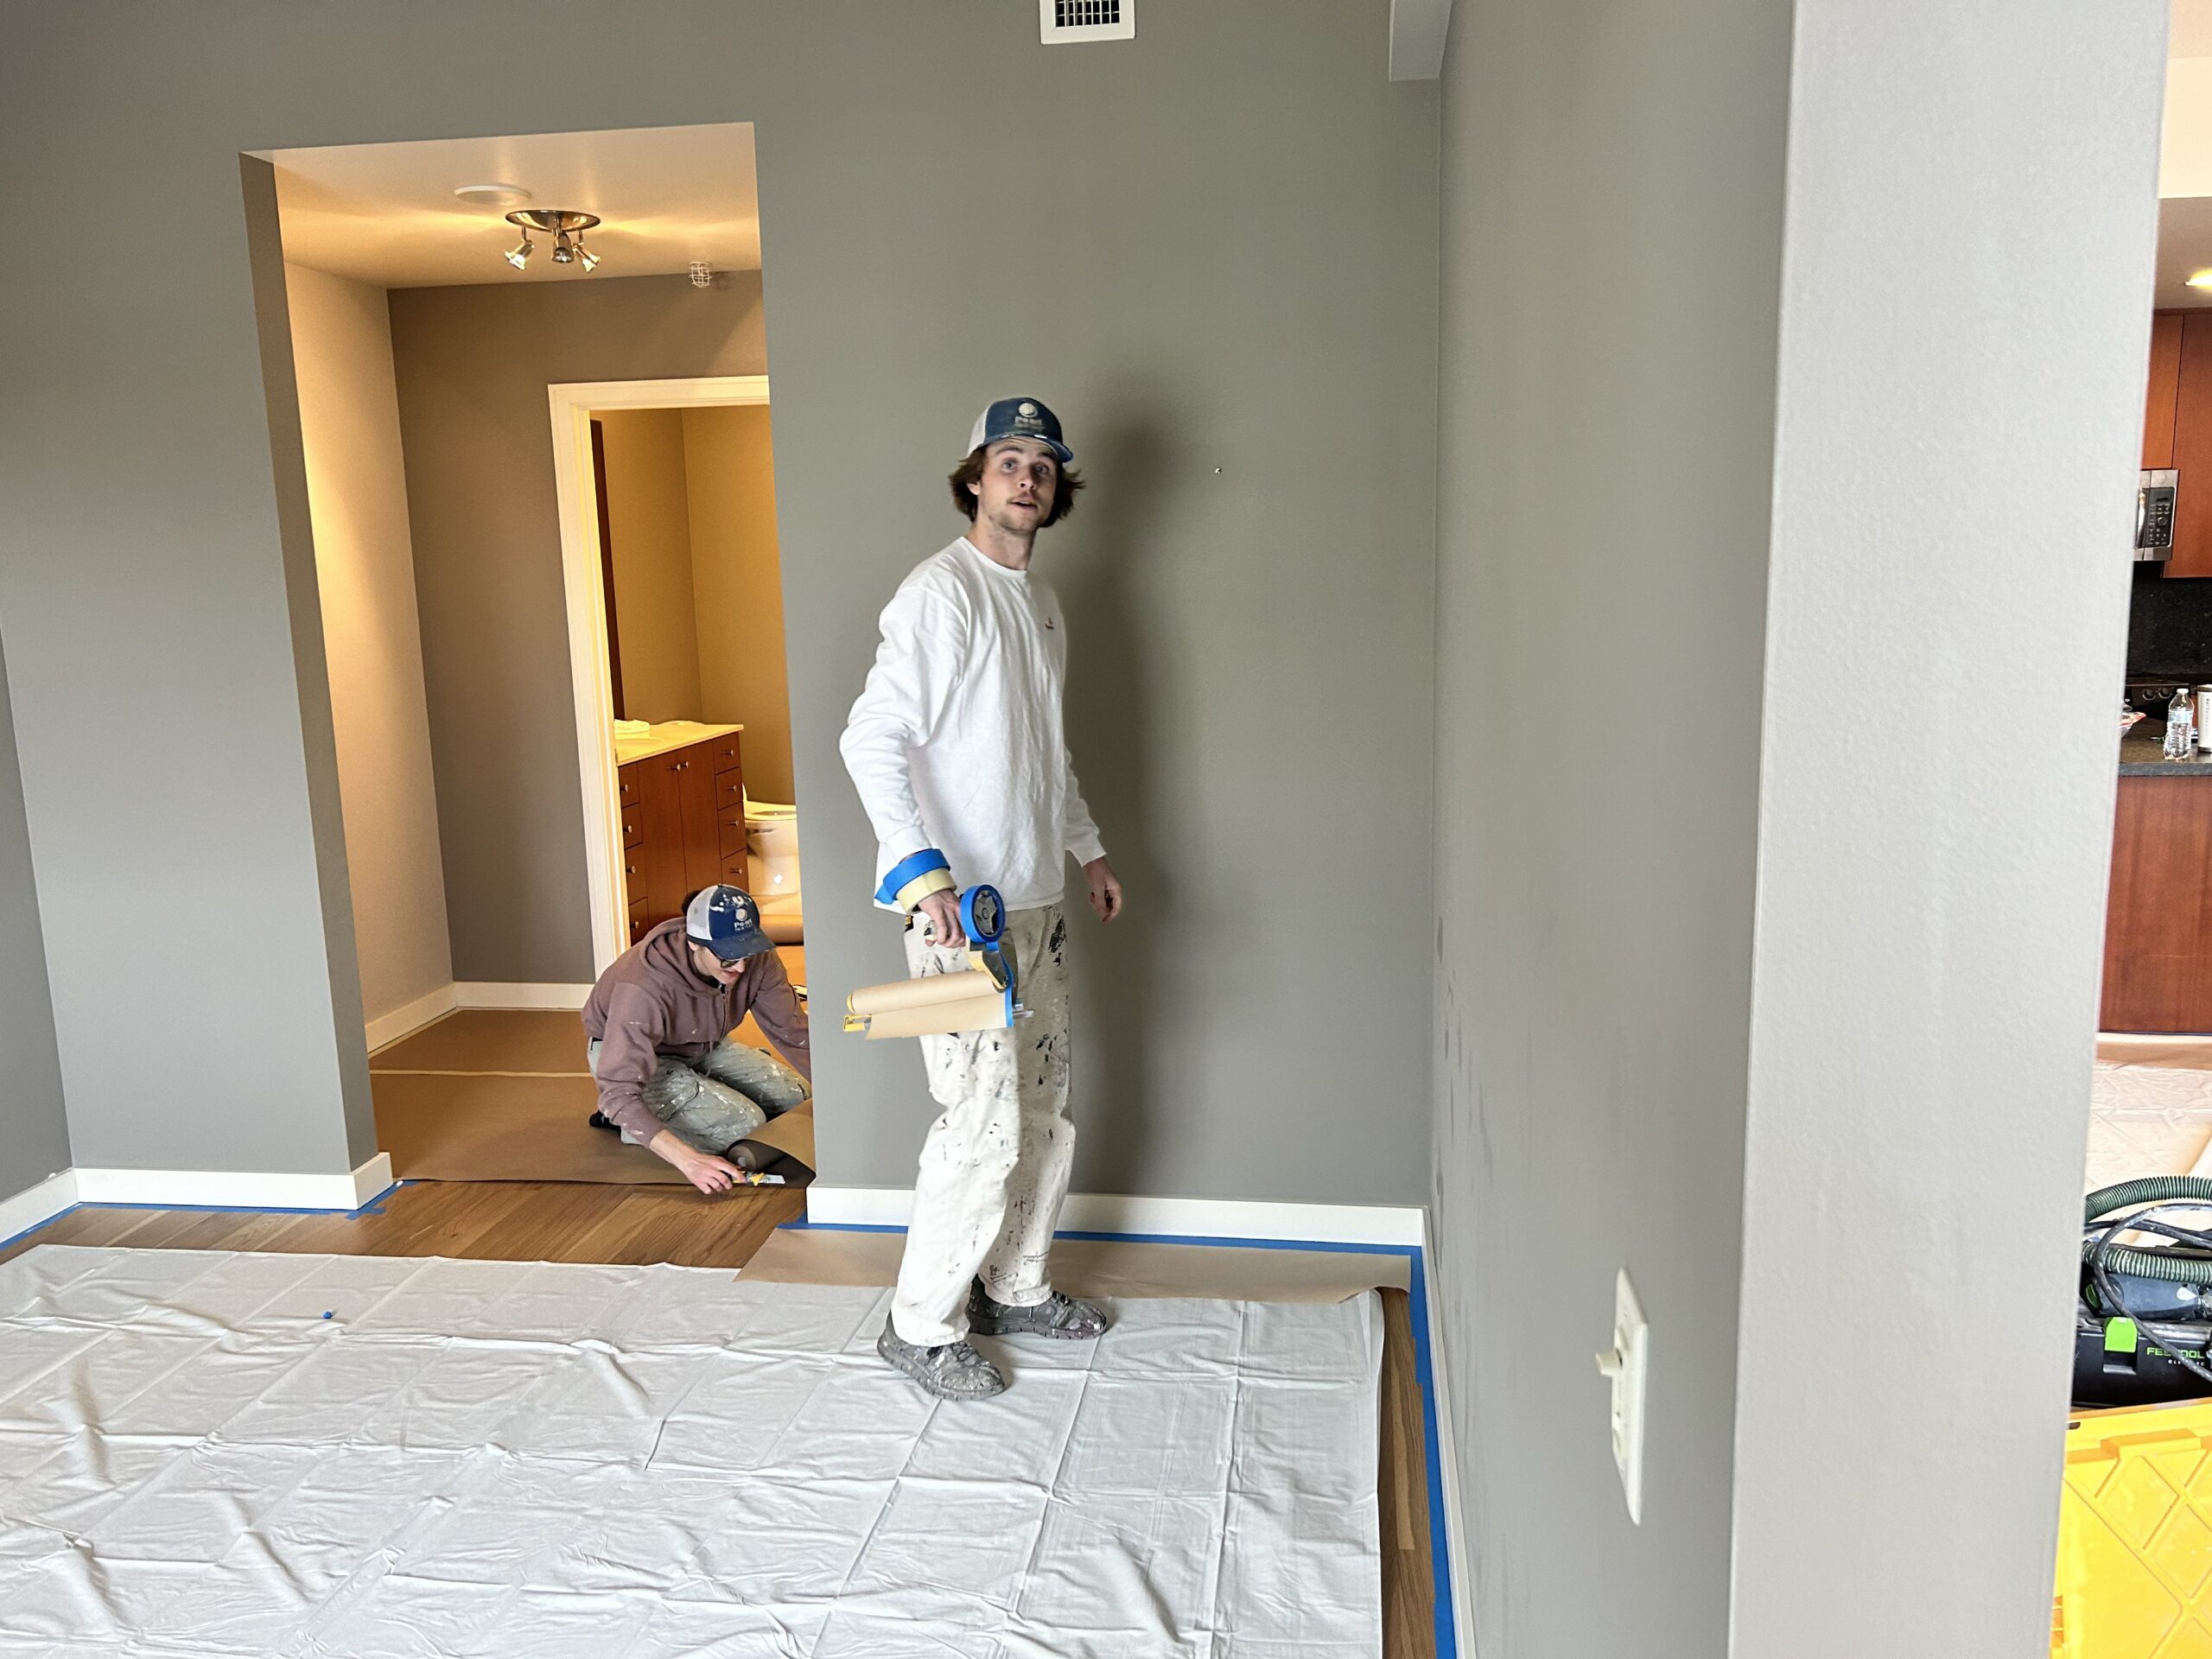
We carefully move and cover furniture with plastic sheeting. For floors, we ensure they’re clean before laying down protection – no grit or sand underneath to avoid scratches.
8. Temperature and Ventilation
Fans are set up in a vortex layout and turned on high, while the home’s heat is raised to 70°F. This ensures the paint dries evenly and efficiently.
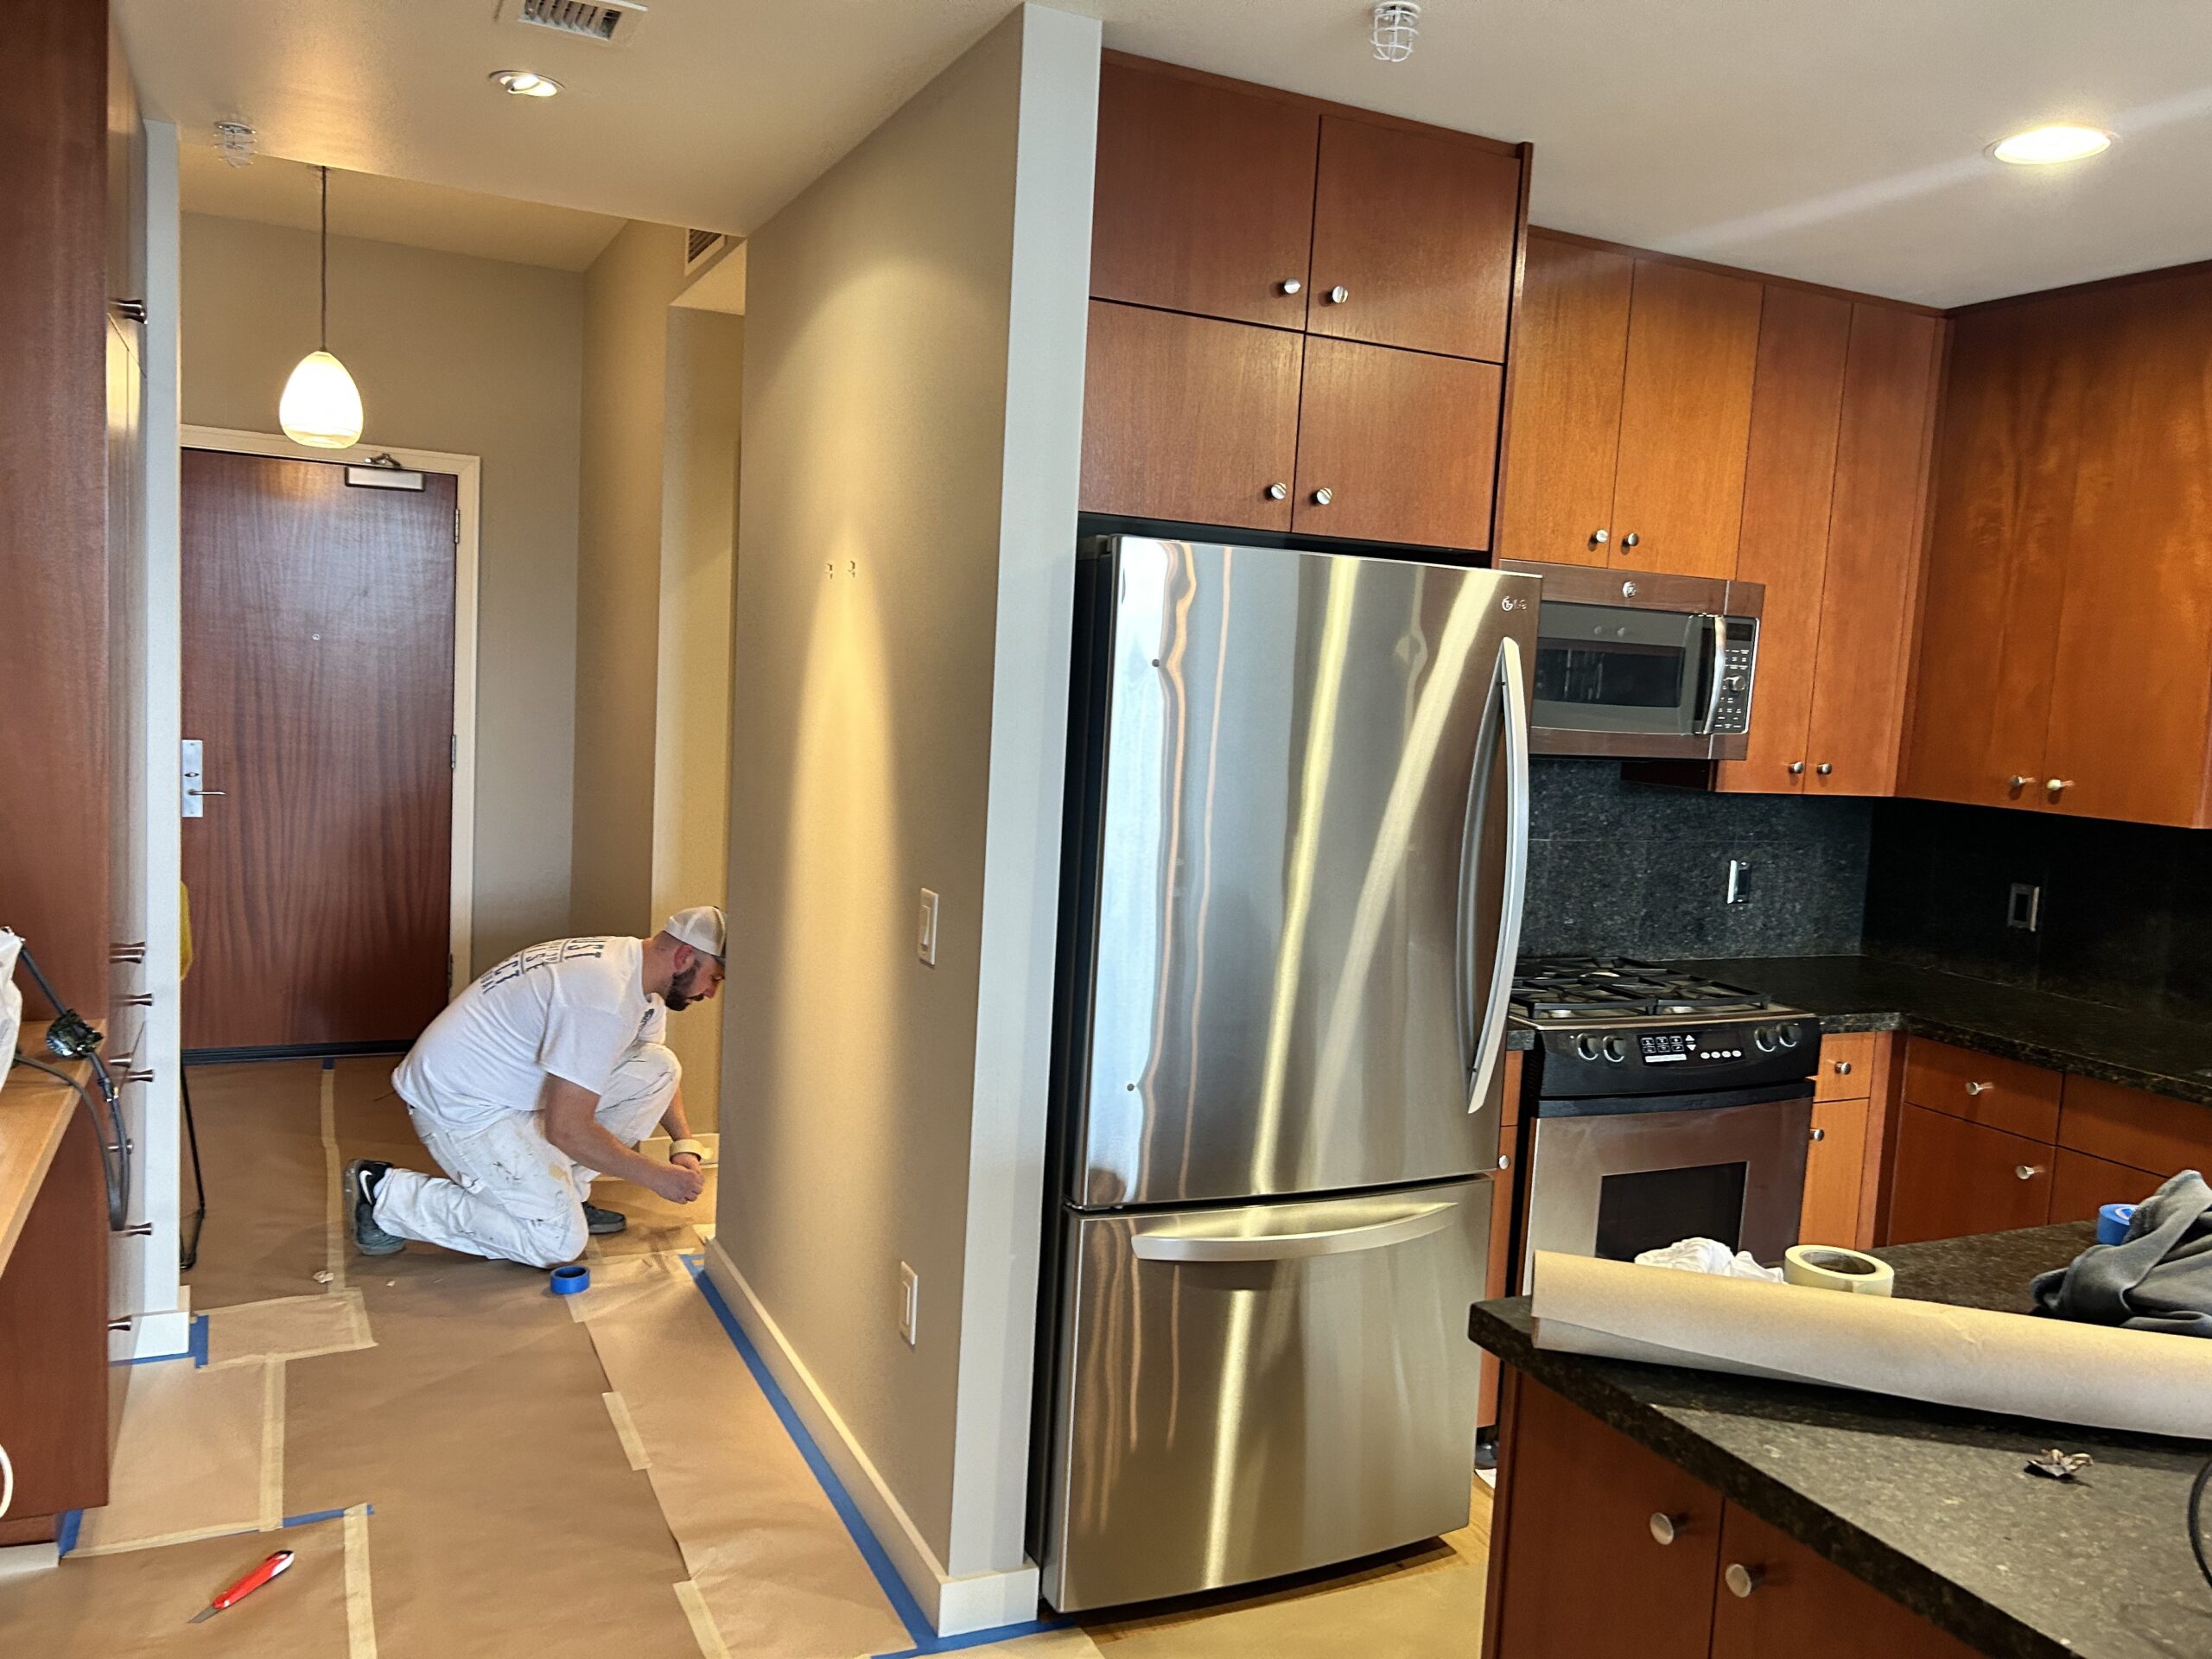
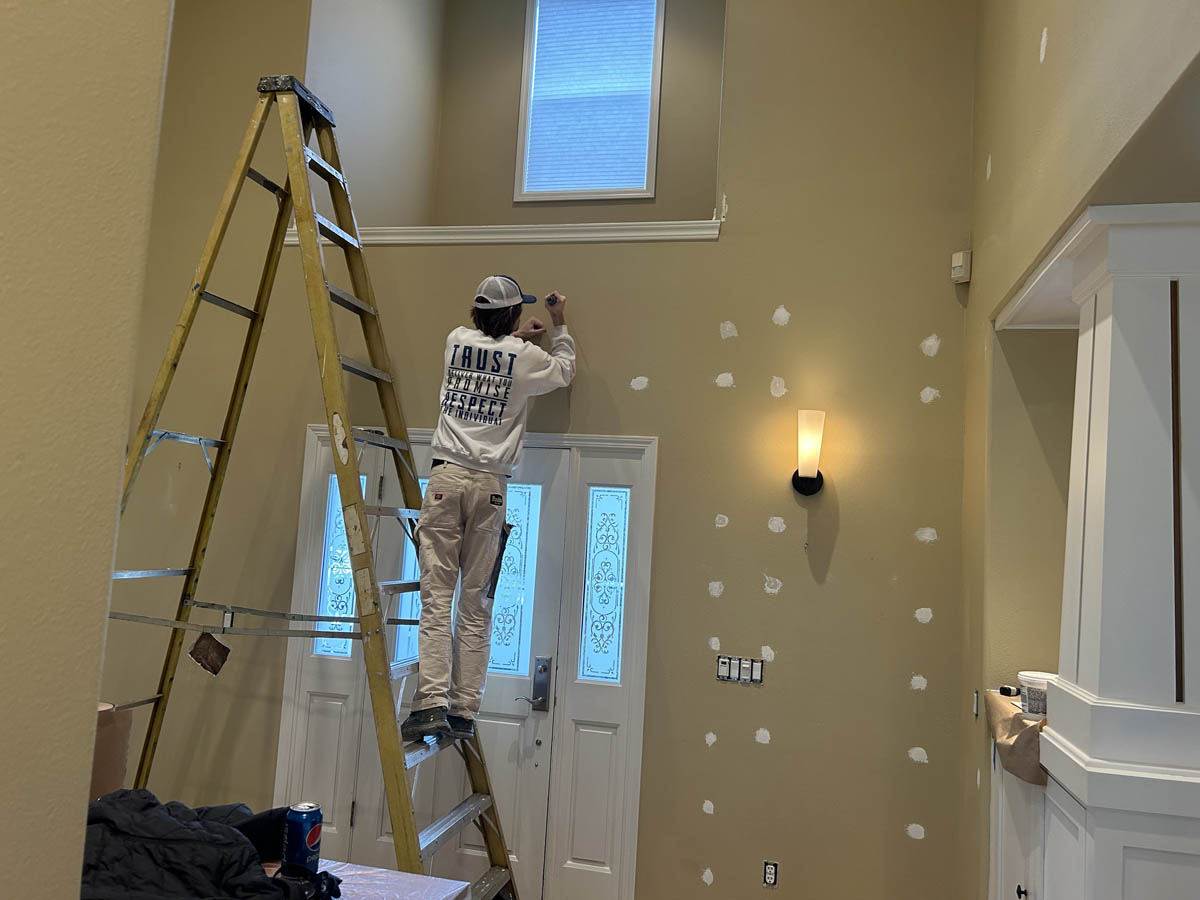
Repair and Masking
9. Wall Patching and Texture Prep
We patch all holes, nail pops, cracks, and gaps. Then we shine an LED light across the surface to find all the little flaws that we may have missed and make sure to patch those properly. We also place texture spray cans in hot water to ensure they’re ready for smooth application.
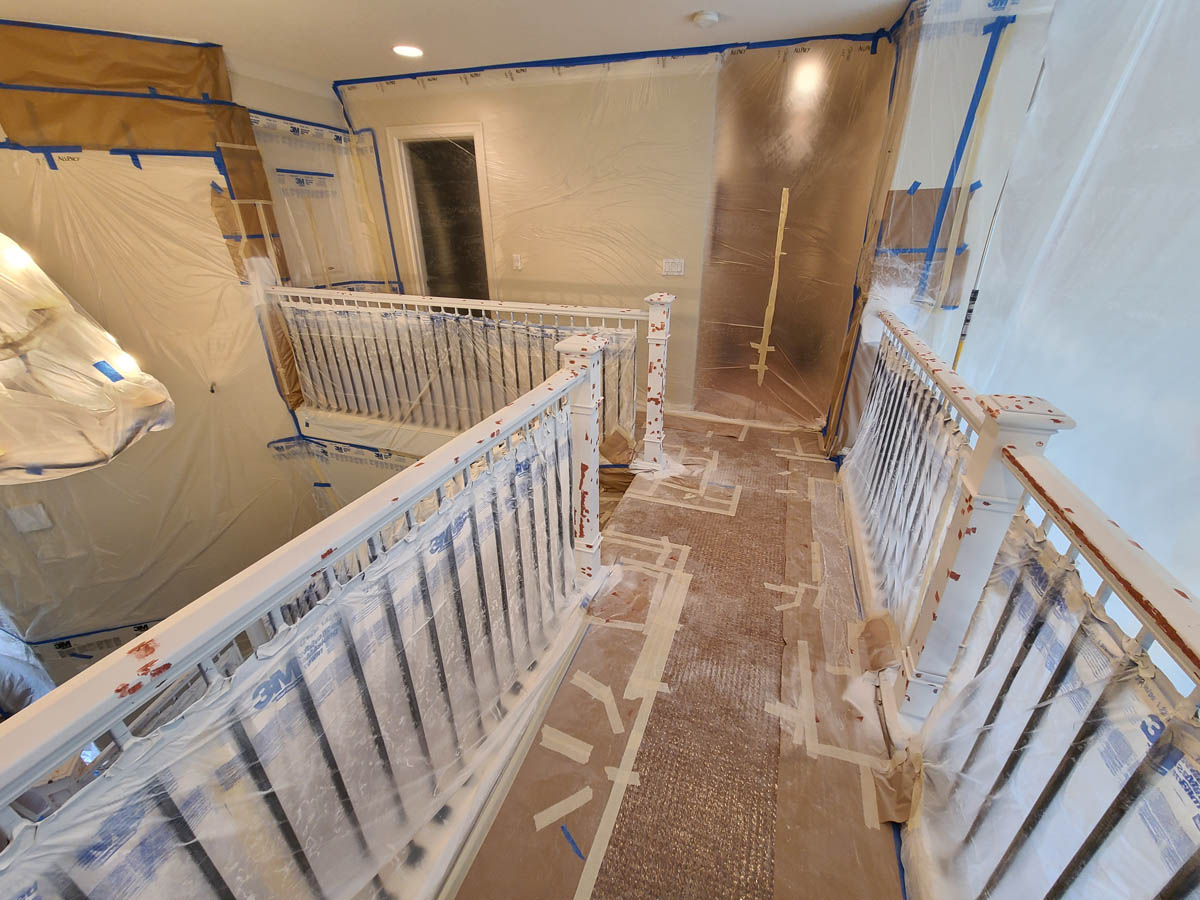
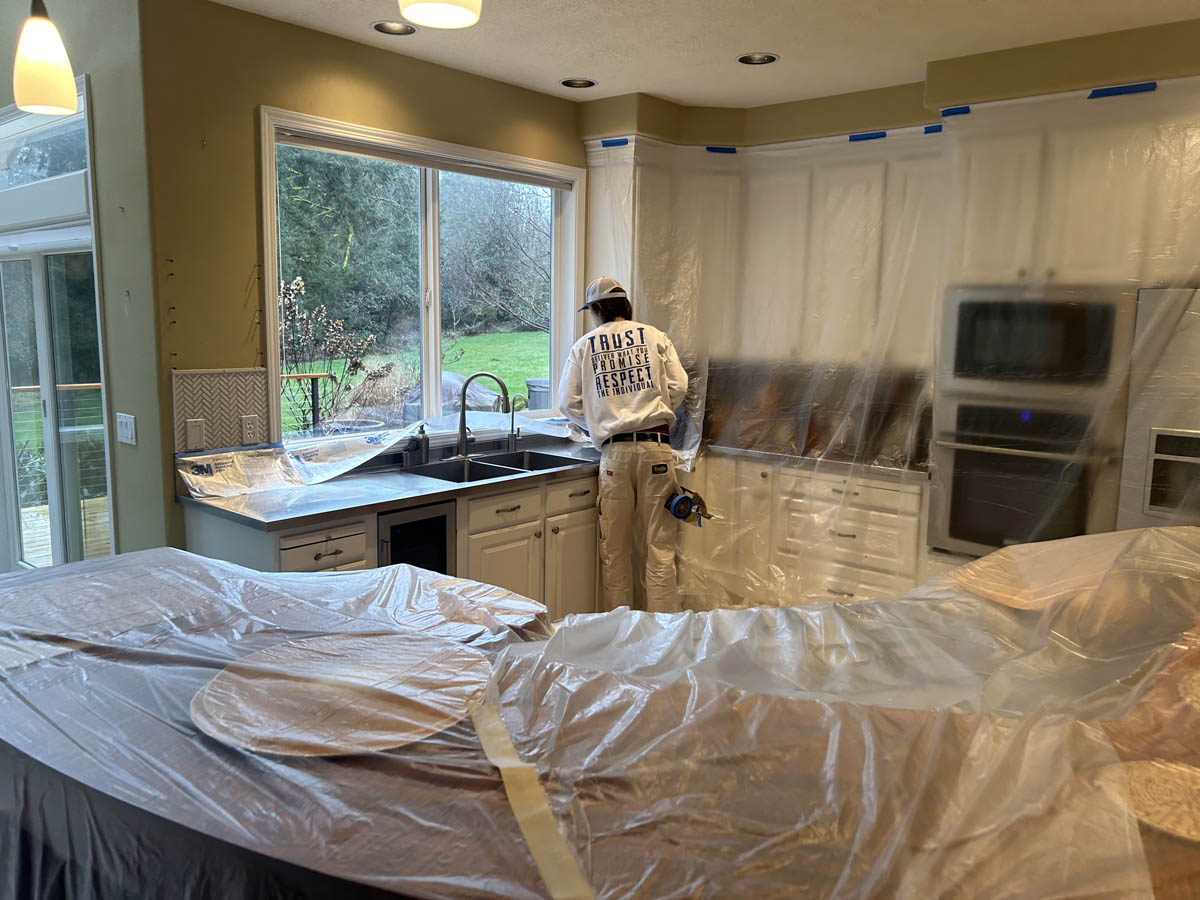
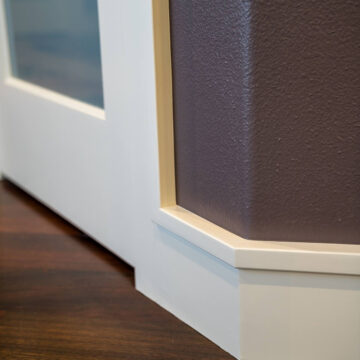
10. Masking and Back Sealing
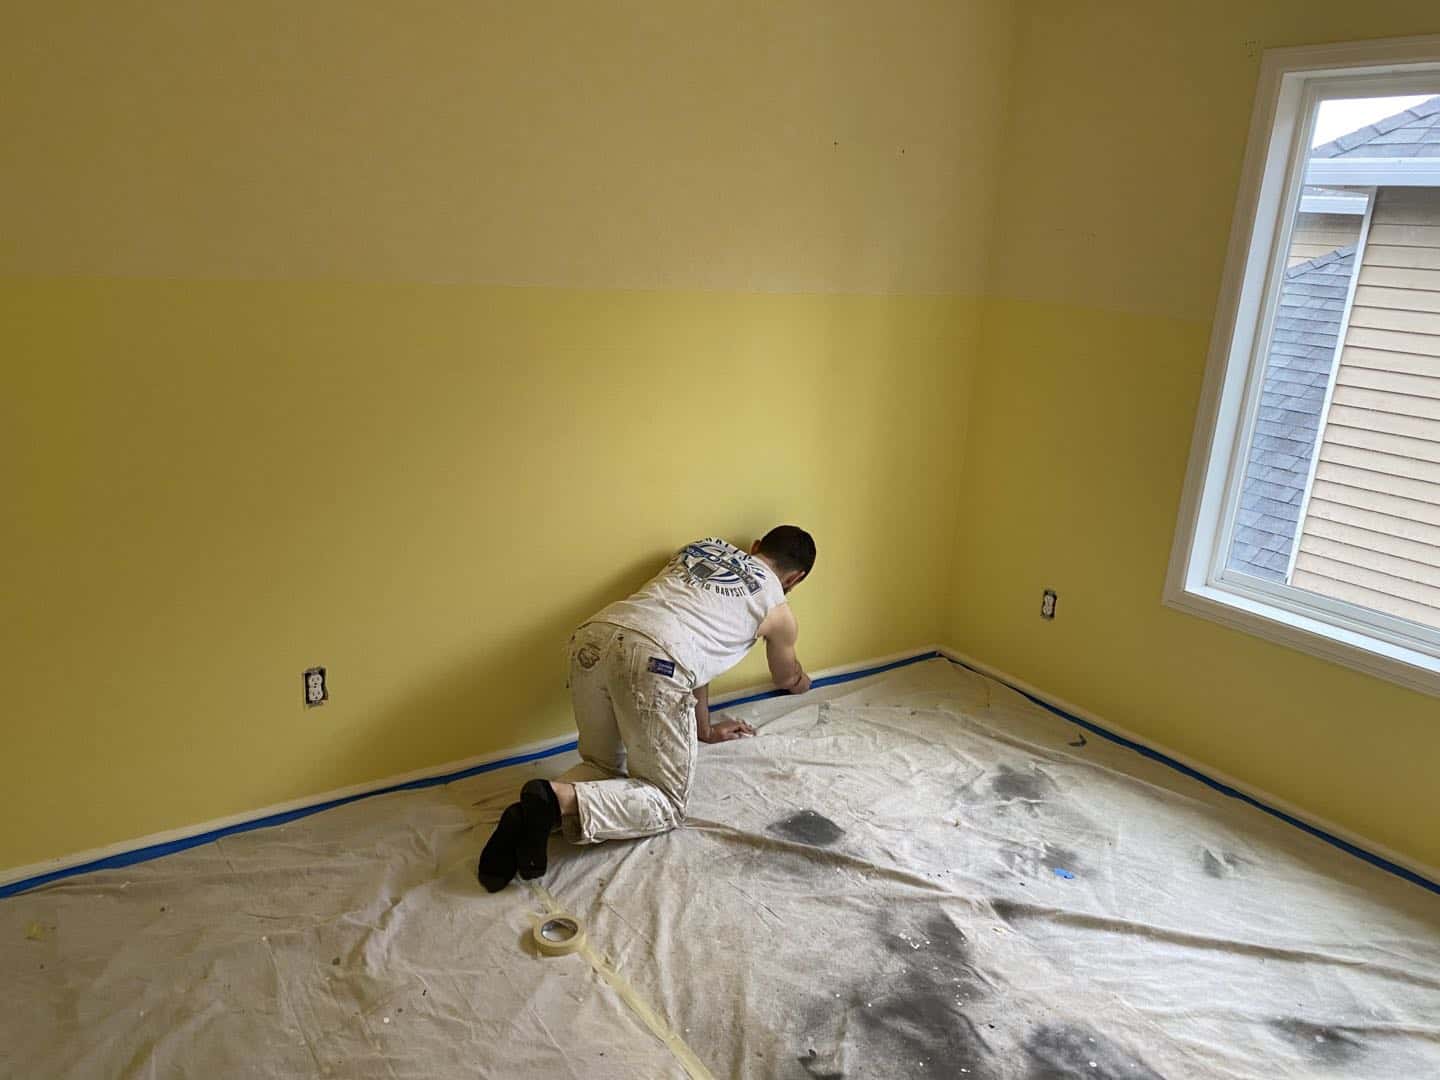
Every area that will be taped off is first cleaned thoroughly, such as with denatured alcohol on woodwork, to ensure optimal adhesion. We then tape off all trim, windowsills, handrails, cabinets, etc. Finally, to ensure ultimate precision, we use the “back seal” method using a thin layer of trim paint across the edge of the tape. This prevents any bleeding underneath the tape and gives us beautiful crisp edges.
Final Pre-Paint Steps
11. Switch Covers & Details
We remove switch plates, outlet covers, and any other hardware, storing them neatly in labeled bags for easy reinstallation.
12. Final Surface Prep
Patches (step 9 above) are sanded and cleaned with a damp cloth, ensuring the surface is pristine. Texture spray is applied to any areas that need it, setting the stage for a flawless finish.
This thorough preparation process is about more than just painting – it’s about trust, quality, and making you are happy. From the initial consultation to the moment we open the first can of paint, we ensure your home is treated with the care it deserves. And then you’ll see that carried through the entire painting process, on to the point where you get to inspect your beautifully painted home.
Have questions about our approach or looking to get started? Contact us today to see why Pearl Painters is a top choice for interior painting in the Portland area.


2 Responses
Impressive process! The attention to detail and communication at every stage truly show professionalism and care for homeowners.
Thanks Glenn! That certainly is our top priority.