Before you get your paint sprayer ready, it’s vital to prep! Achieving a professional result requires careful preparation, attention to detail, and the right tools. Here’s how to prepare trim, doors, and cabinets before painting and how to do it correctly, following our BKMs (Best Known Methods).
1. Prepare the Space
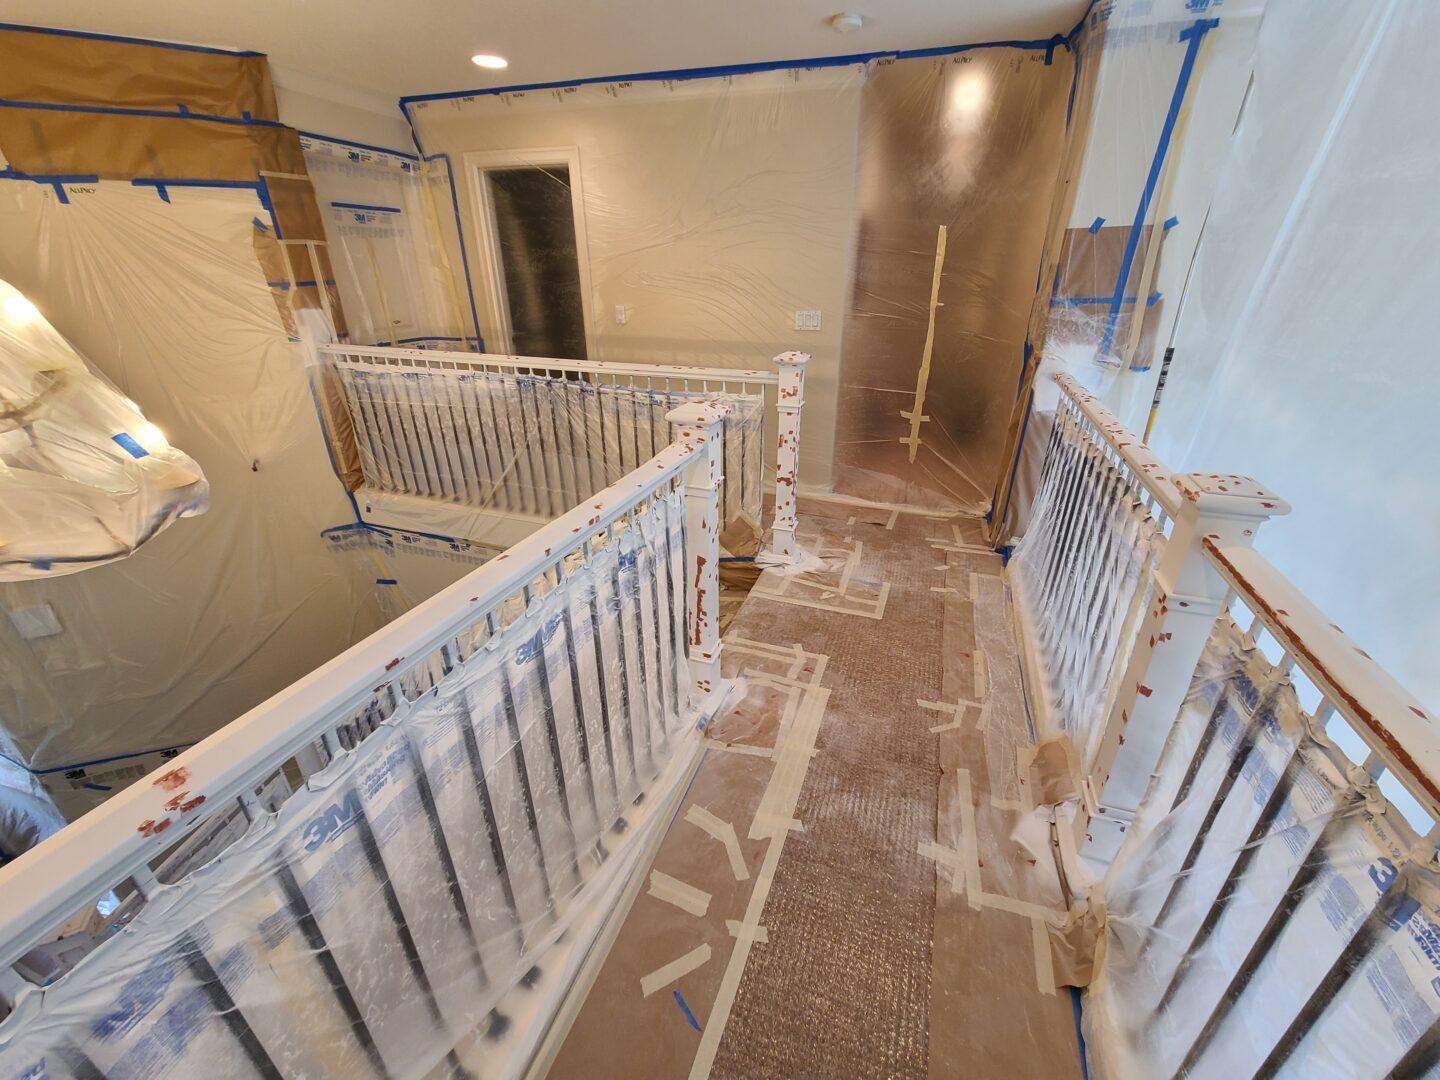
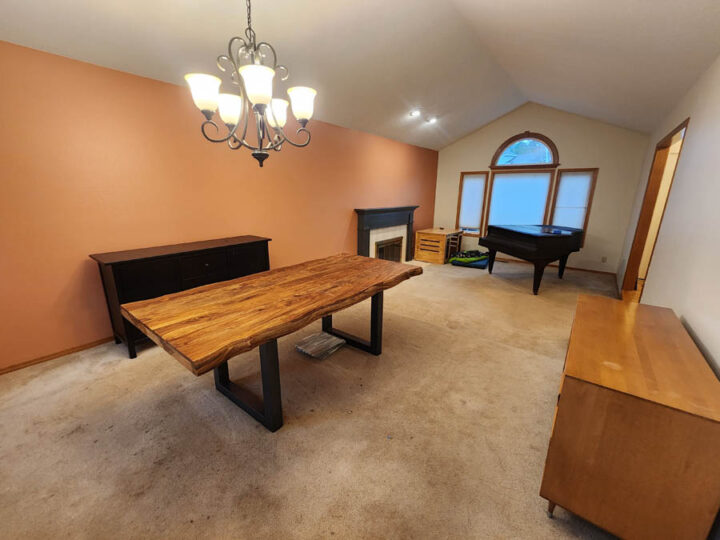
First, clear the room. Move out furniture and properly protect all surfaces. The video below shows how we protect and cover the space before spraying.
2. Sand and Clean Surfaces
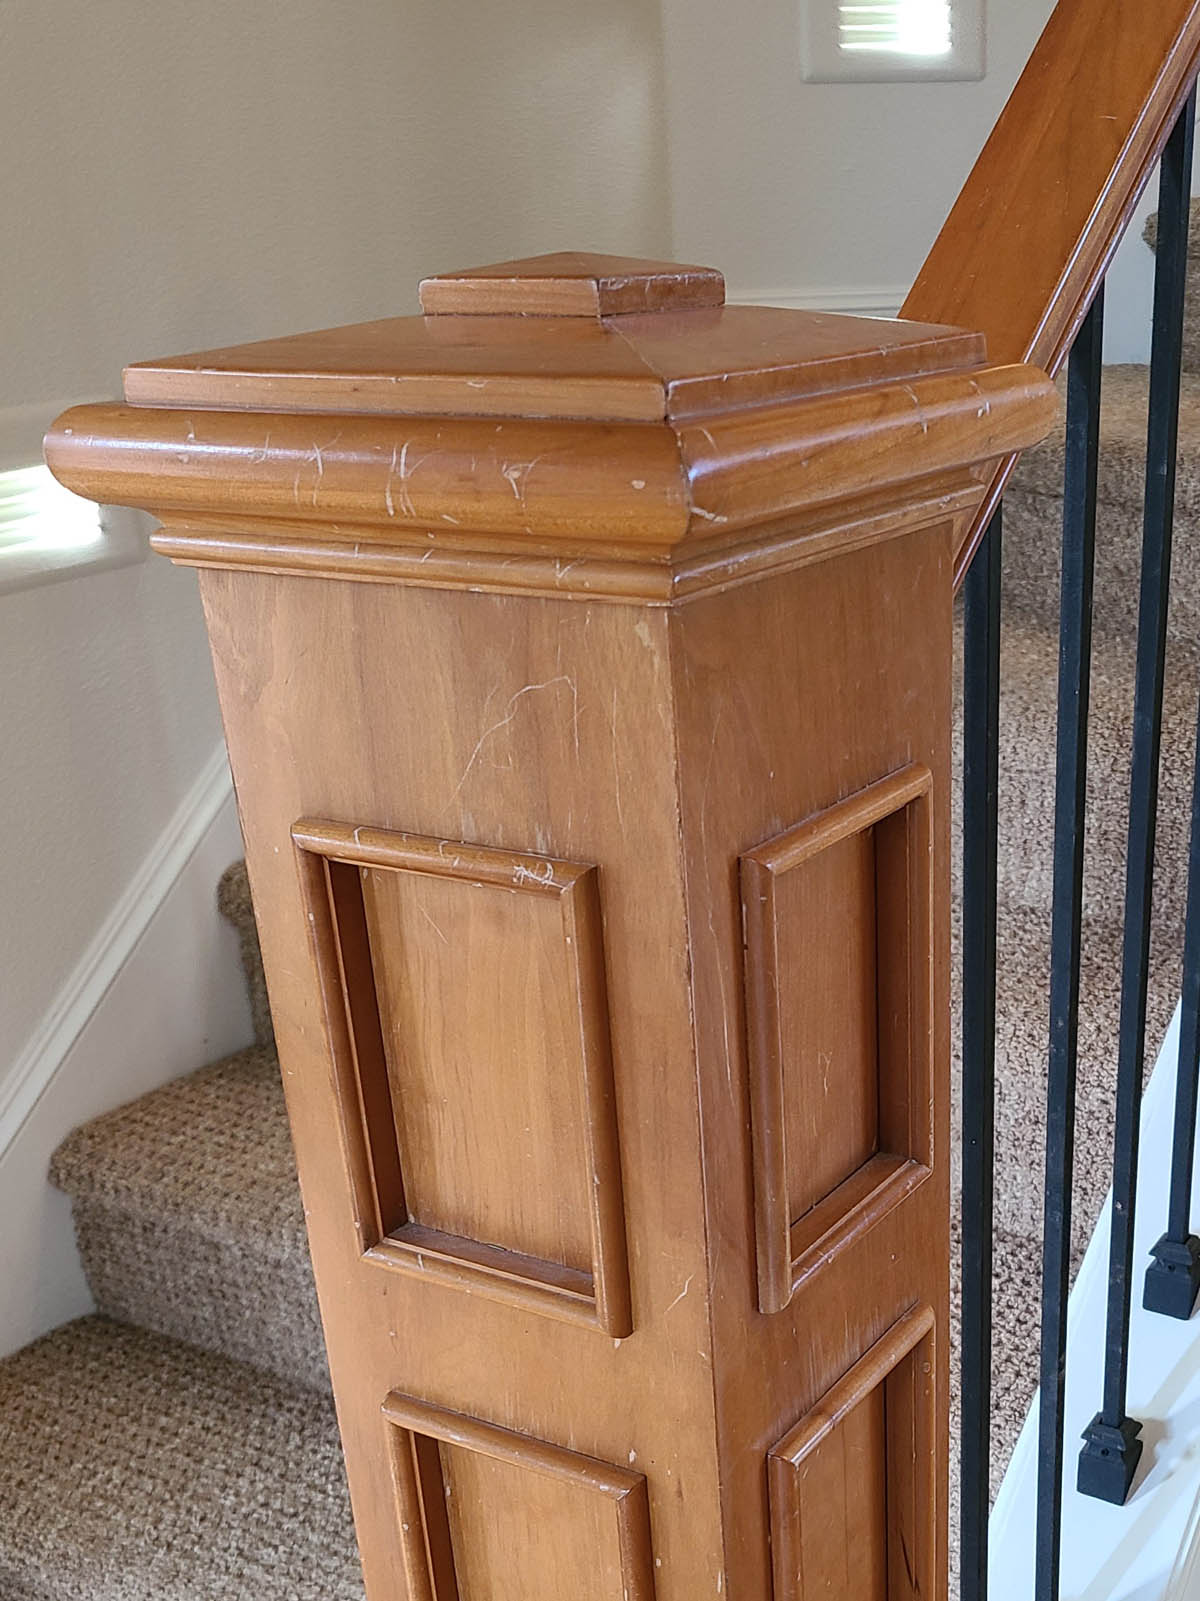
Before you even think about painting, you need to ensure the surfaces are in smooth enough for you. Spraying over imperfections like roller stipple, brush marks, or sagging paint won’t hide those flaws.
How to sand before painting trim/doors/cabinets? Start by sanding all surfaces with 220-grit sandpaper. This helps smooth out any bumps and de-gloss the old paint for better adhesion.
How to clean before painting trim/doors/cabinets? Be sure to clean all surfaces thoroughly after sanding, using a dampened microfiber towel. You will also want to clean with a degreaser such as denatured alcohol this will remove hand oils and cooking grease without leaving residue.
See more details about sanding and cleaning prior to priming and spraying in the video below, including the best tools for the job.
3. Apply Primer Before Painting
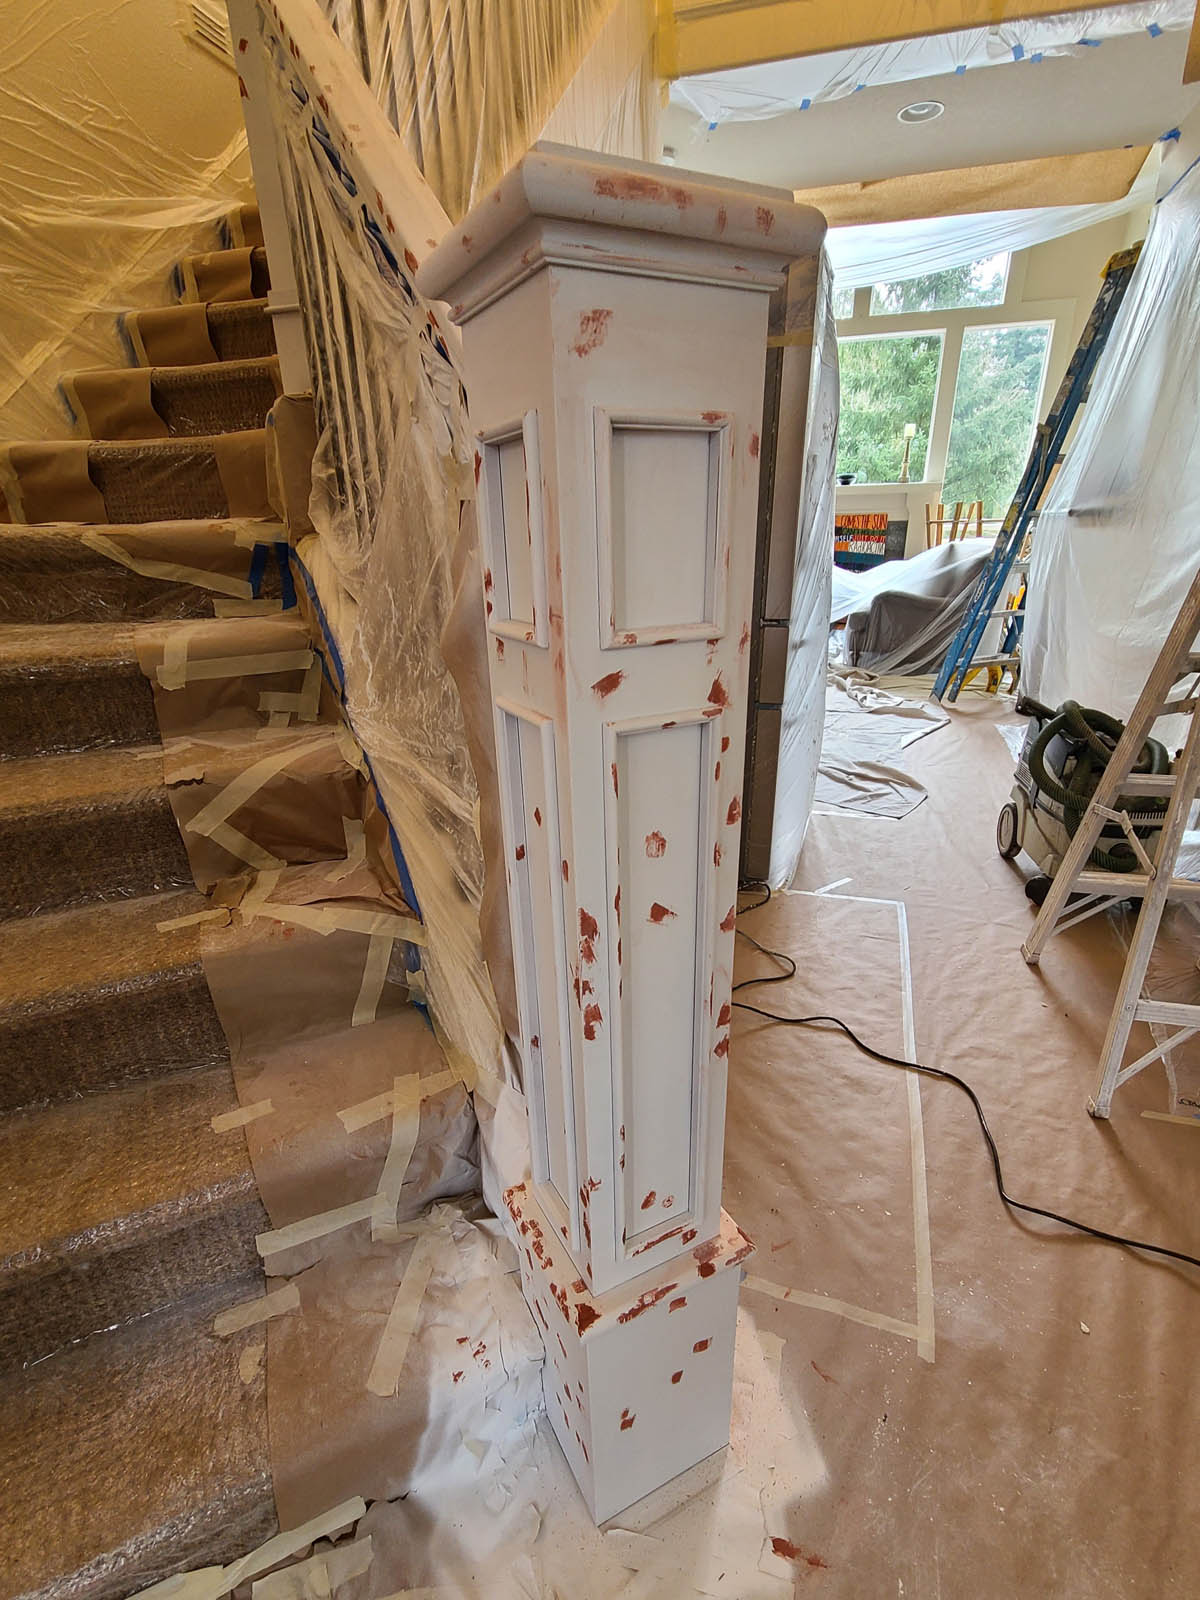
Priming is an essential step, especially when dealing with previously painted trim. We recommend using an oil-based primer like Zinsser Coverstain. Once the primer dries, sand it again with 220- to 320-grit sandpaper to remove any imperfections, and then vacuum up the dust. The smoother and cleaner the surface, the better your final finish will look.
4. Fill Gaps and Cracks
Next, look for all gaps, cracks, holes, and all imperfections. Use an LED light to help you see the smallest nicks, dents, and flaws.
- Gaps: Fill gaps with a quality caulk like Towertech II or Towertech Accelerator
- Larger holes: Wood filler or Bondo
- Minor imperfections: Red glazing putty applied with a razor smooths these minor flaws out perfectly.
After everything is dry, sand and vacuum once more, just like you did in Step 3 above.
The two videos below show more details about how to caulk cabinet doors (which applies to trim and doors as well) and applying red glazing putty to smooth out minor imperfections.
5. Pay Attention to Temperature
Temperature plays a major role in how well the paint lays down. Avoid painting in extreme heat or cold, and make sure there are no fans or drafts to avoid shrinking your paint’s open time, which can cause uneven drying. If necessary, thin your paint with water for water-based coatings or mineral spirits for oil-based ones. You can also use extenders like Floetrol to keep your paint workable longer, especially in warm conditions.
For a smooth finish, try heating your paint slightly. Place the paint can in a bucket of hot water or use a crockpot. Warming the paint thins it without diluting, helping to avoid the dreaded orange peel effect on your trim.
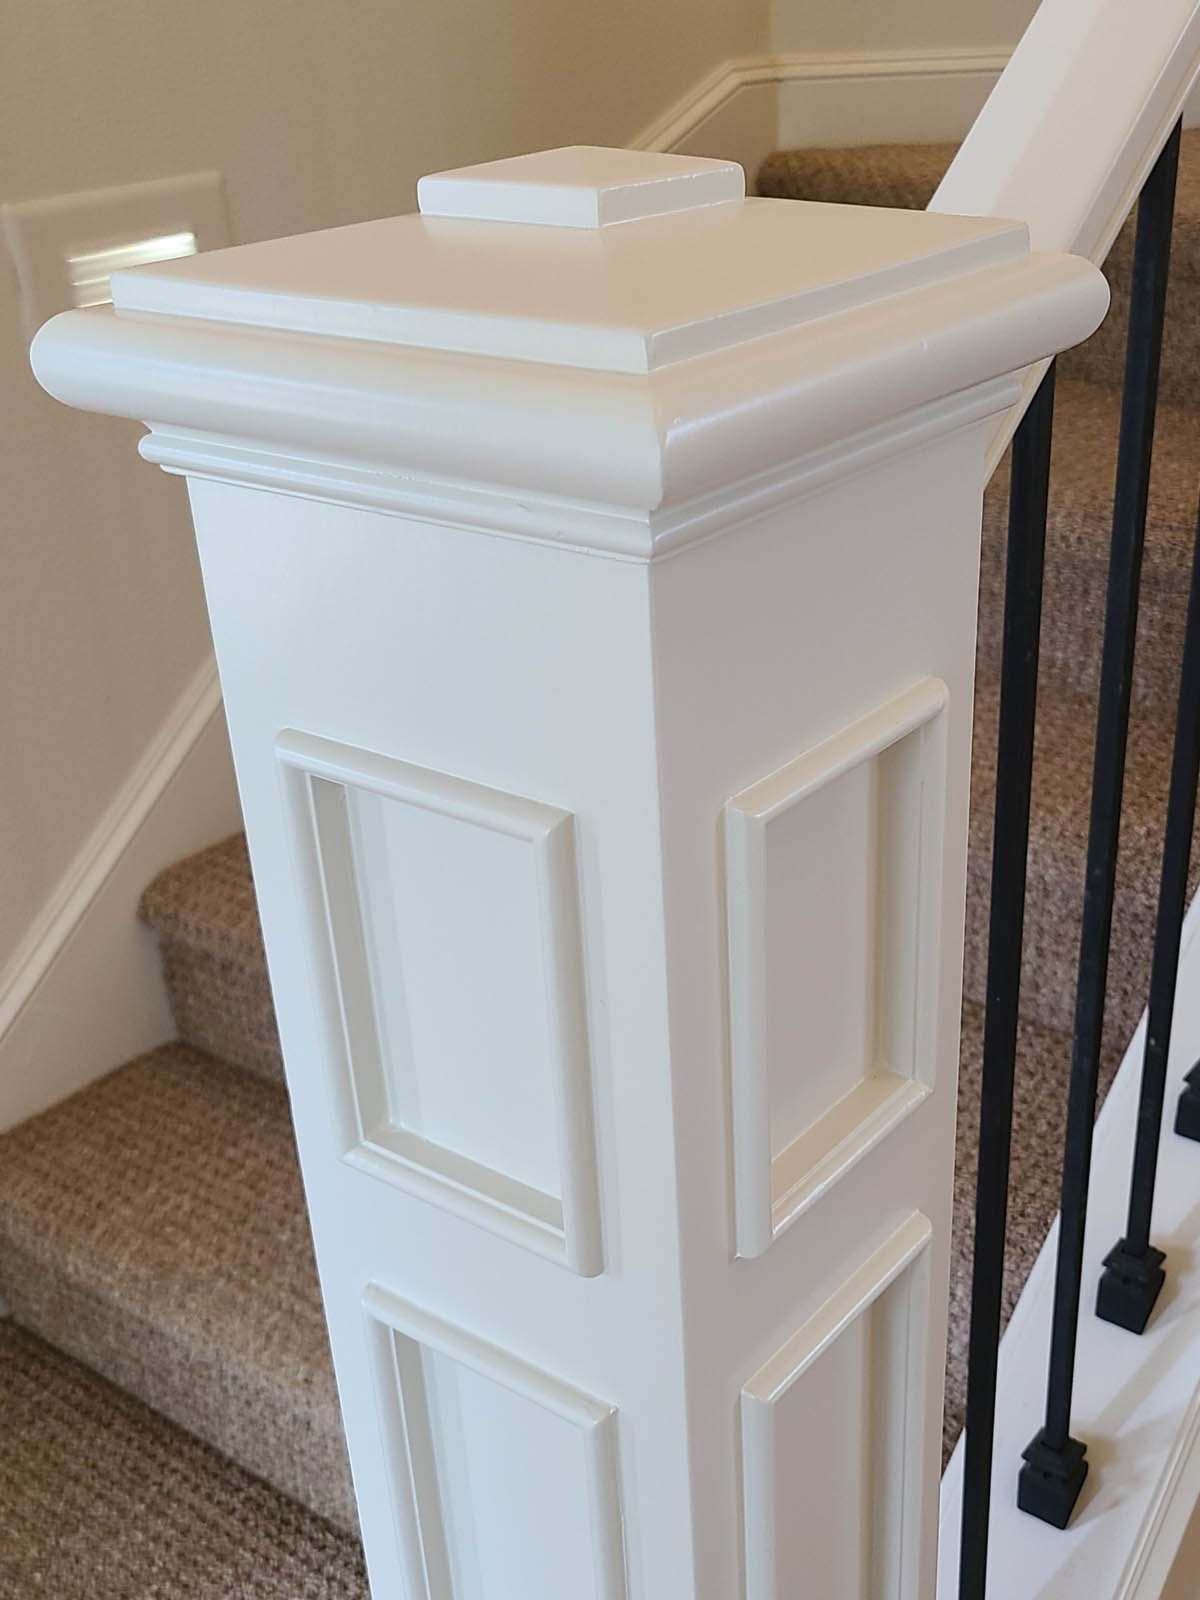
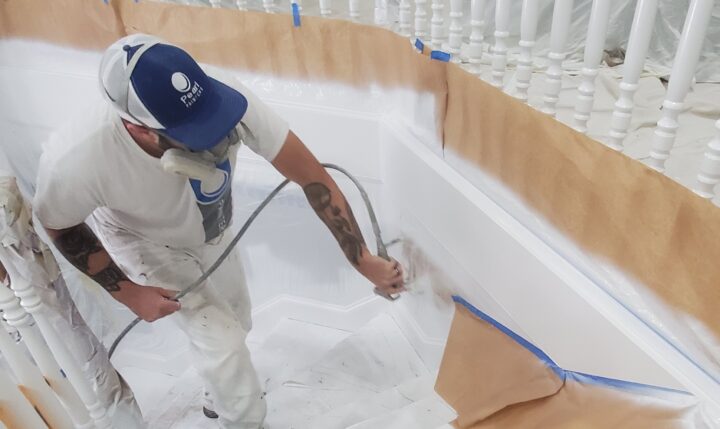
6. Time to Spray!
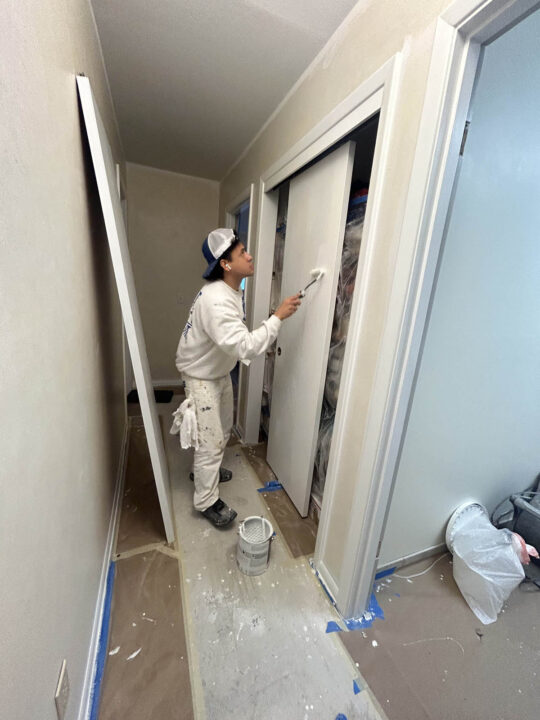
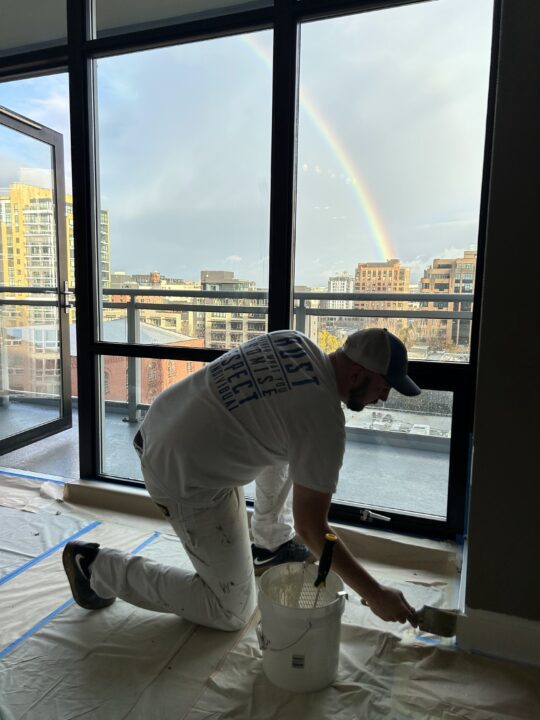
Pearl Painters Team at Work, Prepping Before Spraying
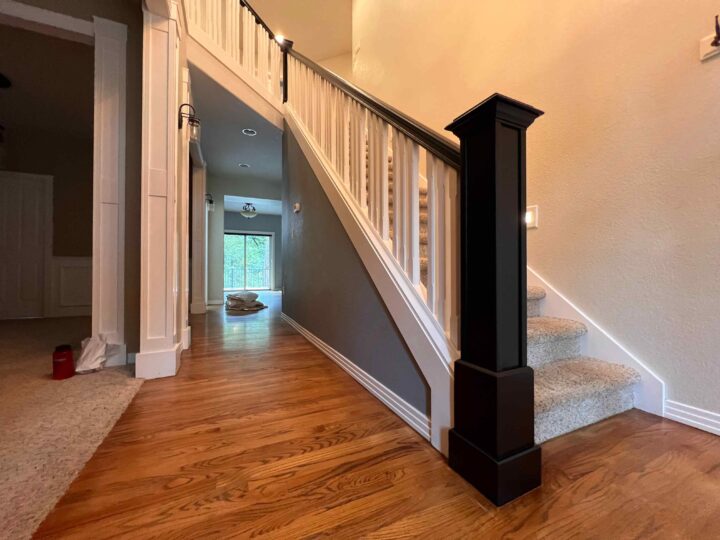
By following these steps, you’ll be well on your way to a professional-grade spray finish on your trim, doors, or cabinets. For more expert tips or to inquire about our services, contact Pearl Painters today.