Spray guns can make painting look incredibly easy. Pull the trigger, watch the old color disappear, and move on to the next section. But if you have ever actually used a paint sprayer, you know there is a lot more to getting a good result than pointing and spraying.
At Pearl Painters, we use sprayers regularly, but we are actually pretty selective about when we use them. For most residential interior walls, spraying is rarely our first choice. Exteriors, new construction, cabinets, doors, and certain large-scale projects are much better candidates.
When would we actually use a sprayer on interior walls?
- New construction where people aren’t living in the home; or
- A ton of square footage with simple architectural design
Other than those two scenarios, it’s very rare for us to use a sprayer to paint interior walls.
But if you’re really considering spraying your own interior walls, please read through this post to understand everything you should know before starting.
Is Spraying Interior Walls Really Faster?
Technically, spraying can put paint on a wall very quickly. The problem is the amount of time spent on everything that comes before and after.
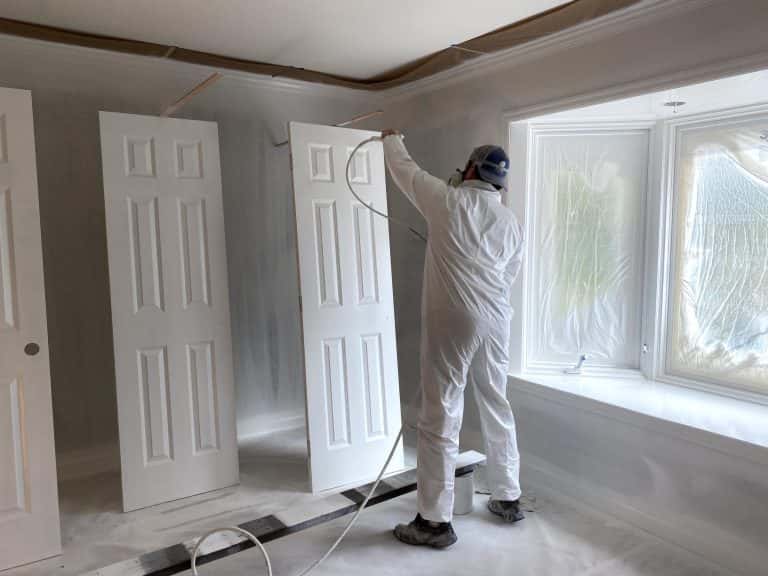
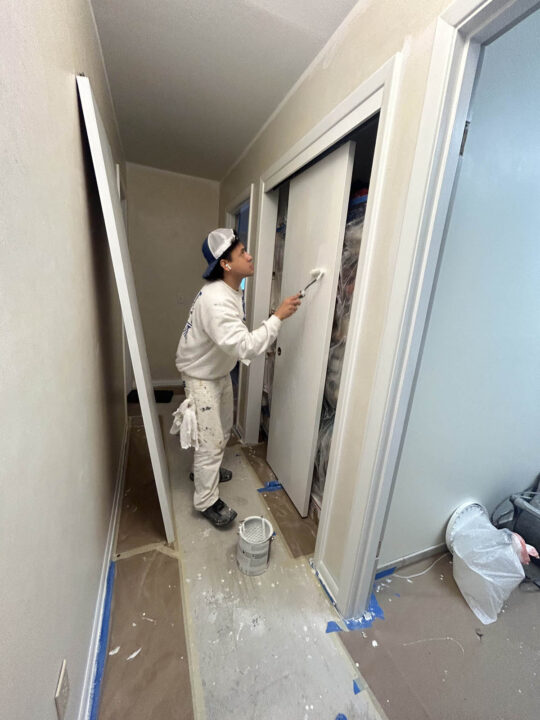
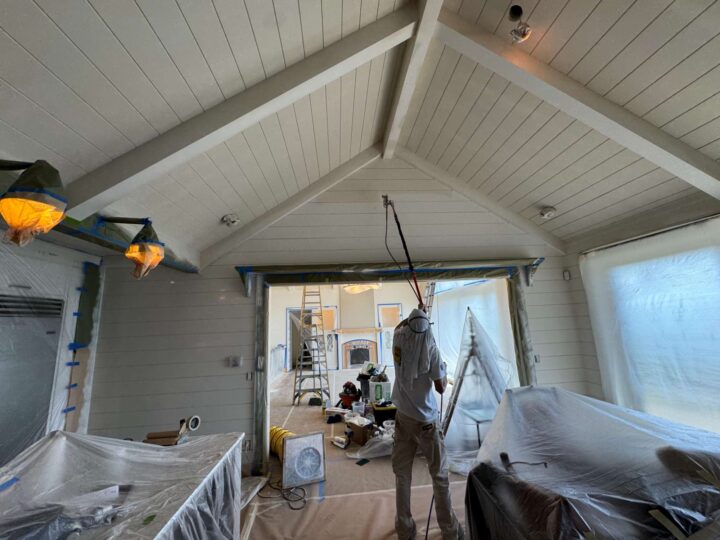
Before spraying an interior, you need to mask everything you don’t want covered in paint dust. Floors, windows, doors, trim, cabinets, furniture, light fixtures and adjacent surfaces all need protection. And don’t assume that just because you’re spraying one room, the rest of the house is safe. Spray mist can travel surprisingly far through an HVAC system or open doorways. If you’re spraying downstairs, for example, you may need to shut off the HVAC and create airtight barriers to prevent paint dust from making its way upstairs.
Then there’s the backrolling. For most residential interior walls, we recommend spraying and then backrolling the paint. This helps create a more consistent appearance and uniform sheen across the wall. So while spraying gets the paint onto the surface quickly, you’re not eliminating the rolling step if you want a nice finish.
That is just one reason professional painters often choose to simply roll interior walls in the first place.
What is the Proper Technique?
If you’re insistent on spraying your interior walls, the technique matters enormously. It’s important to use the right paint, too.
For most residential applications, a fine-finish low-pressure tip such as a 413 FFLP can be appropriate, although the correct tip depends on the product and sprayer. Always follow the paint manufacturer’s recommendations.
Before spraying your walls, test on a safe surface to play with the pressure and practice your technique. You want to use pressure high enough you aren’t getting hard lines at each end of the spray pattern, and not so high that you’re lost in a plume of spray dust within seconds. You’ll usually use about 3/4 of the pressure; some machines have gauges on them to help determine where the pressure should be.
Keep the sprayer approximately 12 inches from the surface and maintain a consistent distance and speed. Your spray pattern should overlap roughly 60/40 to 70/30 as you move across the surface. Typically, you’ll want to spray on the faster side; better to spray too lightly and have to go back over it than to go too slow and heavy.
Most importantly, don’t start or stop spraying while the gun is directly over the wall. Start moving, pull the trigger, and then release the trigger while you’re moving off the surface. This helps prevent heavy spots and spits.
Spray in a consistent direction, too. Changing directions from vertical to horizontal can create a checkerboard appearance as the light catches the different spray patterns.
And don’t chase coverage. One of the biggest mistakes we see from inexperienced sprayers is continuing to pull the trigger until the color underneath completely disappears. It looks fantastic while you’re doing it, but you’re often applying far too much paint. That’s when runs and sags start appearing.
Instead, follow the manufacturer’s recommended wet film thickness. A paint film thickness gauge can help you determine whether you’re applying the correct amount of material.
One more piece of advice here: start with the hard stuff first. Paint weird angles, tight spaces, behind furniture, toilets, etc. Get that done and out of the way.
Does the Paint Type Matter?
Yes, the type of paint absolutely matters if you’re using a sprayer. There are some paints that are extremely difficult to spray, even for professionals.
- Dark paint: If you’re spraying a dark color, make sure that you’re spraying in a temperature ideal for your paint (check the manufacturer’s instructions). Dark colors in poor temperature environments (too hot or cold) will have zero margin of error on workability.
- Stay away from scuff-resistant wall paints, such as ScuffX, ResistX, and Scuff Tuff. These are quite finicky and in some cases even need different spray tips to work properly.
- Stick with a mid-grade water-based paint and sheen. We recommend Duration from Sherwin Williams or Ultra Spec from Benjamin Moore.
Do Walls Need Different Prep or Primer?
Not necessarily.
The wall still needs the same fundamental preparation whether you’re spraying or rolling. Fill holes and dents, sand repairs smooth, remove dust, and clean areas that need it, particularly kitchens and bathrooms. If you’re spraying primer, don’t panic when it looks terrible after it dries. Primer contains little or no color pigment, so it isn’t supposed to provide beautiful coverage.
In fact, a sprayed primer coat can be a useful practice run for you. It gives you an opportunity to see where you’re moving too quickly, where you’re applying too much material, and how your spray pattern behaves before you get to the finish coats.
Do we think that you’ll be a pro after practicing your technique with primer? No. But hey, if you’re insistent about using a sprayer to paint your interior, then using it for your primer is one positive aspect of this whole endeavor!
What About Humidity and Drying?
This is particularly important when spraying indoors. Spraying puts a large amount of paint into the room in a short period of time. Because water-based paint needs to release moisture as it dries, the humidity inside a sealed room can spike dramatically. That can contribute to runs and slow drying, especially with dark colors.
Dark colors can be particularly challenging because they contain more colorant and can take longer to dry. The colorant itself doesn’t function as a drying agent; it needs to be suspended in the paint. As a result, dark colors may need more time between coats.
Once spraying is complete, we recommend getting fresh air moving through the space. Fans should generally be directed along the wall rather than directly at it (see video of setup here), creating airflow throughout the room. During damp periods, a dehumidifier can also help control the environment.
Is Spraying Better for Exteriors and Cabinets?
Short answer: Yes.
This is where spraying becomes much more useful.
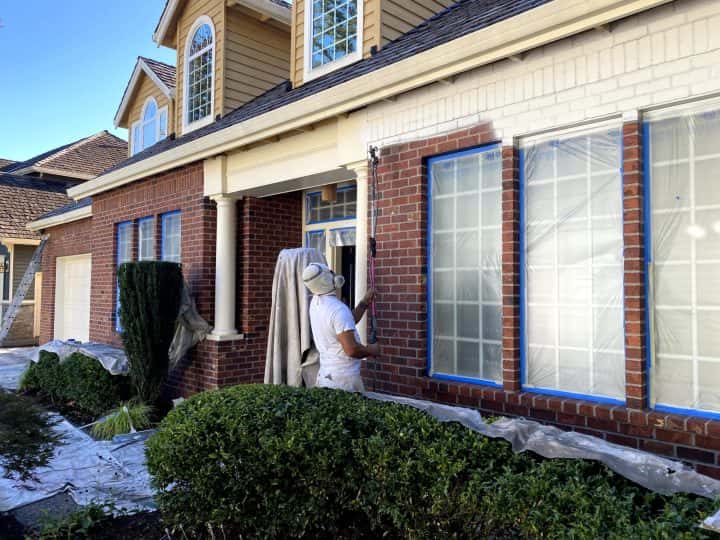
Exterior painting can be an excellent application for spraying, particularly on large areas and certain siding materials. However, spraying an exterior still requires careful masking, preparation and often backrolling or brushing to work the coating into the surface.
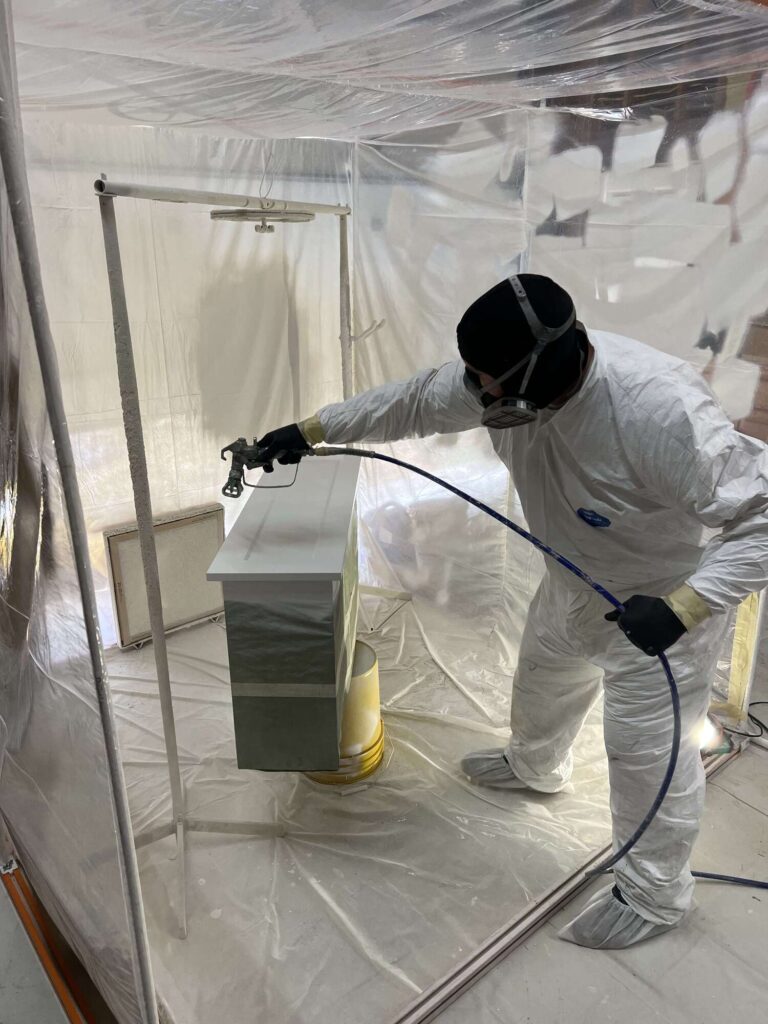
Cabinets and doors are another great application. When the goal is an exceptionally smooth finish, spraying produces a result that is difficult to replicate with a brush or roller (but you can get close!). But cabinets require extensive preparation – including the space where you’re spraying (like a garage) – proper primers and coatings, controlled application and careful handling between coats. This is also why cabinet spraying isn’t a great place to learn how to use a sprayer for the first time. Smooth surfaces show every mistake.
So, Should You Spray Your Walls?
Our professional opinion? Usually not for an occupied residential interior repaint.
Spraying walls sounds faster, but once you account for extensive masking, overspray, backrolling, cleanup and environmental control, the advantages can disappear quickly.
We do use sprayers when the situation makes sense like covering ceilings, trim, cabinets, doors, exteriors, new construction and large projects where we can properly control the environment.
The biggest lesson is that a spray gun is a tool, not a shortcut. Getting professional results requires knowing the equipment, the paint, the surface and the environment you’re working in.
If you’re considering spraying your home and aren’t sure whether it’s the right approach, ask a professional before you start masking everything in plastic. A few minutes of advice can save you from a lot of cleanup—and potentially a lot of paint runs.