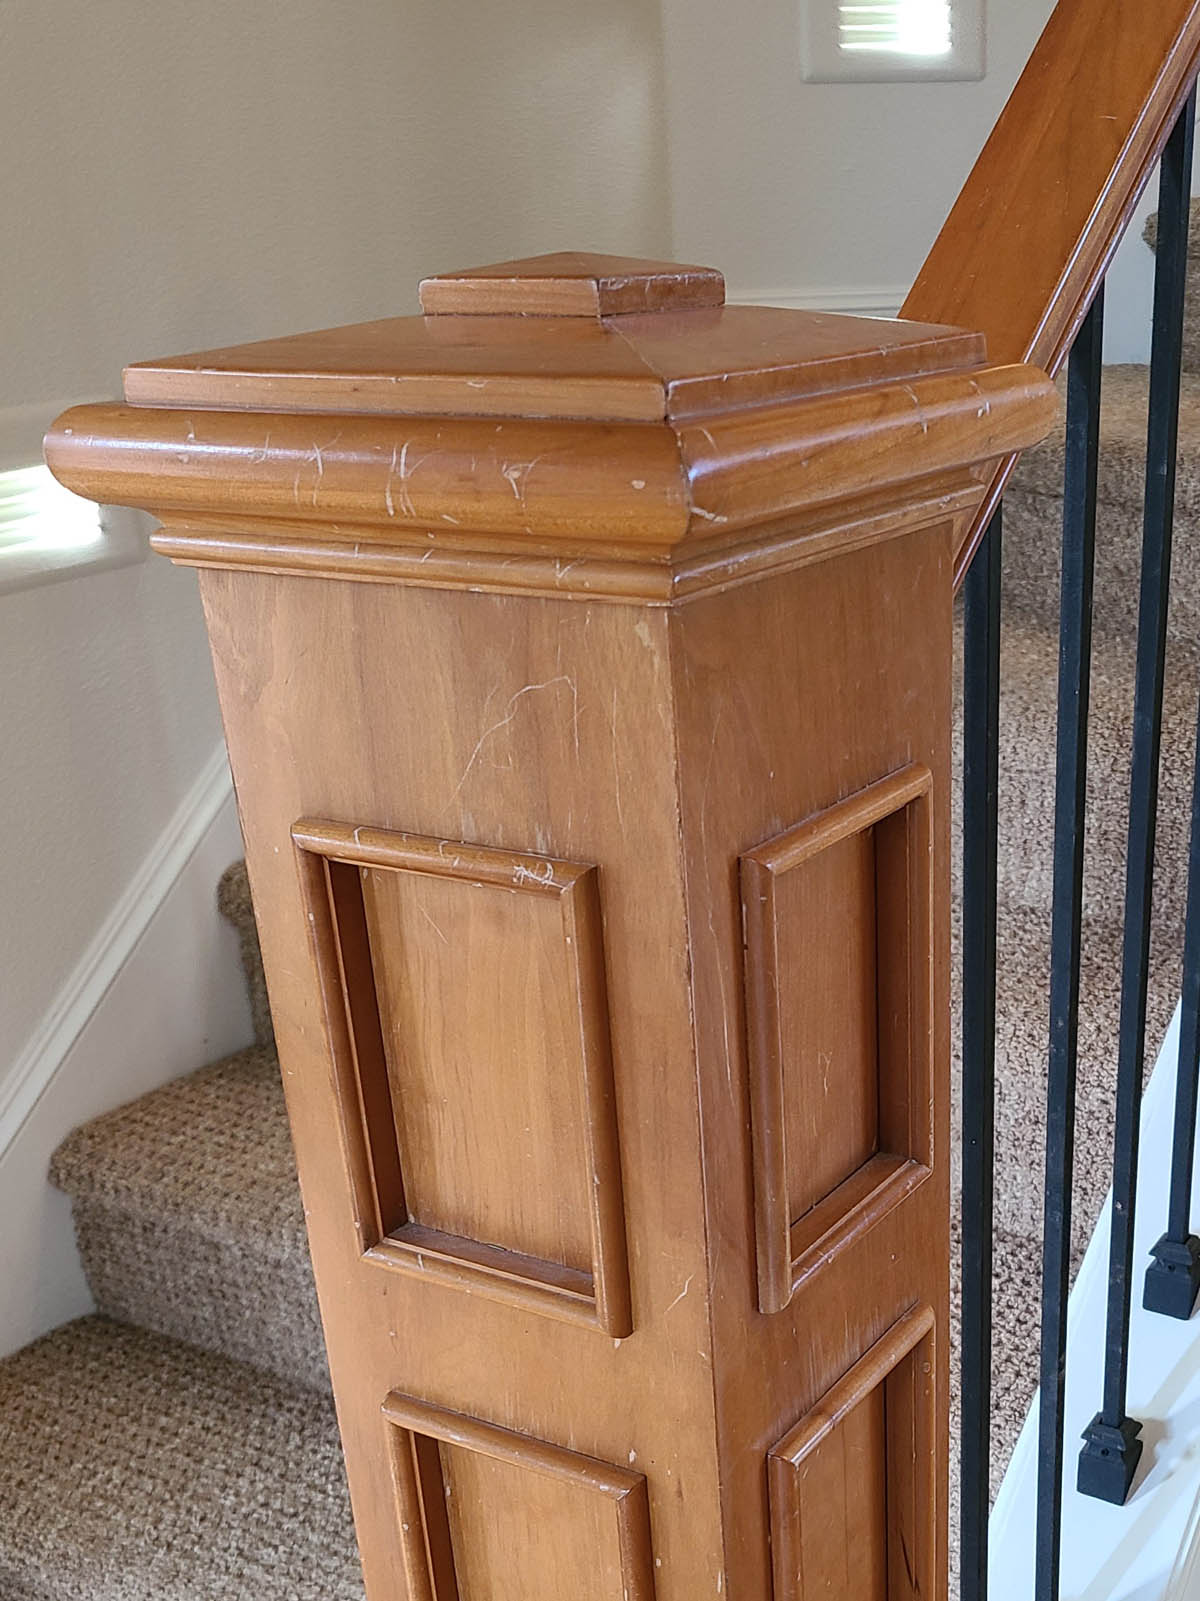
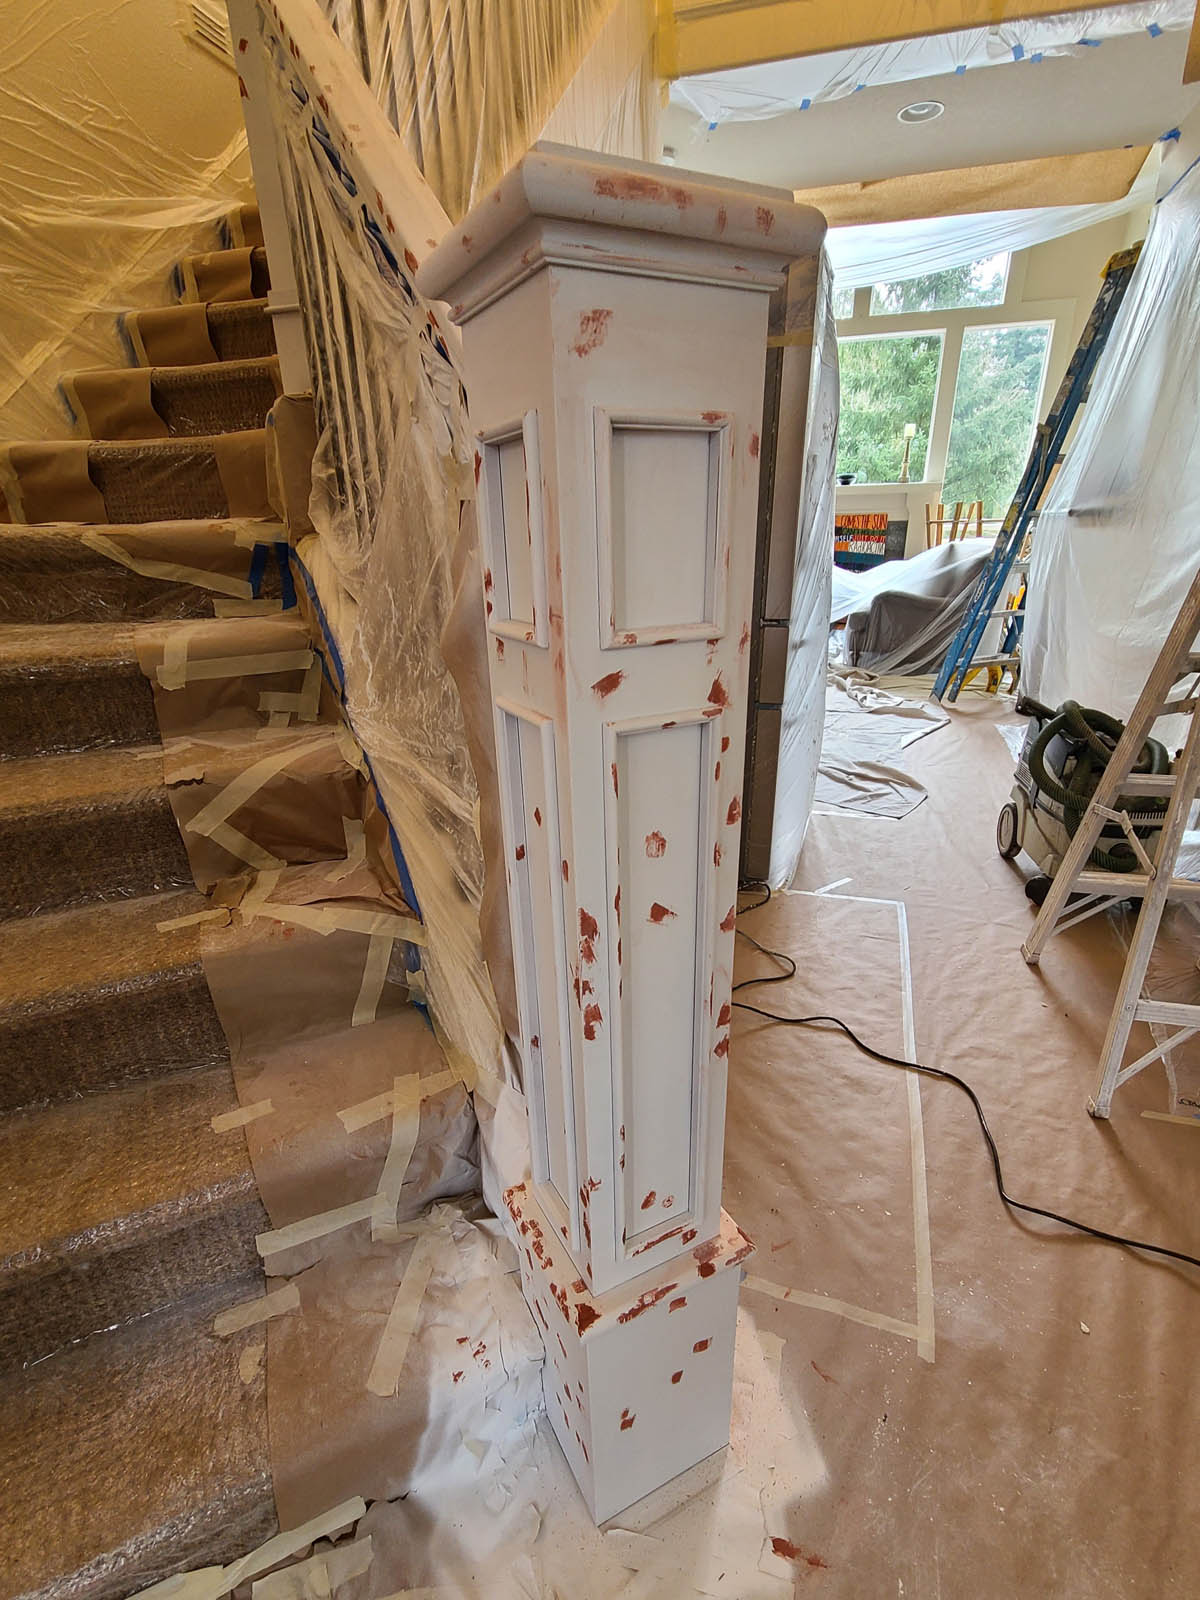
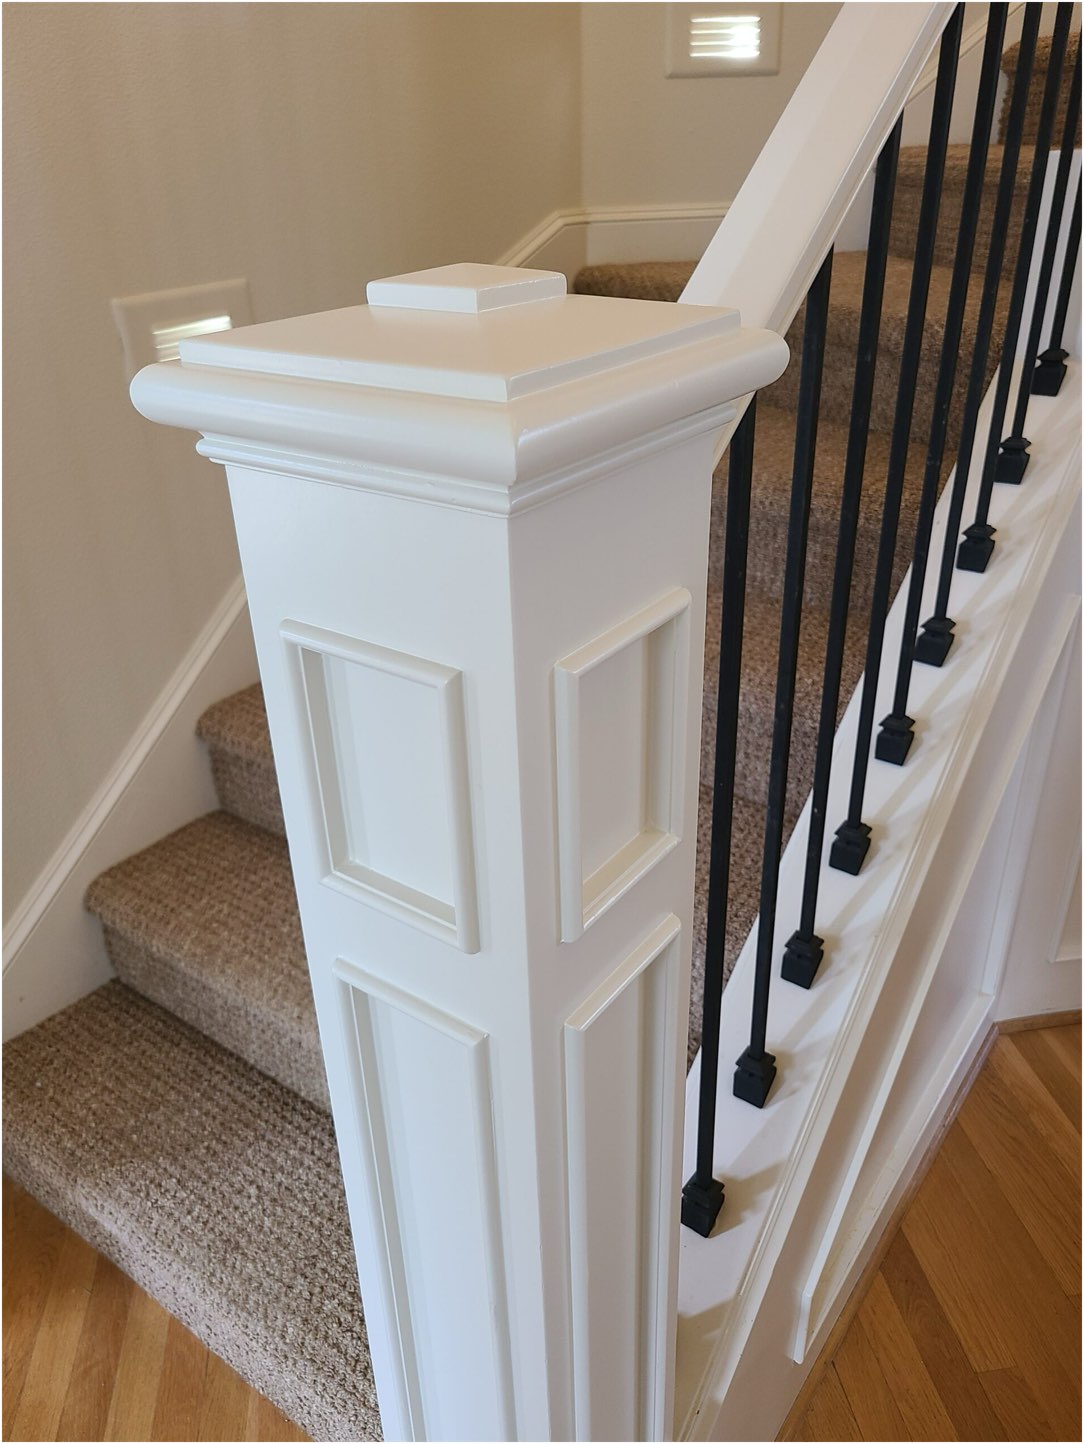
There is absolutely nothing wrong with trying to paint your home yourself. In fact, plenty of homeowners do a great job. But sometimes a project doesn’t go quite as planned.
If you’re seeing any of these things, it may be time to bring in a professional instead of spending more time trying to fix it:
- Peeling paint
- Uneven sheen
- Brush marks
- Chipping paint (such as on cabinets)
- This is a bigger job than you expected it to be!
We know you aren’t being careless while working so hard to paint your home! It’s simply that you likely ran into something you didn’t know how to handle.
The good news is that a bad DIY paint job doesn’t necessarily mean you’ve ruined anything. In many cases, a professional can identify what went wrong, correct the underlying problem, and get the project back on track.
Here are some of the most common mistakes we see (and yes, we really do see these all the time when customers choose to get in touch with us and bring us into their homes to fix the problem).
The Paint Looks Fine... Until the Light Hits It
One of the frustrating things about painting is that a wall can look perfectly fine while you’re working on it and completely different once it dries. Missed spots, uneven coverage, roller marks, flashing, lap marks, and texture differences can suddenly become obvious when the light changes. This happens frequently when homeowners are trying to get a project finished quickly. They may apply paint over a patched area without properly priming it, or they may not maintain a consistent roller pattern across the wall.
If you’re already seeing these problems, simply putting another coat of paint over everything isn’t the answer. The underlying surface may need to be repaired, sanded, primed, or otherwise corrected before repainting.
Solution: Stop adding layers! That only makes it worse. Contact a professional painter to fix the problem.
You Skipped the Prep. Now the Paint Is Peeling.
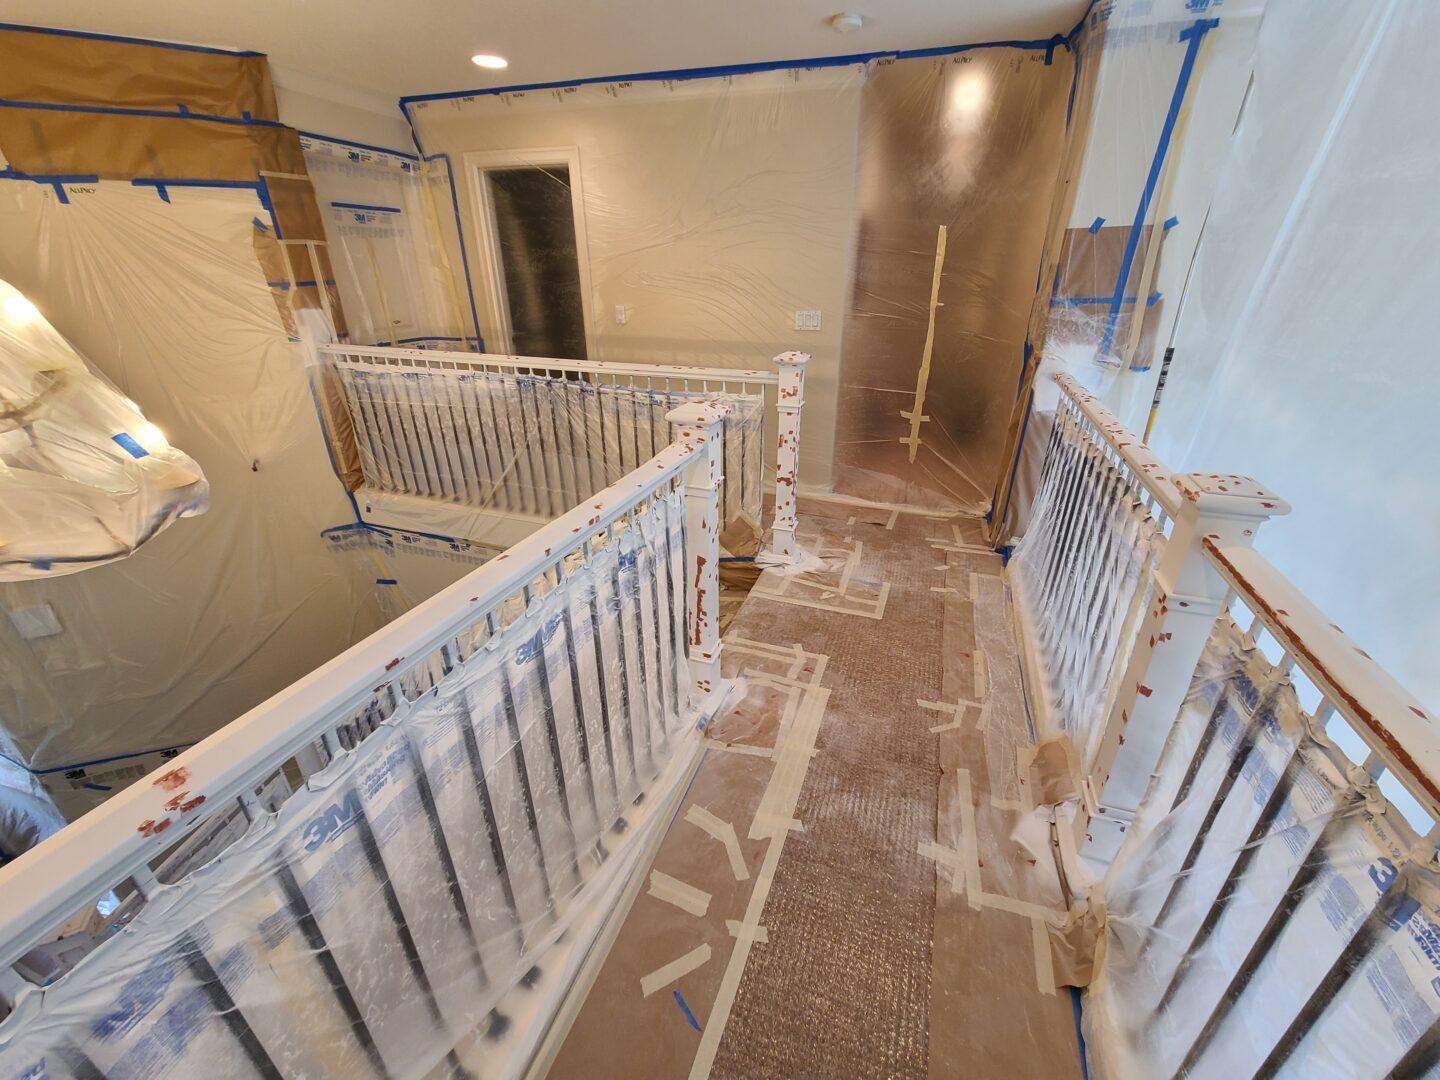
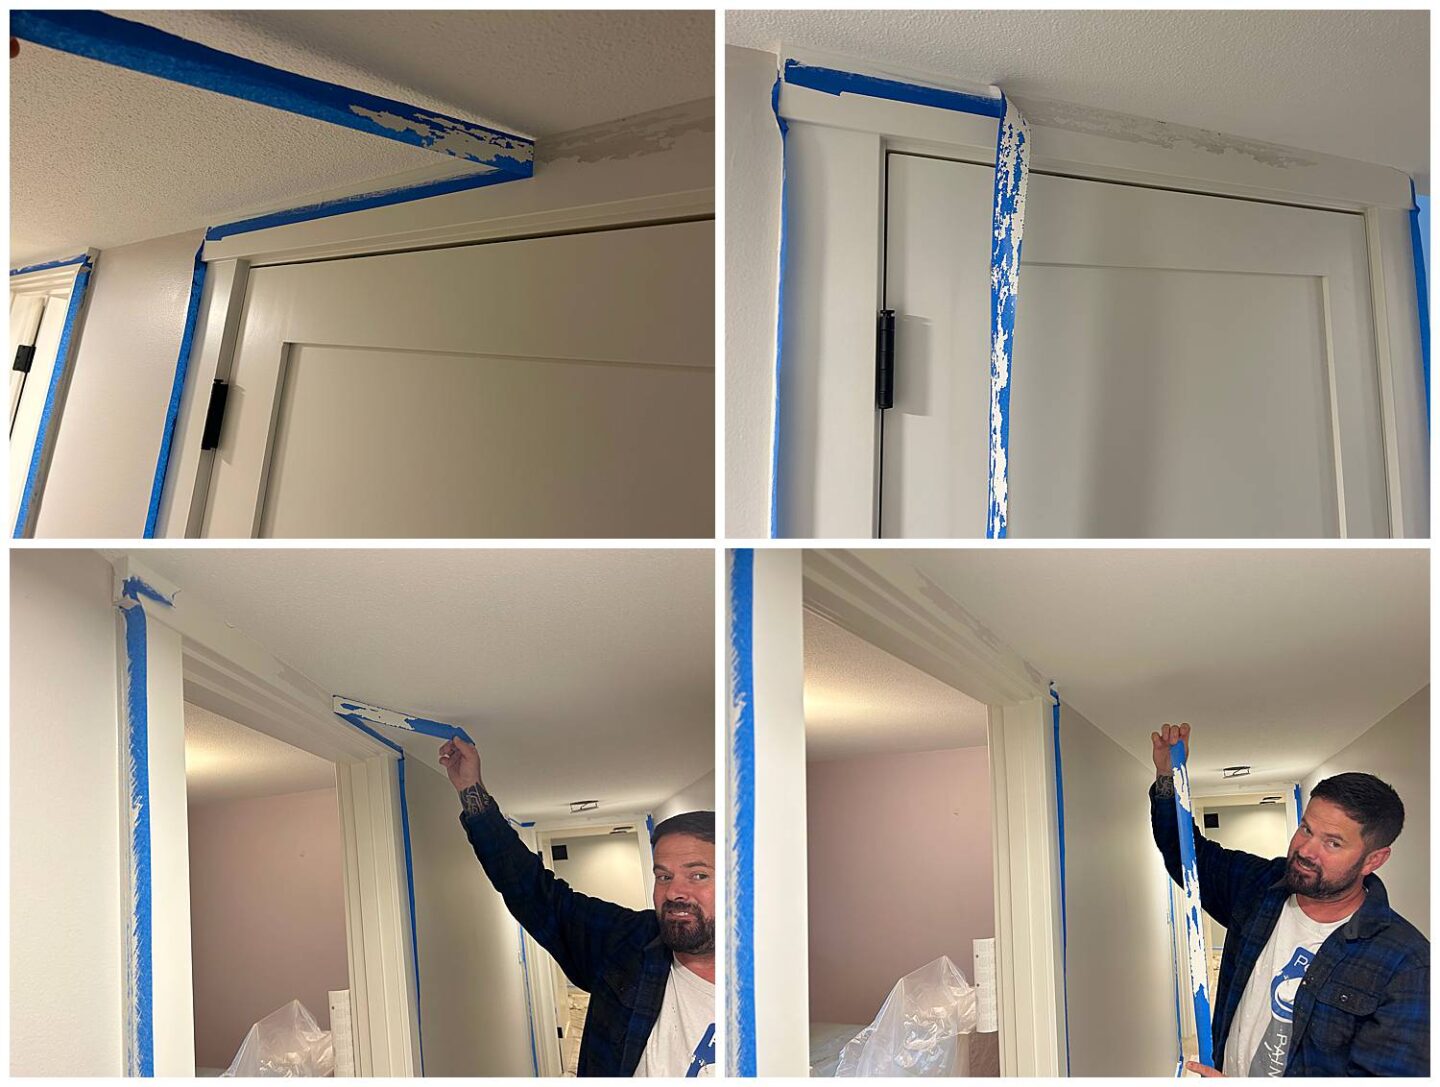
This is probably the most common problem we encounter with failed DIY projects. Painting feels like the main event, so it’s tempting to spend as little time as possible getting to the actual painting. But preparation is what determines whether the coating can properly adhere to the surface.
A common example is trim, doors, or cabinets. Someone cleans them quickly, grabs a gallon of paint, and starts brushing. It may look fantastic when it’s finished. Then a few weeks or months later, the paint starts peeling. That’s because paint can’t compensate for a surface that wasn’t properly prepared. Glossy surfaces may need to be deglossed or mechanically abraded. Damaged areas may need to be repaired. Some surfaces need primer to establish proper adhesion.
If your new paint is already peeling, adding another coat won’t solve the problem. The failed coating needs to be addressed first.
Proper preparation is often the difference between repainting a surface and actually fixing it.
–>Read more about our cabinet prep process. And bring us in to fix it before it gets worse.
And yes, we’ve written about interior prep and exterior prep, too.
You Patched the Wall, But Now You Can See Every Repair
Drywall repairs are another classic DIY trouble spot. You fill the hole with spackle, smooth it out, wait for it to dry, and paint over it. Unfortunately, that’s often where the problem starts. And yes, it comes back to proper prep work.
A repair can absorb paint differently than the surrounding wall. The texture may not match, or the edges of the patch may remain visible. And the sheen can change depending on how the surface was sanded and primed. Proper wall repair can involve several steps: filling, sanding, adding texture when necessary, priming, sanding again, and inspecting the repair under appropriate lighting before the final paint is applied.
If you can see every place you patched after the wall has been painted, don’t assume another coat will make it disappear. The repair itself may need to be corrected first.
The solution is, again, stop adding layers of paint! Get in touch with us and we’ll help you out.
Using the Wrong Paint in the Wrong Place
Sometimes the problem isn’t how the paint was applied. It’s what was applied.
A perfectly good wall paint isn’t necessarily the right product for a door. A ceiling paint isn’t designed to withstand the same abuse as cabinet paint. And a water-based coating shouldn’t simply be applied over an incompatible existing surface without the necessary preparation and adhesion system.
One of the biggest mistakes we see is treating every painted surface as though it’s the same. It isn’t. The right product depends on the substrate, the existing coating, the location, the amount of wear, the desired appearance, and how the surface will be used.
If you’ve already used the wrong product, don’t panic. But don’t keep layering more products on top of it without understanding what you’re working with. Sometimes the best solution is to stop, evaluate the existing coatings, and determine what needs to happen before moving forward.
Solution: That layer may need to be professionally removed, treated, or primed. Bring us in for a custom proposal.
Covering Problems Instead of Solving Them
Decorative wall treatments can be a great way to change a room. But they’re not a substitute for proper finishing. We’ve seen DIY projects involving shiplap, paneling, and other decorative materials where the basic idea was good but the details were rushed.
If you’re seeing any of the following, then your beautiful idea can be difficult or impossible to enjoy when you’re done:
- Uneven seams
- Unfinished edges
- Poor transitions
- Nail holes that weren’t properly filled
- Materials that weren’t properly primed
Once everything is painted, those details become even more noticeable.
If you’ve already installed something and the finished result isn’t what you expected, don’t assume the only solution is to tear everything back out. Sometimes the issue can be corrected through additional finishing and preparation. Other times, removing or replacing part of the work may be the better option. A professional evaluation can tell you which is which.
Solution: Stop! Don’t remove your hard work. There is a solution that we can tailor to your specific needs.
When Should You Stop DIYing and Call a Professional?
There’s no shame in deciding that a project has gone beyond your comfort level. In fact, recognizing that early can save you money. If you’re dealing with peeling paint, poor adhesion, visible repairs, uneven finishes, damaged surfaces, cabinet failures, or a product that isn’t performing as expected, stop adding more paint and figure out what’s happening first. The worst thing you can do is continue covering up a problem you don’t understand.
A professional painter can evaluate the existing surface, identify why the coating failed, and determine what needs to happen to correct it. Sometimes that’s relatively simple. Sometimes it requires going back several steps and rebuilding the surface properly. Either way, the goal isn’t just to make the problem look better temporarily. It’s to fix the reason it happened in the first place.
Don’t keep throwing paint at it hoping it will eventually work.
Give Pearl Painters a call. We’ll take a look at what happened, explain what needs to be corrected, and help you figure out the best way forward.
Get it done right the first time

Brian Kemnitz
More Pro Advice