Achieving a smooth, flawless finish without brush marks can be tricky when painting doors, trim, and cabinets, but with the right techniques and preparation, it’s entirely possible. Learning how to get a smooth paint finish with a roller and how to paint trim without brush strokes can make a big difference. Spraying is often ideal, but if you’re using a brush or roller, these tips will help ensure professional results.
Proper preparation, choosing the right tools, and using the right techniques are key to preventing brush marks and roller stipple.
How to Prepare Before Brushing and Rolling Trim
You’ve probably heard us say it many times before – Preparation is crucial to ensure a smooth and streak-free finish. Whether you’re painting baseboards, door frames, kitchen cabinets, or trim, proper prep work is essential. Prep is important whether you’re painting with a sprayer, brush, or roller.
We have an in-depth post about prepping before painting trim, but here are the basics:
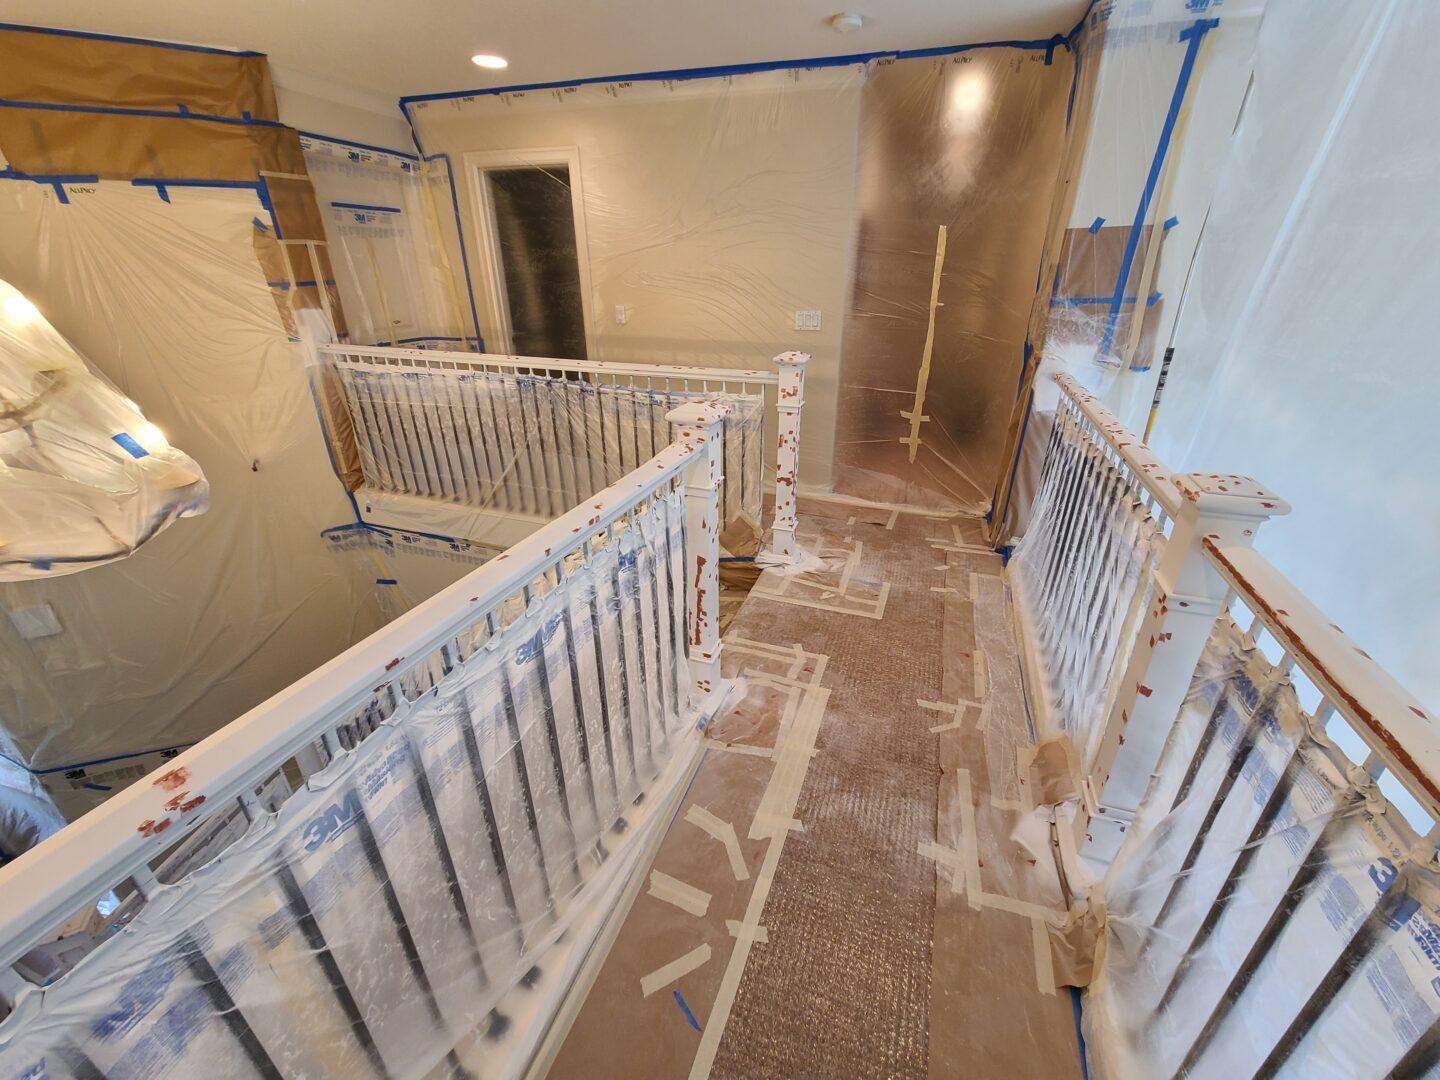
Protection: Begin by covering all adjacent surfaces with tape, plastic, and drop cloths to prevent splatter and drips.
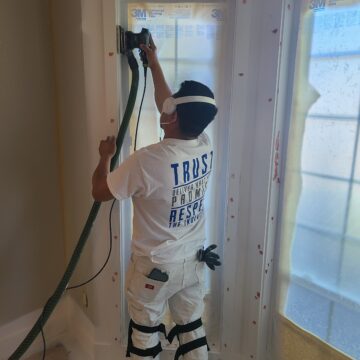
Sanding and Cleaning: Sand the surfaces with 220-grit sandpaper to remove any previous imperfections like roller stipple, brush marks, or bumps. Sanding will also de-gloss the surface, improving paint adhesion. After sanding, clean thoroughly with a vacuum to remove all dust, and wipe down the surfaces with denatured alcohol. This step is critical to remove oils and contaminants, ensuring your paint adheres properly.
Primer: Once clean, apply a high-quality oil primer like Zinsser Coverstain.
Patching and Filling: Caulk gaps and cracks, fill large holes with wood putty or bondo, and fill small dents and imperfections with red glazing putty. After you’re satisfied you’ve fixed every little thing, sand and clean once more.
You want to ensure that any surface flaws are eliminated before painting, so your final finish is as smooth as possible.
Read the full post about prepping before brushing and painting trim. (Even thought it’s about spraying, the prep is the same.)
Move Quickly and Don’t Overwork the Paint
One of the biggest mistakes when painting trim or cabinets by hand is overworking the paint. Every type of paint has an “open time” – the window in which it can be worked before it begins to dry. If you try to smooth or spread the paint after this time, you’ll create streaks or “roping,” where the paint dries into ridges resembling rope lines.
To avoid these issues, move quickly when applying paint. Work in small sections, focusing on even application without revisiting areas that have already begun to dry. Once the paint is on, avoid going back over it. If you spot a run or imperfection, wait until it’s dry before sanding and touching up.
More Tips to Reduce Brush Strokes and Roller Marks
The first half of the video below details some of the tools that we use when hand painting trim, including:
- Paint: Benjamin Moore Advance Satin (we also recommend Rodda Renaissance) – both are oil resin suspended in water, making them very durable and washable
- Additive: Floetrol, which works really well to decrease the brush and roller marks
- Roller: Shed-resistant microfiber, long nap, with fabric on the ends (check out the video for a better visual of this type of roller)
- Brush: Purdy Nylox
Watch the first minute of this video to get a good look at the products we recommend and why they work so well.
Here are additional best practices to prevent brush strokes and roller marks:
- Temperature control: Avoid painting in extreme temperatures. Hot or cold surfaces affect drying times and paint consistency. Ensure the surface and air temperature are in the recommended range for your paint type.
- Thinning your paint: You can help your paint spread more evenly by thinning it slightly. Add water for water-based paints or mineral spirits for oil-based ones. Or, you can use additives like Floetrol or Penetrol to extend the open time without sacrificing durability. Meaning, these additives specifically help with greatly reducing the brush and roller marks. Another trick to thin the paint is to place the can of paint in hot water, which will heat the paint and change the viscosity without actually thinning it.
- Pre-wet your roller: Before you start, wet your roller sleeve with water (for latex paints) or mineral spirits (for oil-based paints) and spin it out to avoid dripping. Pre-wetting helps the roller pick up paint more smoothly.
- Choose the right tools: For a smooth finish, use high-quality shed-resistant rollers, such as Wooster Pro or Doo-Z FTP mini rollers. Pair these with a quality brush like the Purdy Nylox for trim. This combination minimizes roller lines and brush strokes.
- Work from a bucket: Using a roller bucket with a screen instead of a traditional tray speeds up the process and keeps your paint from drying out prematurely. It’s also easier to manage when working on ladders.
How to Apply Paint with the "Roll and Back Tip" Method
The video below covers how we hand paint trim, with a loaded roller and a clean brush.
The video starts with the method. For more details about the paint being used, go to the beginning of the video.
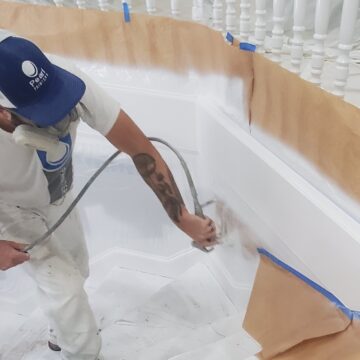
To achieve a smooth finish without brush marks or roller lines and stipple, we recommend the “roll and back tip” technique. This method ensures an even coat without leaving behind visible brush or roller marks.
First, load your roller with paint and apply it in a long even stroke along a section of trim or door. The goal is to spread the paint evenly and quickly.
With each stroke, immediately use a clean, high-quality brush to lightly drag through the wet paint, which will smooth out any roller stipple. This needs to be done quickly, so have your brush already in hand while rolling.
Don’t touch it! If you see streaks or runs after a few minutes of drying, leave it alone. Once it’s completely dry, you can scrape runs with a razor knife and sand down the streaks before doing it again.
After your first coat dries and looks smooth, it’s important to inspect the surface. Use your hand to feel for any bumps or imperfections and smooth them out with fine-grit sandpaper. You may not need to sand at all before applying a second coat.
By following these steps and using the right tools, you’ll be able to paint trim, doors, and cabinets with professional-level results, free of brush marks and roller lines.
In the Portland, OR area? Get in touch with us for guaranteed professional results on your trim. We provide free, no-obligation estimates.




2 Responses
Good Morning; very informative; thank you for posting this; do you have any problems when painting with dark colored paint (eg chocolate brown);
Hi Susan, yes we have had problems using dark colors… I’m curious what kind of issues have you experienced?